3.9.3 Microsoft Office 365 Integration
Overview
-
Configure the hosted email server to accept email from MetaDefender Email Gateway Security server.
-
Configure MetaDefender Email Gateway Security to relay out to hosted email server.
-
Update MX record to point to MetaDefender Email Gateway Security server.
Detailed Steps
|
Steps |
|
Details |
|
1 |
Goto https://portal.office.com and login with your Office365 credentials |
|
|
Go to Office 365 Portal > Admin > Admin Centers > Exchange. Once the Exchange Admin has opened, go to mail flow > connectors and click + to add a new connector |
|
|
|
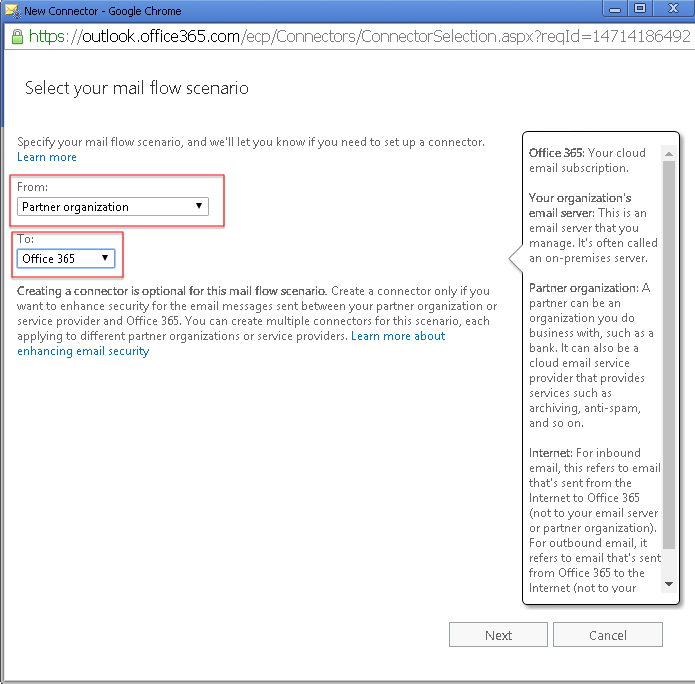
Select From: Partner organization and To: Office 365, then click Next |
|
|
|
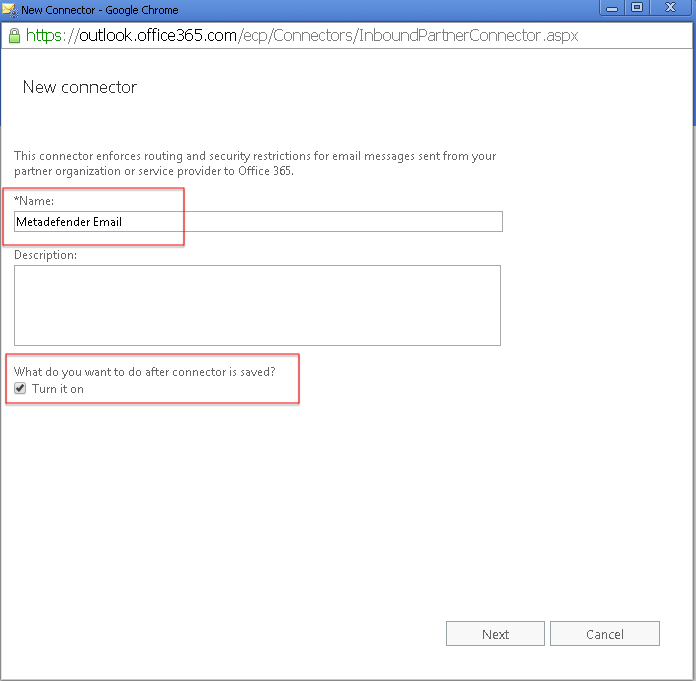
Specify a name for the connector (e.g. Metadefender Email) and ensure that the option 'Turn it on' is checked. Then click Next |
|
|
|
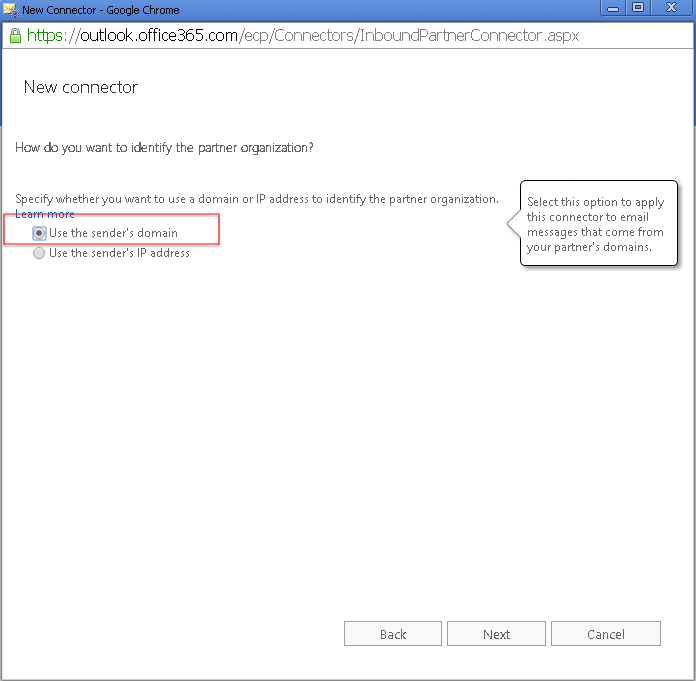
Select 'Use the sender's domain' and click Next |
|
|
|
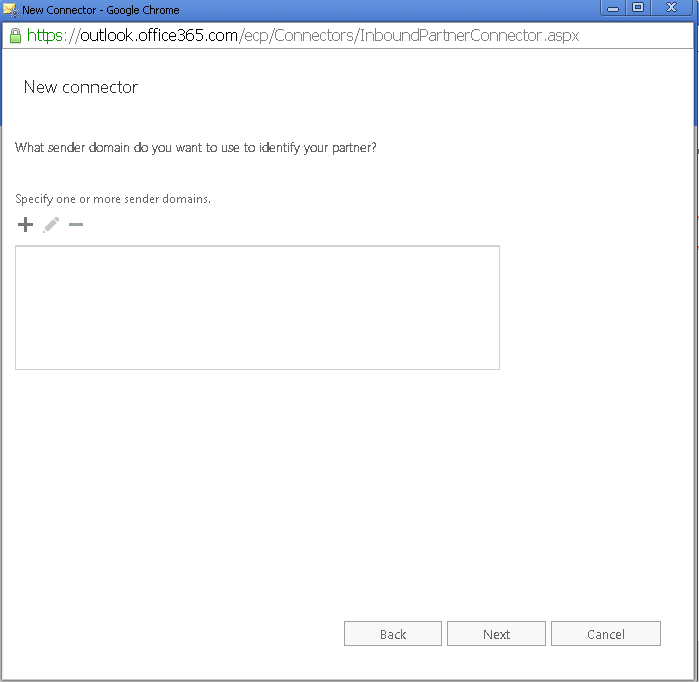
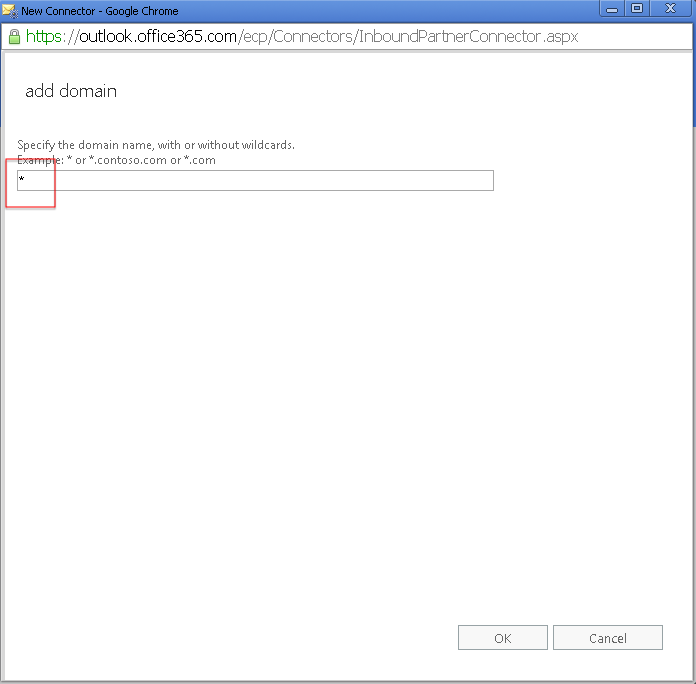
Click on the + |
|
|
|
Enter * as domain and click OK; then click Next |
|
|
|
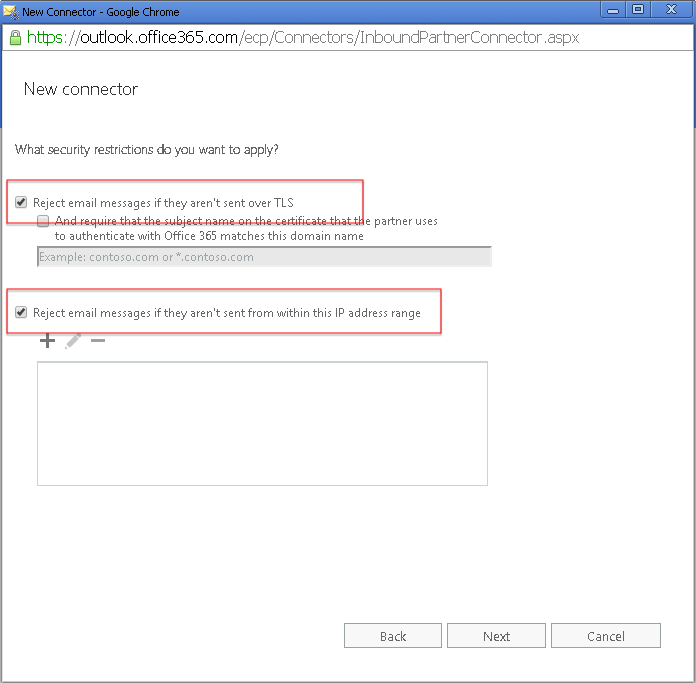
Select 'Reject email messages if they aren't sent over TLS' and 'Reject email messages if they aren't sent from within this IP address range', then click + |
|
|
|
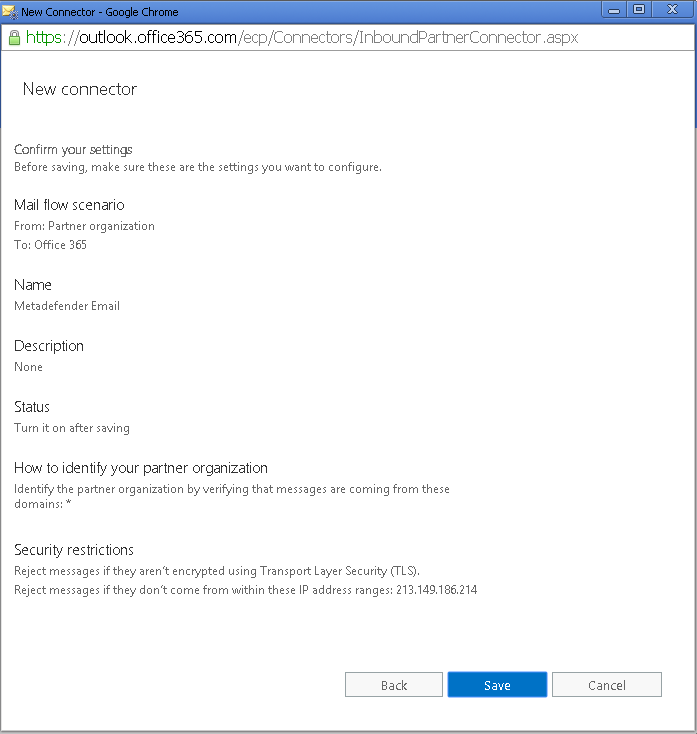
Specify your public IP address (e.g. 213.149.186.214) and click OK; then click Next. |
|
|
|
Verify connector properties and click Save to save the connector |
|
|
|
2 |
Obtain your MX record address by going to https://portal.office.com > Admin > Settings > Domain and click on your domain; copy the MX Record value to the clipboard |
|
|
Connect to MetaDefender Email Gateway Security Web Management console
|
|
|
|
Verify routing settings by sending an email to a Office365 recipient directly to the MetaDefender Email Gateway Security server and verify that it arrives correctly in the recipient inbox |
|
|
|
3 |
Refer to your Internet domain registrar for the details how to change MX record to point to MetaDefender Email Gateway Security IP address; verify email routing by sending an email to a Office365 recipient |
Make sure that your MX record changes have propagated before verifying email routing. |