1.1.1 Basic configuration wizard
Introduction
When trying to access the Web Management Console for the first time, you are to complete a basic configuration wizard in order to be able to use the product. The Web Management Console will be available only after you have successfully finished this wizard.
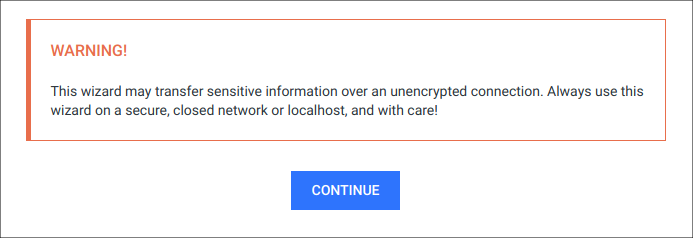
To start the wizard click CONTINUE.
Sensitive information
This wizard may transfer sensitive information over an unencrypted connection. Always use this wizard on a secure, closed network or localhost, and with care!
Basic configuration steps
End-User License Agreement
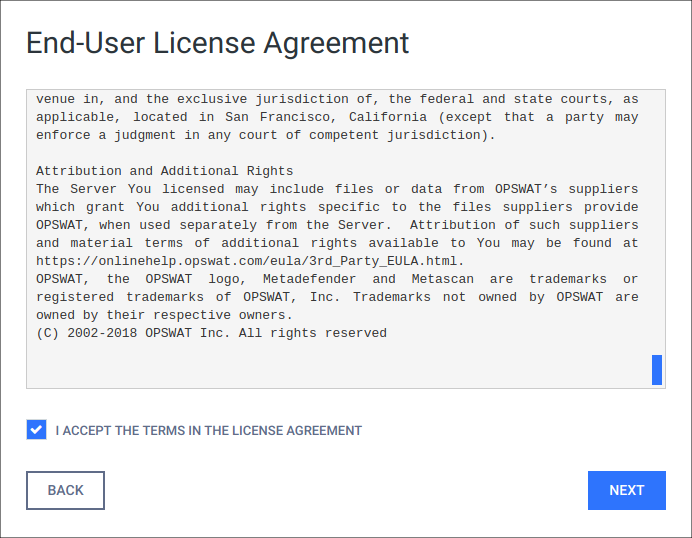
In the first page you can find the End-User License Agreement. You have to accept the terms before moving on. Please read through the EULA carefully and if you agree with it, check I ACCEPT THE TERMS IN THE LICENSE AGREEMENT and click NEXT to continue.
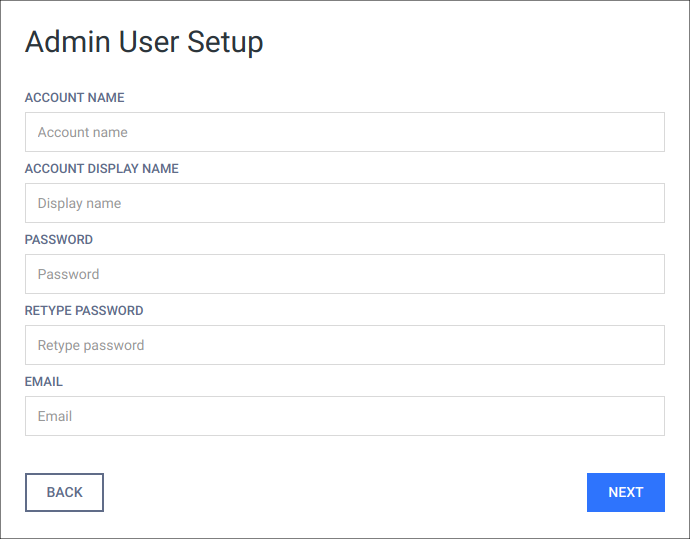
Admin User Setup
The next step is to set up an administrator account. This account will be the first one being able to access the Web Management Console and to create accounts for other users. You have to fill all fields in this page to be able to move forward. When you are done, click NEXT to continue.
User directory
The administrator account, that is created via the basic configuration wizard, is always added to the LOCAL user directory as a member.
The following information is required for the administrator account:
|
ACCOUNT NAME |
The unique name of the account that is used at the time of login and in log messages for accountability. |
|
ACCOUNT DISPLAY NAME |
Name of the person bound to this account. This name (appended to the name of the account's user directory) is displayed in the top right corner of the Web Management Console. |
|
PASSWORD |
Password of the user bound to this account that is used at the time of login. Passwords sent clear-text As long as TLS is not configured for the basic configuration wizard, passwords are sent clear-text over the network and may be disclosed to unauthorized parties. As a mitigation action:
|
|
|
Email address of the person bound to this account. |
License activation
For license activation details see 2.4.1 Activating MetaDefender Email Gateway Security licenses.
Deployment mode
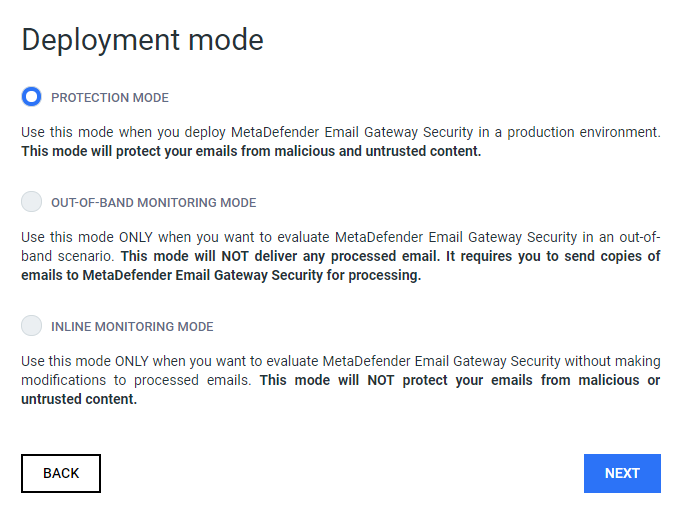
In this step you will decide in what mode you wish to deploy MetaDefender Email Gateway Security. If you are installing MetaDefender Email Gateway Security into a production environment, select 'PROTECTION MODE'.
|
|
Diagram |
Notes |
|
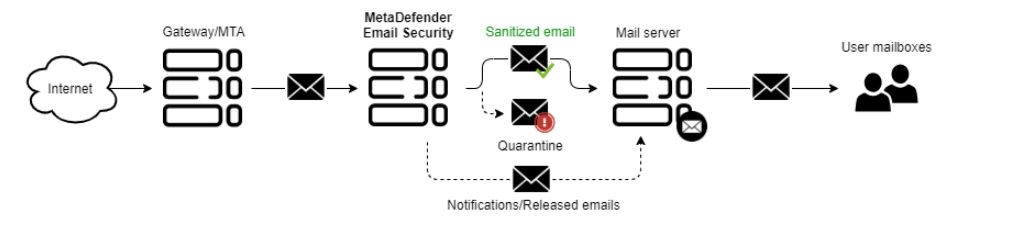
PROTECTION MODE |
|
Use this mode when you deploy MetaDefender Email Gateway Security in a production environment. This mode will protect your emails from malicious and untrusted content. |
|
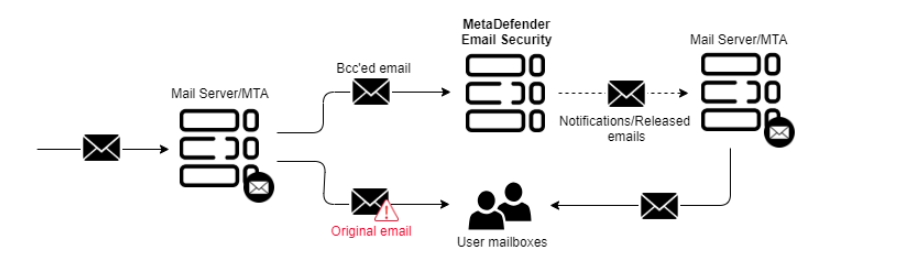
OUT-OF-BAND MONITORING MODE |
|
Use this mode ONLY when you want to evaluate MetaDefender Email Gateway Security in an out-of-band scenario. This mode will NOT deliver any processed email. It requires you to send copies of emails to MetaDefender Email Gateway Security for processing. |
|
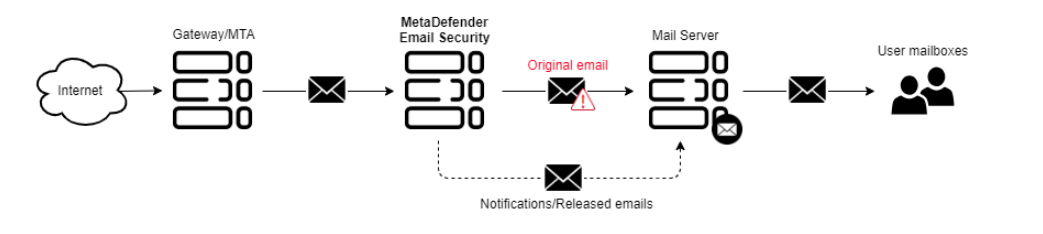
INLINE MONITORING MODE |
|
Use this mode ONLY when you want to evaluate MetaDefender Email Gateway Security without making modifications to processed emails. This mode will NOT protect your emails from malicious or untrusted content. |
You can also change the deployment mode after installing MetaDefender Email Gateway Security. Refer to the following section: 3.4 General settings
Create Core Server Profile
This step is not displayed when installing MetaDefender Email Gateway Security bundled with MetaDefender Core
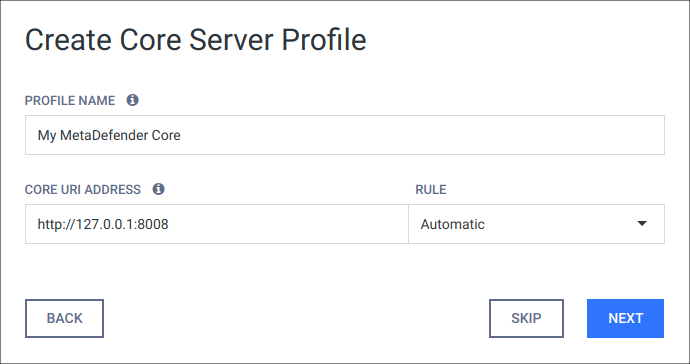
In this step you can create a basic Core server profile which will be used for connecting to a MetaDefender Core instance so your emails can be scanned and sanitized. You should give a name for the profile (e.g. "My MetaDefender Core"), set the address of your MetaDefender Core instance and choose a rule from the list. In order to go to the next step the wizard will check if a connection can be made to the address provided. If the connection seems fine a NEXT button will appear in the place of the TEST button and you can continue the configuration process by clicking on it.
By skipping this step the wizard won't be able to create a security rule later however you will still be able to create a Core server profile and a security rule in the product after the wizard is finished. You will also have the chance to modify the profile created in the wizard with more advanced configuration possibilities later. For more information on server profiles please see 3.7 Server profiles.
Configure inbound SMTP settings
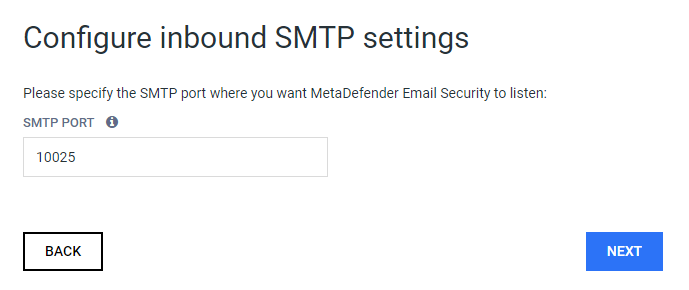
In this step you can configure to which SMTP port MetaDefender Email Gateway Security should listen for inbound traffic.
Automatically configure Email Gateway Security
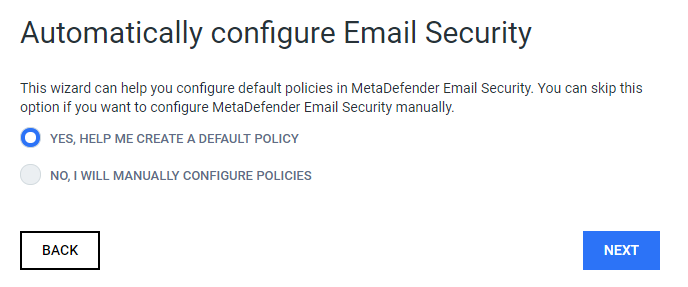
In this step you can decide if you want help to create a default security rule in MetaDefender Email Gateway Security. If you are already familiar with MetaDefender Email Gateway Security you can decide to manually configure server profiles & security rules.
Security rule
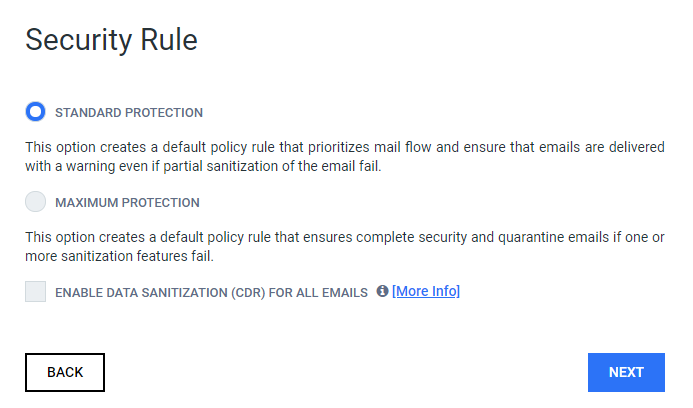
In this step you will decide which kind of security rule to create.
|
STANDARD PROTECTION |
This rule type will prioritize mail flow. If unforseen events occur during scanning and/or sanitization, then email will be delivered with a warning informing the recipient of the issue. |
|
MAXIMUM PROTECTION |
This rule type ensures maximum protection and will quarantine any email that could potentially contain a threat. |
|
ENABLE DATA SANITIZATION (CDR) FOR ALL EMAILS |
This option will enable Data Sanitization (CDR) for all emails and sanitize content using OPSWAT Data Sanitization technology. |
SMTP relay
Exchange mode
This step is not available when the product was installed in Exchange mode.
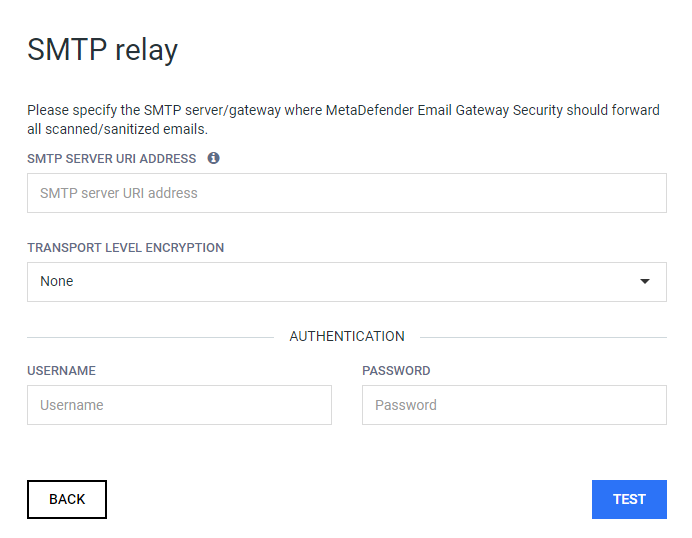
On this page you will create a basic SMTP server profile which will be used as a destination for the emails processed by MetaDefender Email Gateway Security and for sending notification emails. You can also select what transport level encryption to use and you can set authentication information if your SMTP server requires it. In order to go to the next step the wizard will check if a connection can be made to the address provided. If the connection seems fine a NEXT button will appear in the place of the TEST button and you can continue the configuration process by clicking on it.
For more information on server profiles please see 3.7 Server profiles
Click NEXT to continue the configuration process.
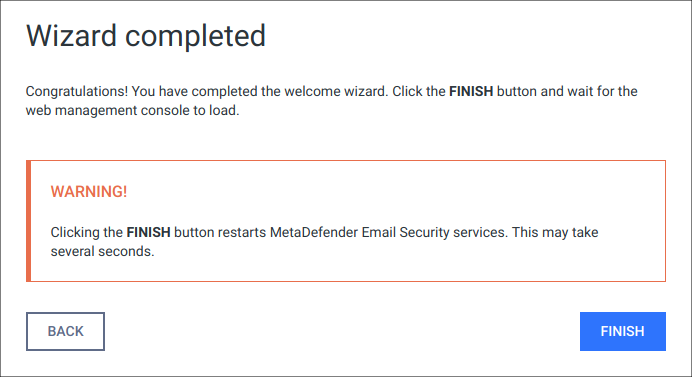
Wizard completion
After you have completed every steps you are ready to finish the wizard and start using the product. Click the FINISH button to complete the wizard.
The product's service will be restarted and the browser will be redirected to the Web Management Console. This could take several seconds.
You can login to the Web Management Console with the administrator user that have just been created in the previous steps.
Transport Layer Security
Transport Layer Security (TLS) is a cryptographic protocol that provides communications security over a computer network. Websites, like the Web Management Console, are able to use TLS to secure all communications between their servers and web browsers.
The TLS protocol aims primarily to provide confidentiality (privacy) and data integrity between two communicating computer applications.
No TLS for the wizard
By default, TLS is not enabled for the basic configuration wizard. As a consequence sessions between the wizard's backend and the browser may be insecure.
Performing the same steps as for the Web Management Console, it is possible to set up TLS for the basic configuration wizard. Remember completing the TLS setup before launching the wizard.
For instructions to set up TLS see 3.2 Configuring TLS.