2.2.2. Installing Central Management using the installation wizard
The installation wizard is available for Windows installations only (.msi file).
Perform the following steps:
|
|
Step |
Screenshot |
Details |
|
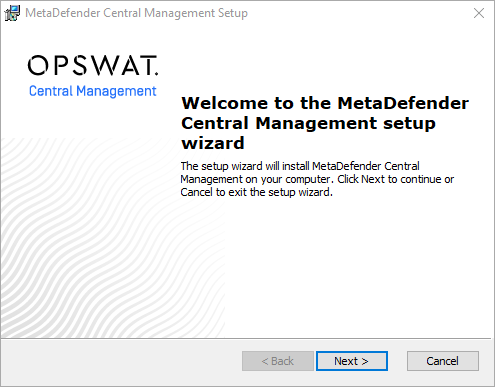
1 |
Welcome message |
|
|
|
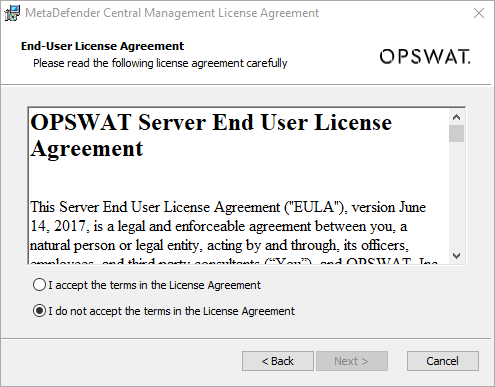
2 |
Accept the license agreement |
|
|
|
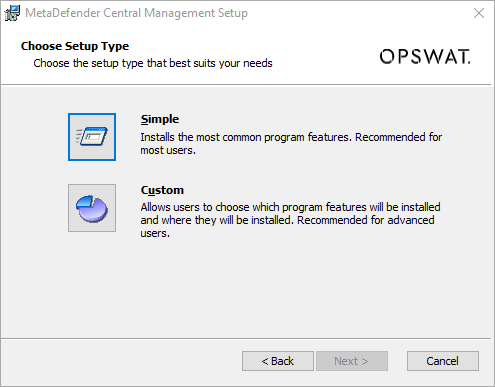
3 |
Select setup type |
|
The difference between Simple and Custom is that Custom allows you to select the installation folder. For both you may specify later the REST address and REST port (see step 5). |
|
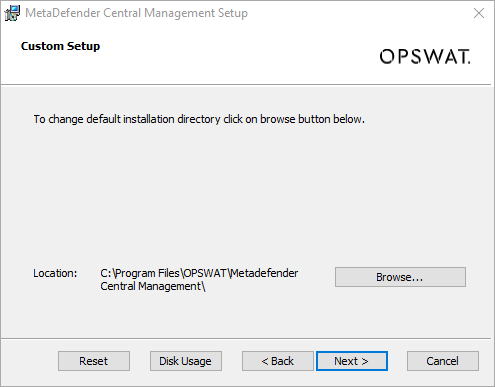
4 |
Select installation folder |
|
This step is available for the Custom setup type only. |
|
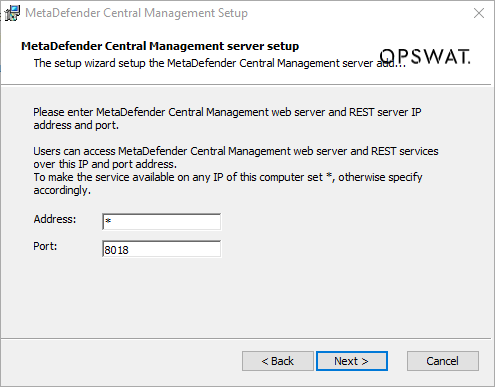
5 |
Set server properties |
|
This is the merge point for Simple and Custom setup types (see step 3). Specify the REST address and REST port:
|
|
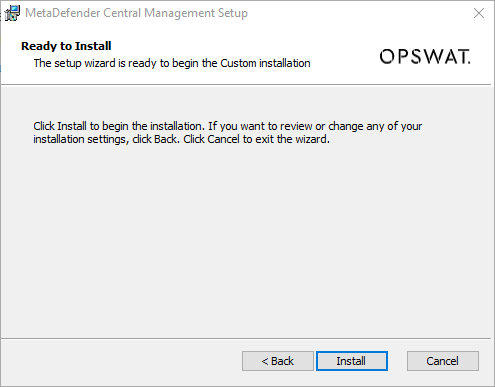
6 |
Commit installation |
|
|
|
7 |
Installation in progress |
|
Installing and starting the services may take longer (couples of seconds). |
|
8 |
Finish installation |
|
After finishing the installation MetaDefender Email Security is up and running. You may access the Web Management Console for further configuration with pointing your browser to http://localhost:8018 or click the MetaDefender Central Management shortcut on your desktop: |