4.12.2. Microsoft Office 365
Hardening
Use TLS
Use TLS whenever it is supported by Office 365.
Email Gateway Security supports SMTP-over-TLS (SMTPS) or StartTLS for both inbound and outbound SMTP connections.
For details see the SMTP servers section in 4.3. Settings and 4.6. Server profiles.
Open relay
Under certain conditions - especially when integrated to Office 365 as an outbound gateway - Email Gateway Security may be exploited as an open relay.
For details (risks and resolution) see 4.11. Hardening.
Overview
This document describes how Office 365 and MetaDefender Email Gateway Security can be interconnected.
MX is kept
This method does not require redirecting the MX record.
The high level architecture and components affected by this setup is as follows:
Process inbound, outbound and internal email
As the transport rule applies to all email, Email Gateway Security will process inbound, outbound and Exchange internal messages, too.
This behavior can be finetuned adjusting the appropriate parameters of the transport rule.
For details see step 4 in the section Transport rule to forward to Email Gateway Security and the sub-section Customizing what emails to send to Email Gateway Security below.
Known issues
HELO/EHLO name must be properly set
If the FQDN is not properly set in Email Gateway Security for the HELO/EHLO SMTP command on connecting to the Office 365 Mail Exchange, Email Gateway Security may get blocked by Office 365.
Query blocked status
The blocked status of the sending SMTP client of Email Gateway Security may be queried from SpamHaus.
Visit the following URL to check: https://www.spamhaus.org/query/ip/<IP addres of the sending interface>
For details see sender_helo_domain under 4.1. Registry configuration.
Azure VMs blocked to connect to port 25
Outbound connections to port 25 are blocked for Microsoft Azure virtual machines (and most probably for other IaaS VMs and ISPs) by default.
For details see https://docs.microsoft.com/en-us/azure/virtual-network/troubleshoot-outbound-smtp-connectivity.
Exchange Online setup propagation delays
Changes in Office 365 Exchange may take time (several minutes) to apply.
Email Gateway Security setup
Overview
We will create a hook in Office 365 email flow to forward emails to Email Gateway Security for processing.
Email Gateway Security will receive the connections from Office 365 on SMTP port 25, and will forward the processed emails to Office 365 email exchange to SMTP port 25.
The following configuration must be performed:
-
Inbound SMTP configuration to receive emails on port 25, and
-
Security Rule configuration to relay to Office 365 mail exchange.
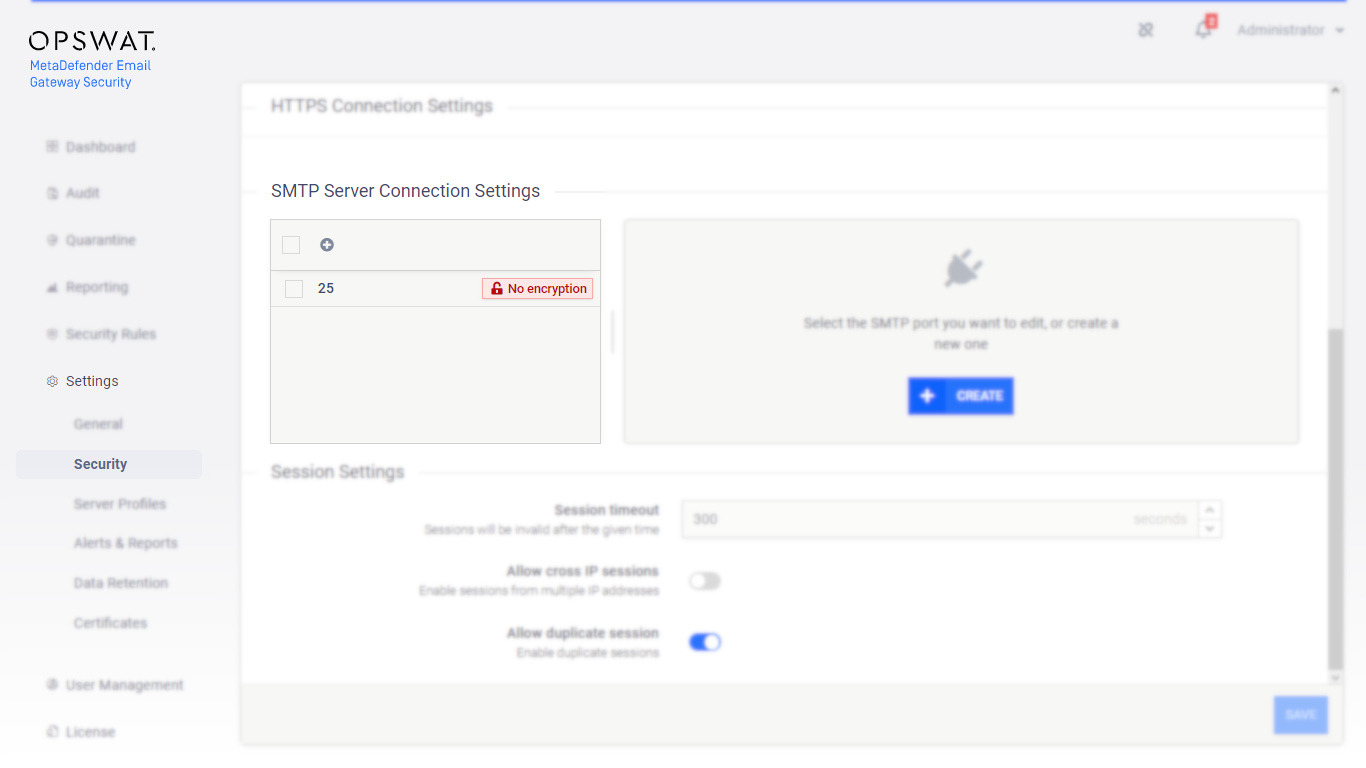
Inbound SMTP configuration
Configure Email Gateway Security’s SMTP server to listen on port 25 (by default Email Gateway Security listens on port 10025).
For details see 4.3. Settings.
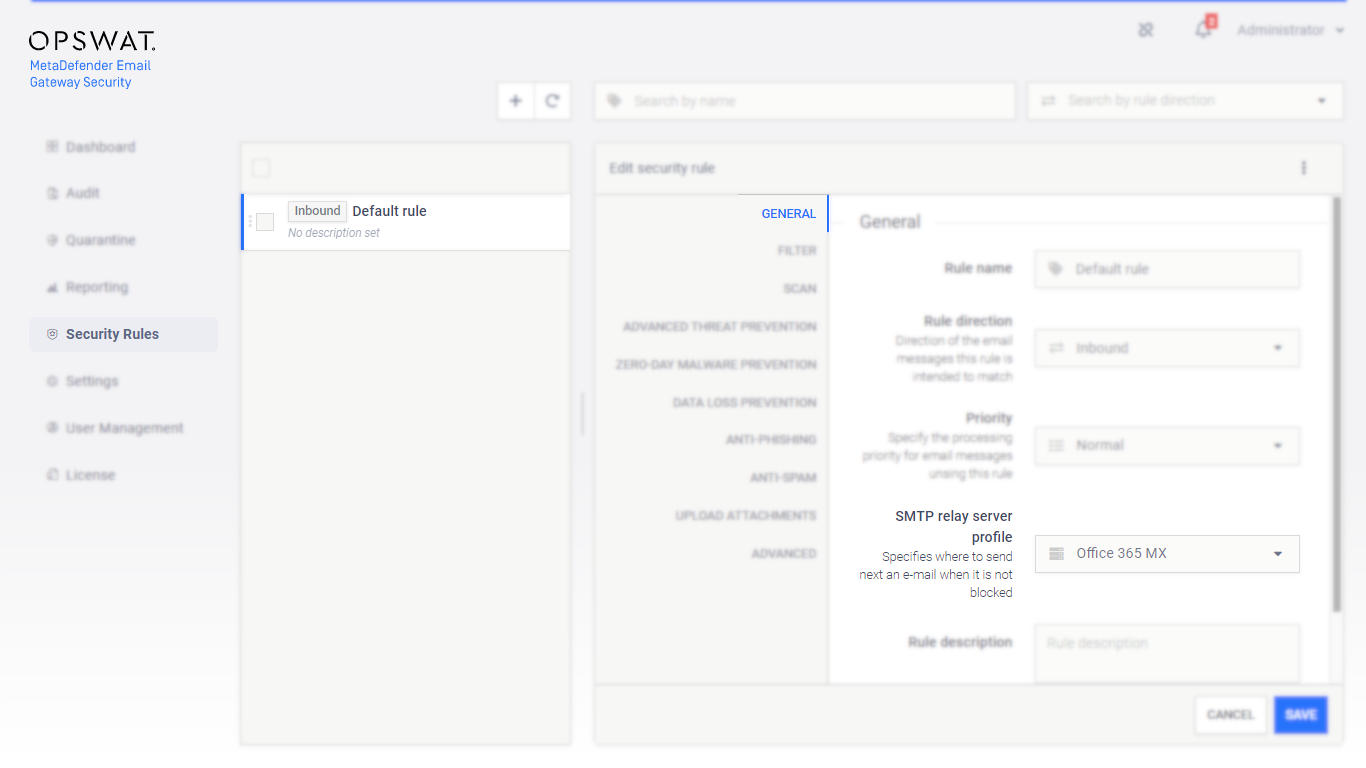
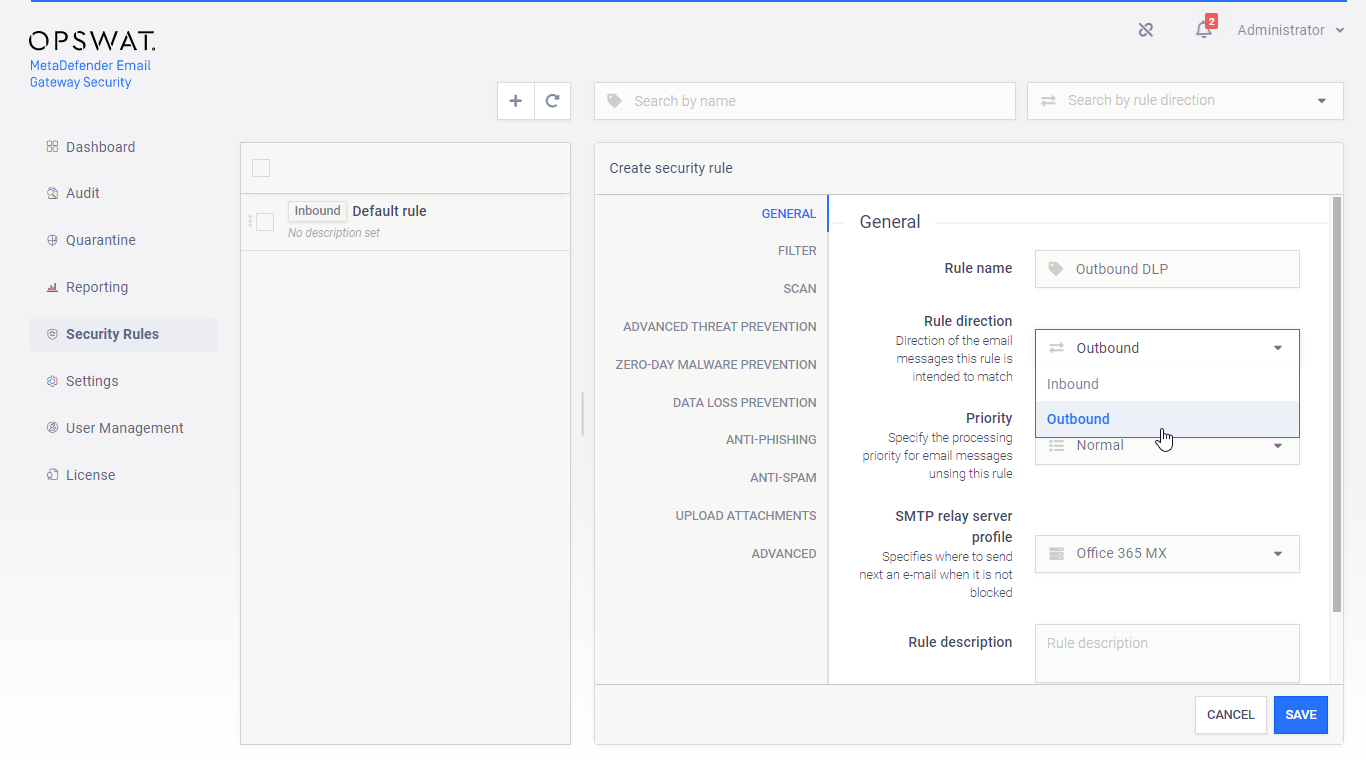
Security rule configuration
Email Gateway Security’s Security Rules must be configured to forward processed emails back to Office 365’s mail exchange.
Perform the following steps:
-
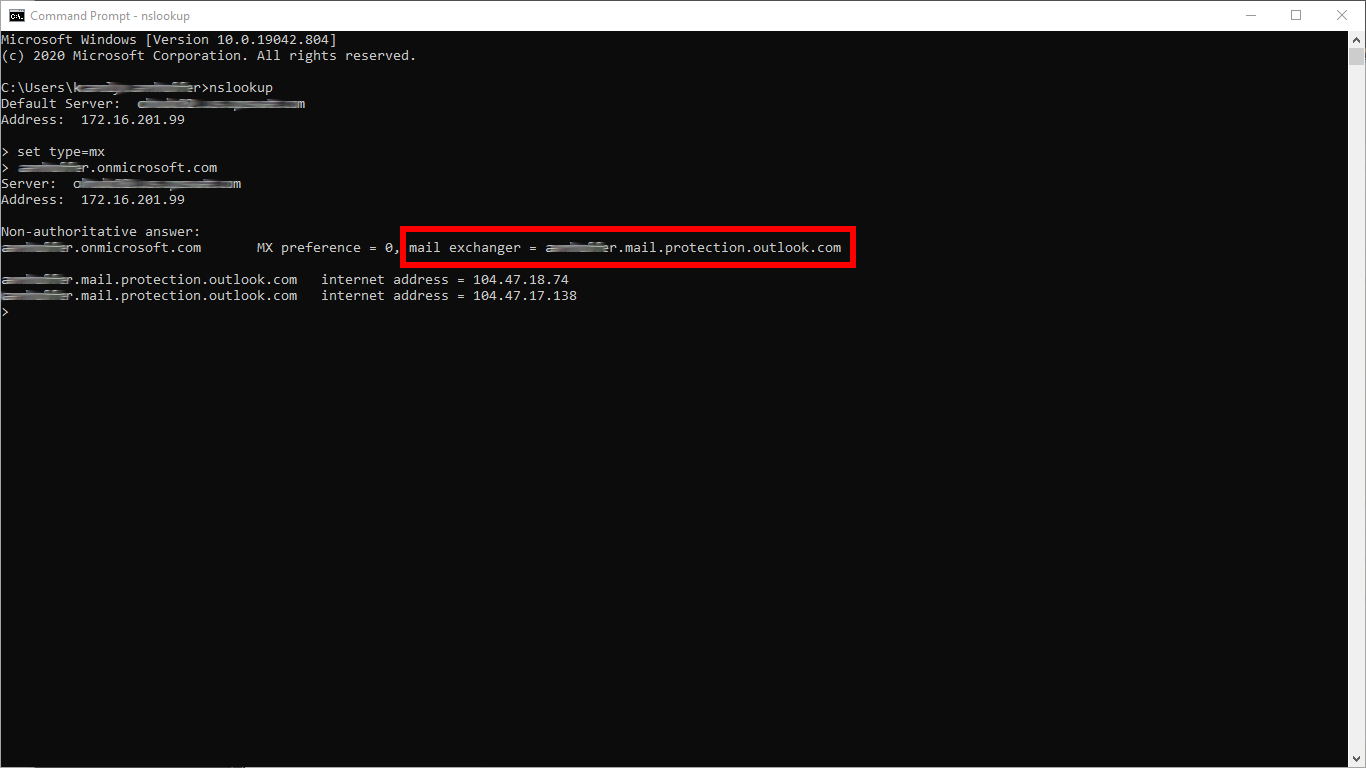
Discover your Office 365 mail exchange FQDN
Issue the following commands:nslookupset type=mxyour.domain.comExample:
-
Create an SMTP type server profile that points to the mail exchange discovered in the previous step.
For details see 4.6. Server profiles.
For example if your mail exchange is your.domain.com then specify this as the SMTP server URL address:smtp://your.domain.com:25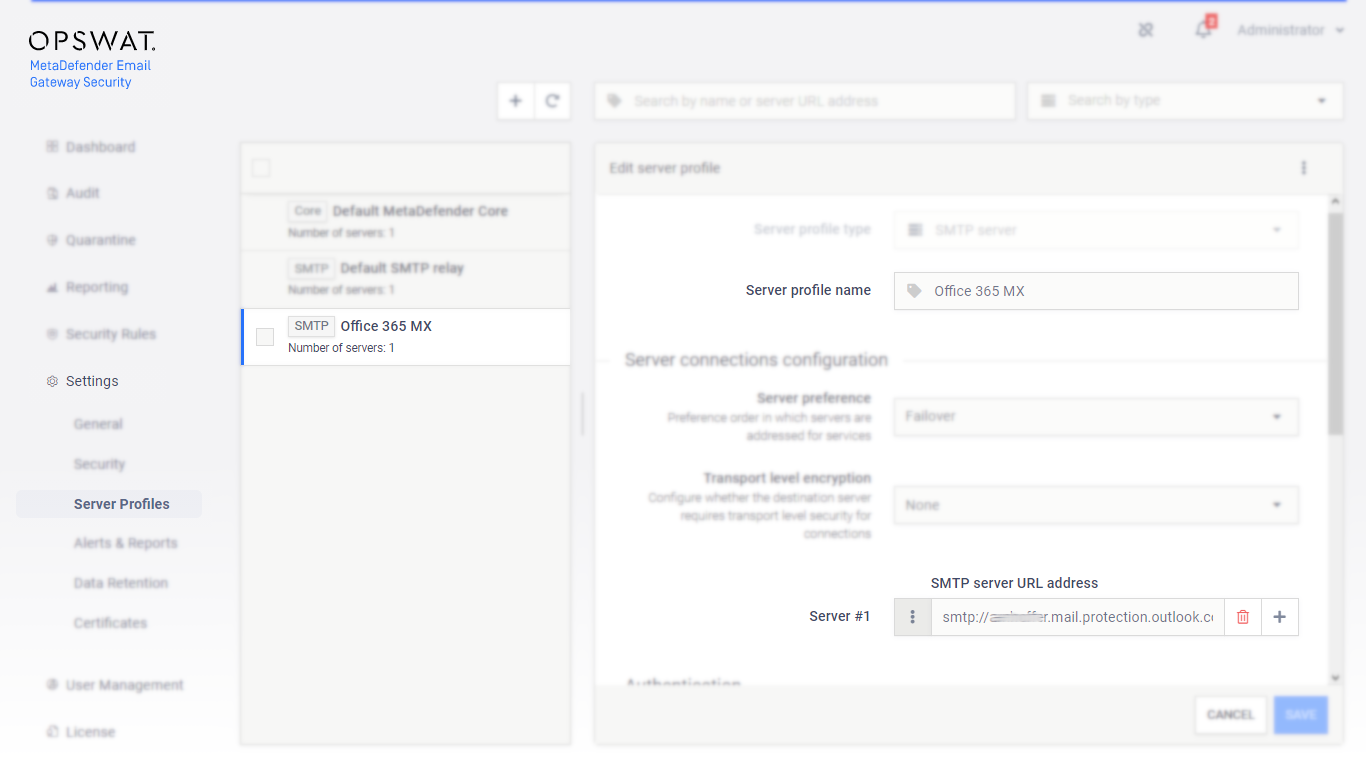
-
Set this SMTP server profile as the SMTP relay server profile for security rules that are intended to process email from Office 365.
For details see 4.4. Policy.
Email Gateway Security is now ready to receive emails from Office 365, and then return them there after processing.
Customizing how to process emails in Email Gateway Security
Depending on what emails are sent to Email Gateway Security by Office 365 for processing (for details see sub-section Customizing what emails to send to Email Gateway Security), different processing rules may be required. These rules can be created normally just like for any other use-case.
For details see 4.4. Policy.
In certain cases not all email is desired to be processed by Email Gateway Security. In these cases the range of emails to be forwarded can be configured setting *Apply this rule if… accordingly.
Example
Let us assume, that at an organization all email needs to be processed by Email Gateway Security (assuming that the Office 365 side transport rule is set properly, for details see section Transport rule to forward to Email Gateway Security):
-
For inbound email: regular processing,
-
For outbound email: Proactive DLP only.
We can easily achieve this by Email Gateway Security side security rules properly.
Inbound security rule
For regular inbound processing follow these steps:
-
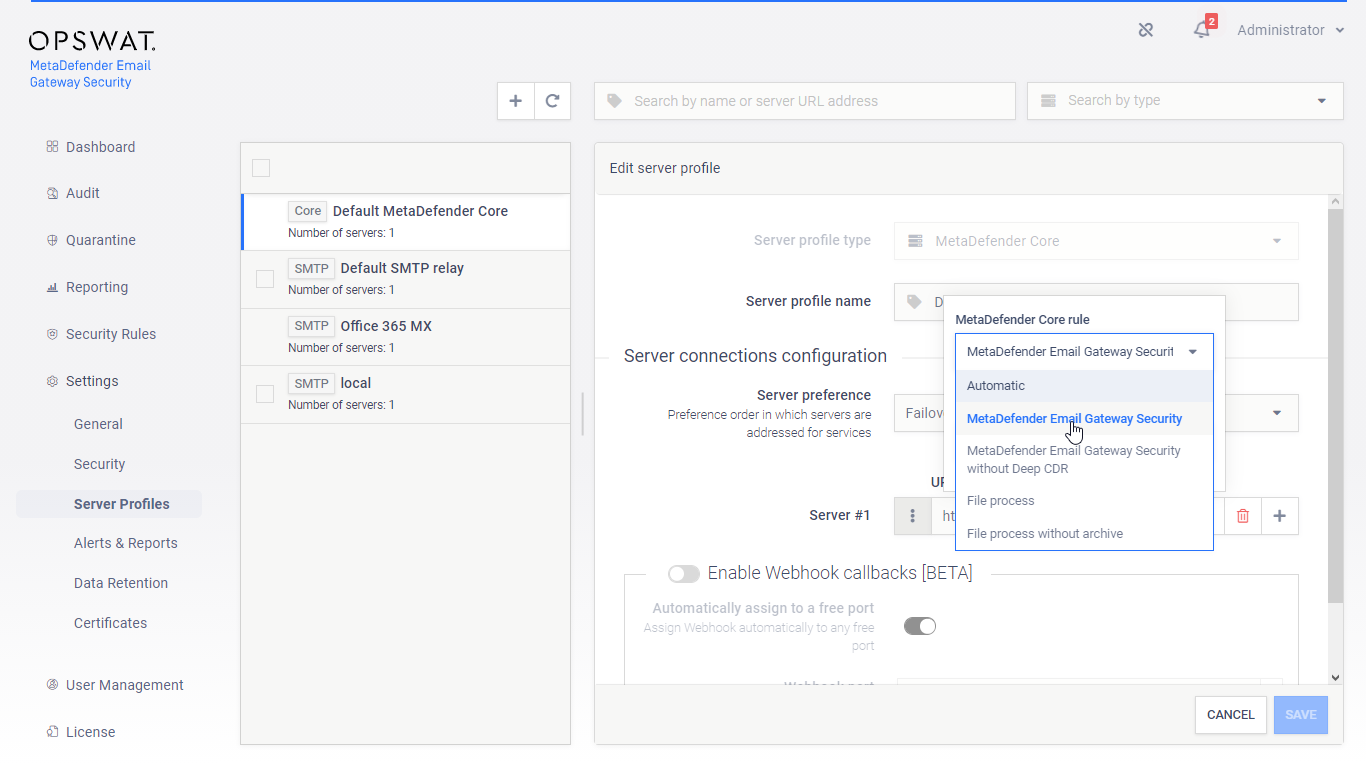
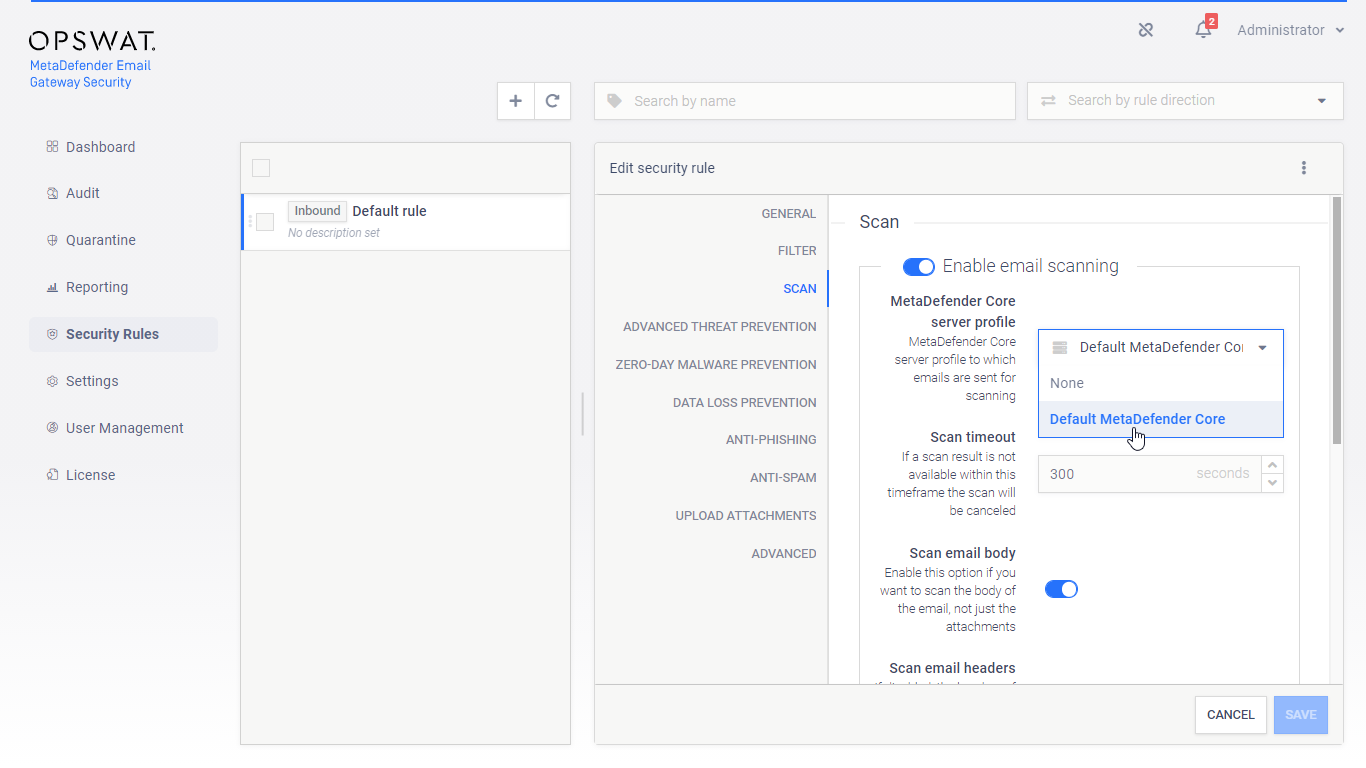
Create a MetaDefender Core type server profile that is connected to the MetaDefender Email Gateway Security rule on MetaDefender Core (or reuse the Default MetaDefender Core profile)
-
Create a Security Rule (or reuse the Default rule) that will use the server profile created in the previous step
-
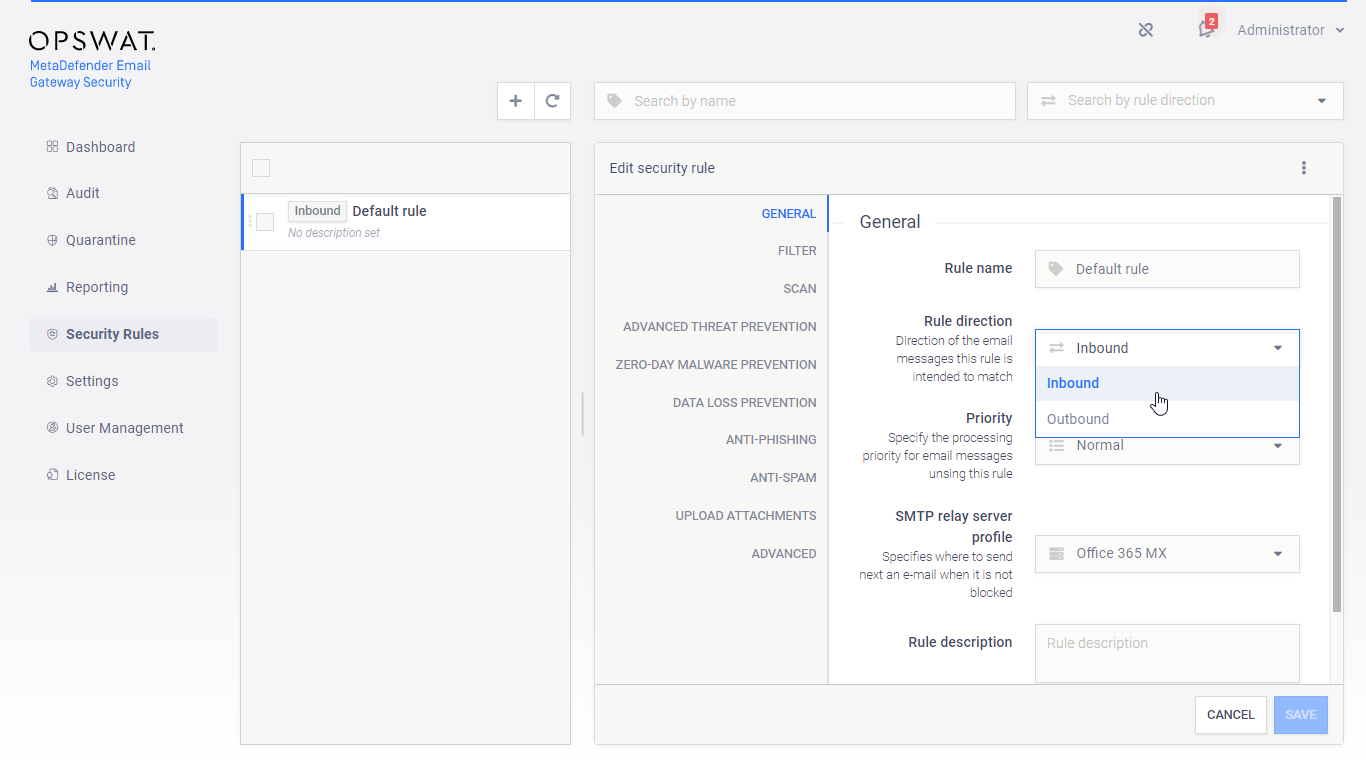
Configure this rule as Inbound
-
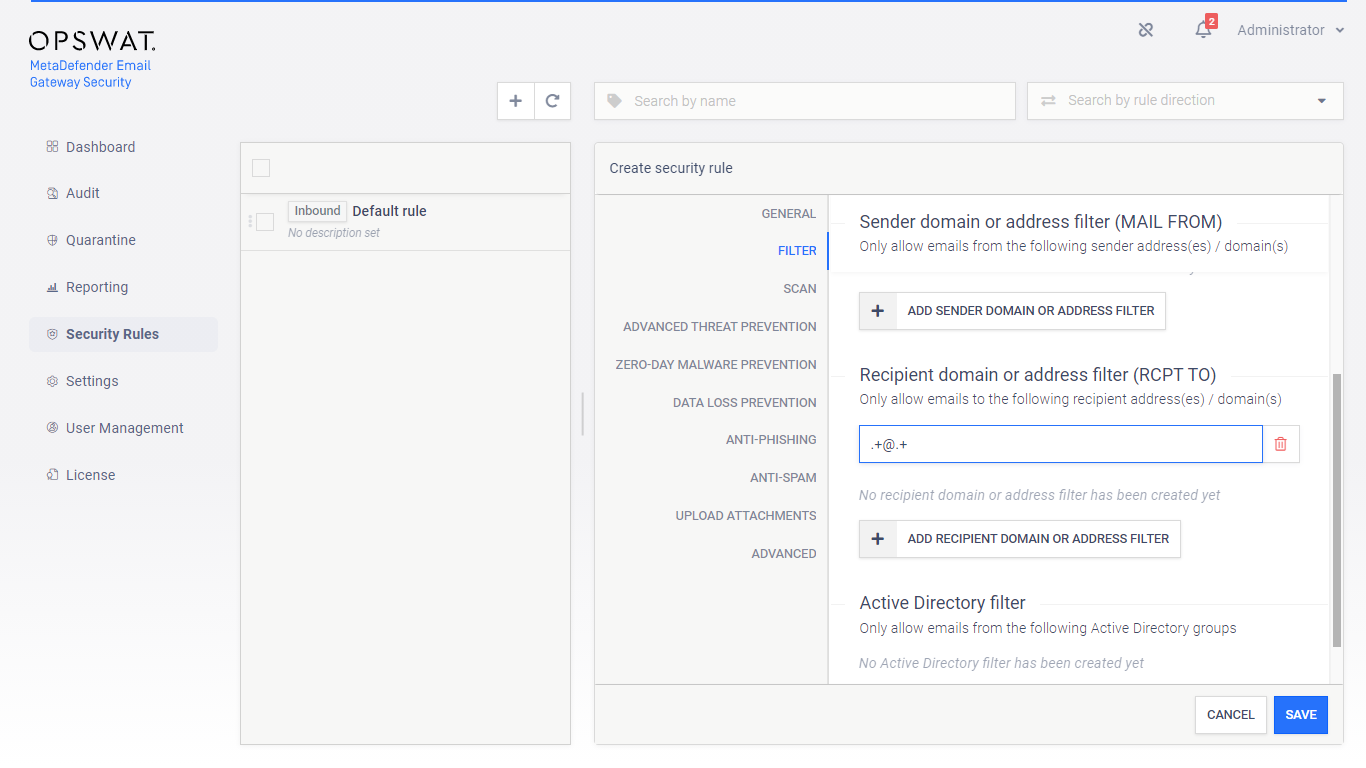
Set the rule filters to match inbound email in your organization and save the rule

Outbound security rule
For DLP only outbound processing follow these steps:
-
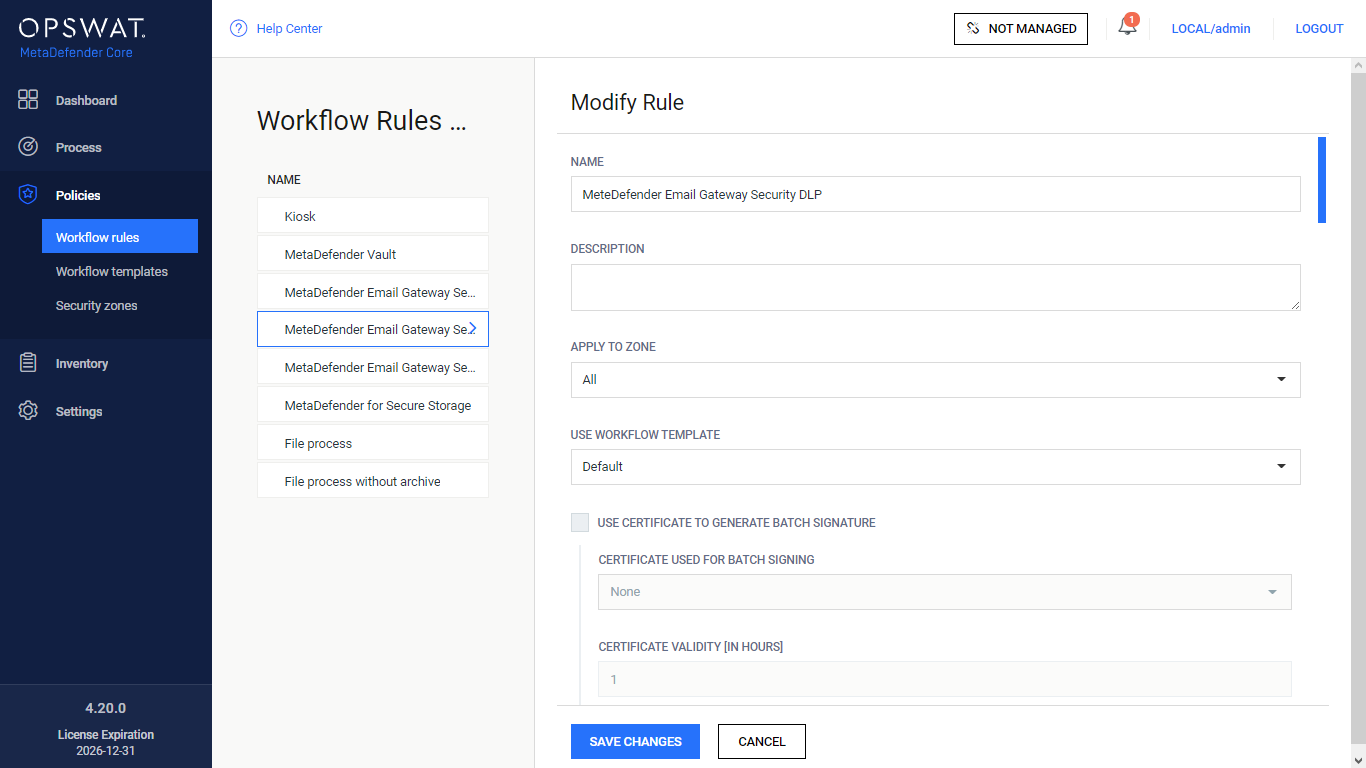
Create a MetaDefender Core side Workflow:
-
NAME: MeteDefender Email Gateway Security DLP
-
LIMIT TO SPECIFIED USER AGENTS: mdemailsecurity
-
SCAN / ENABLE MALWARE SCAN: disabled
-
DEEP CDR: all disabled
-
PROACTIVE DLP / ENABLE PROACTIVE DLP: enabled (and configured appropriately)
-
-
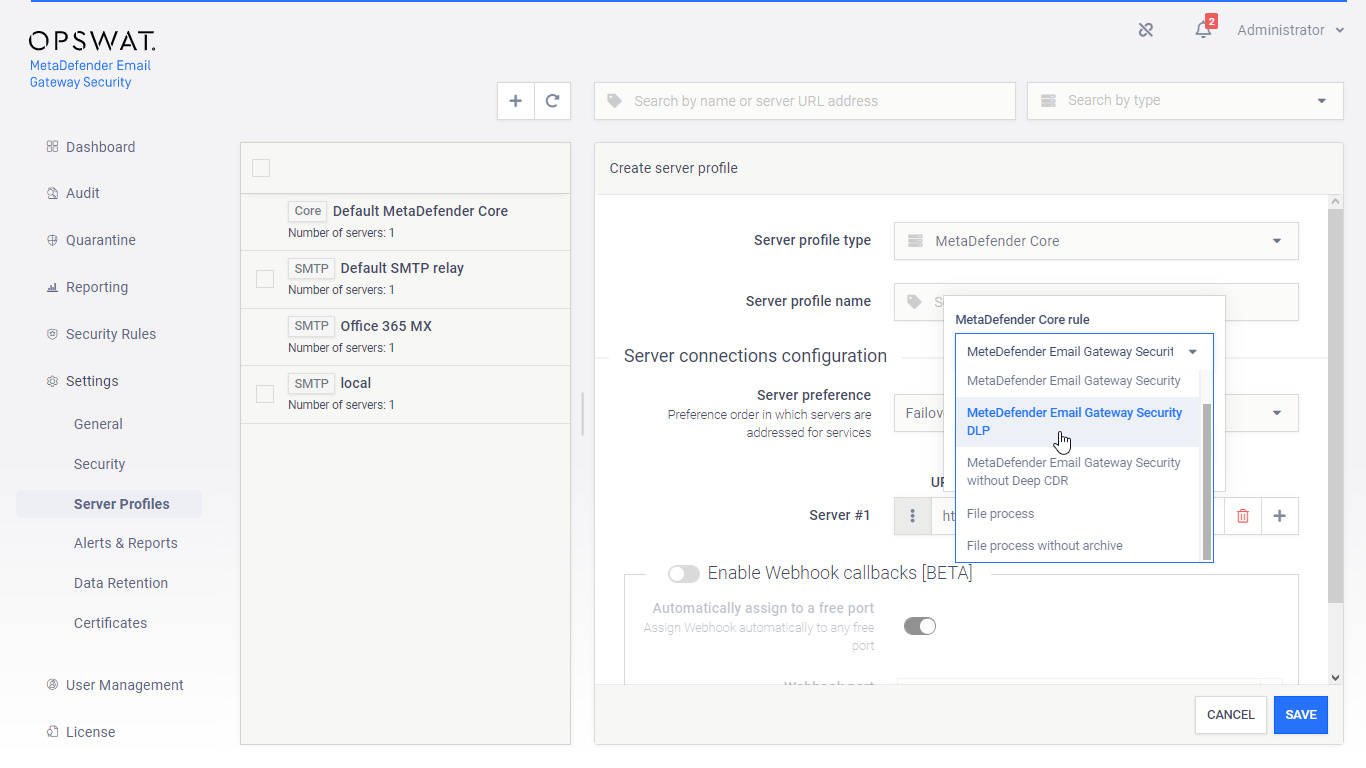
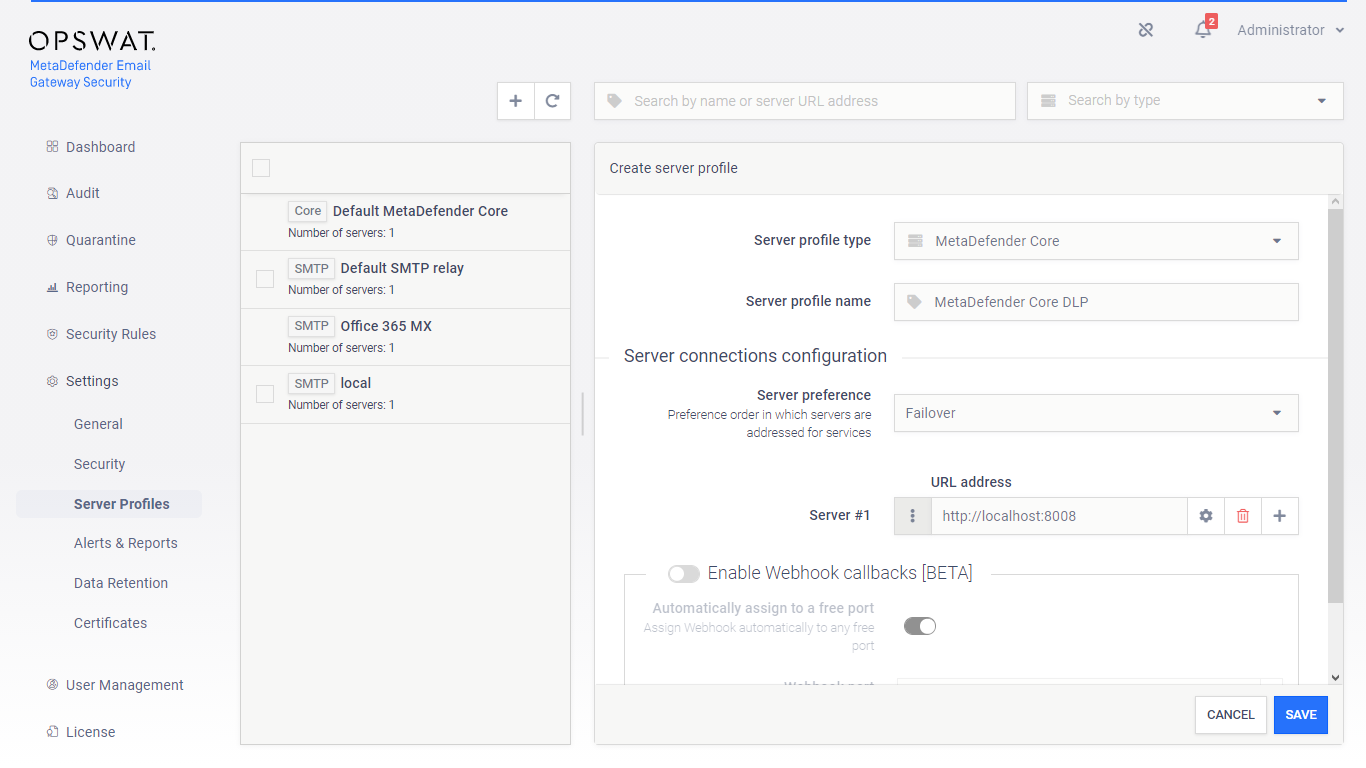
Create a MetaDefender Core type server profile in Email Gateway Security that is connected to the MetaDefender Email Gateway Security DLP rule created in the previous step on MetaDefender Core
-
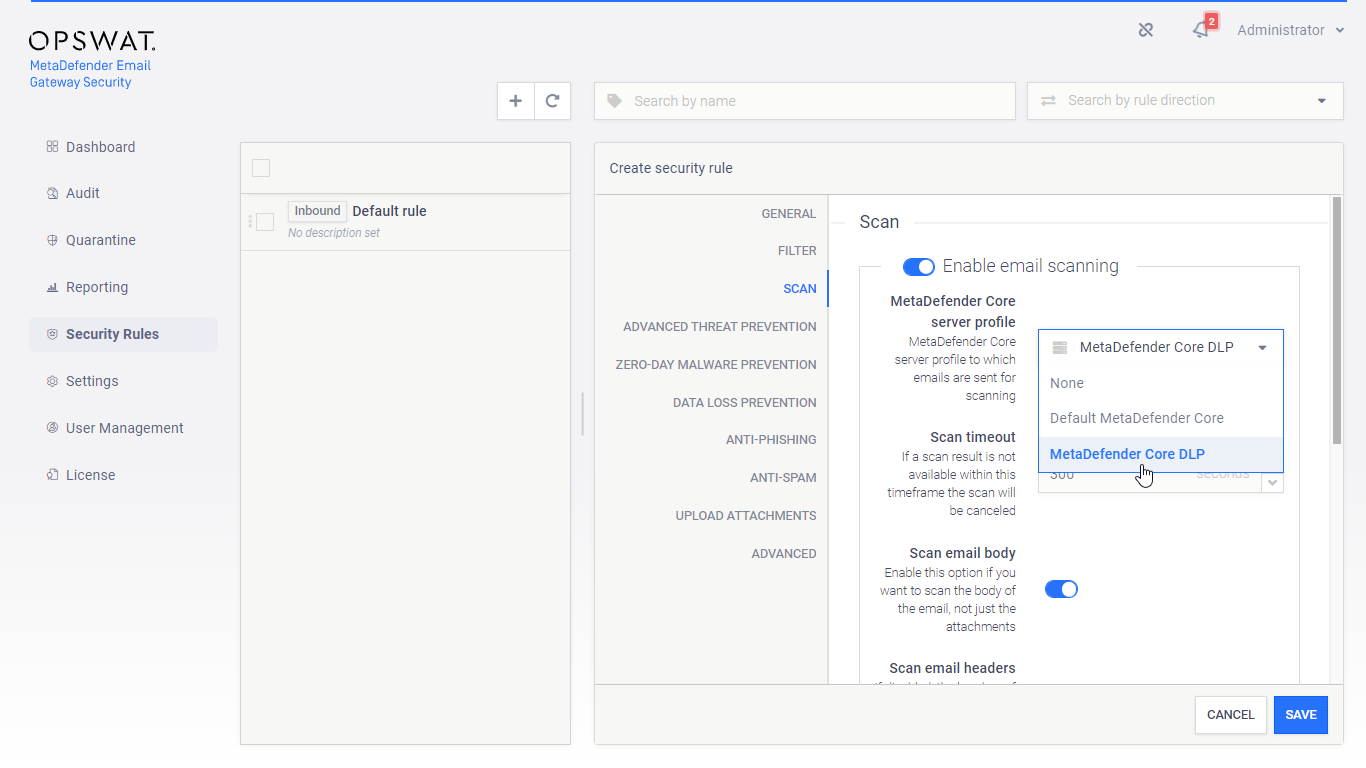
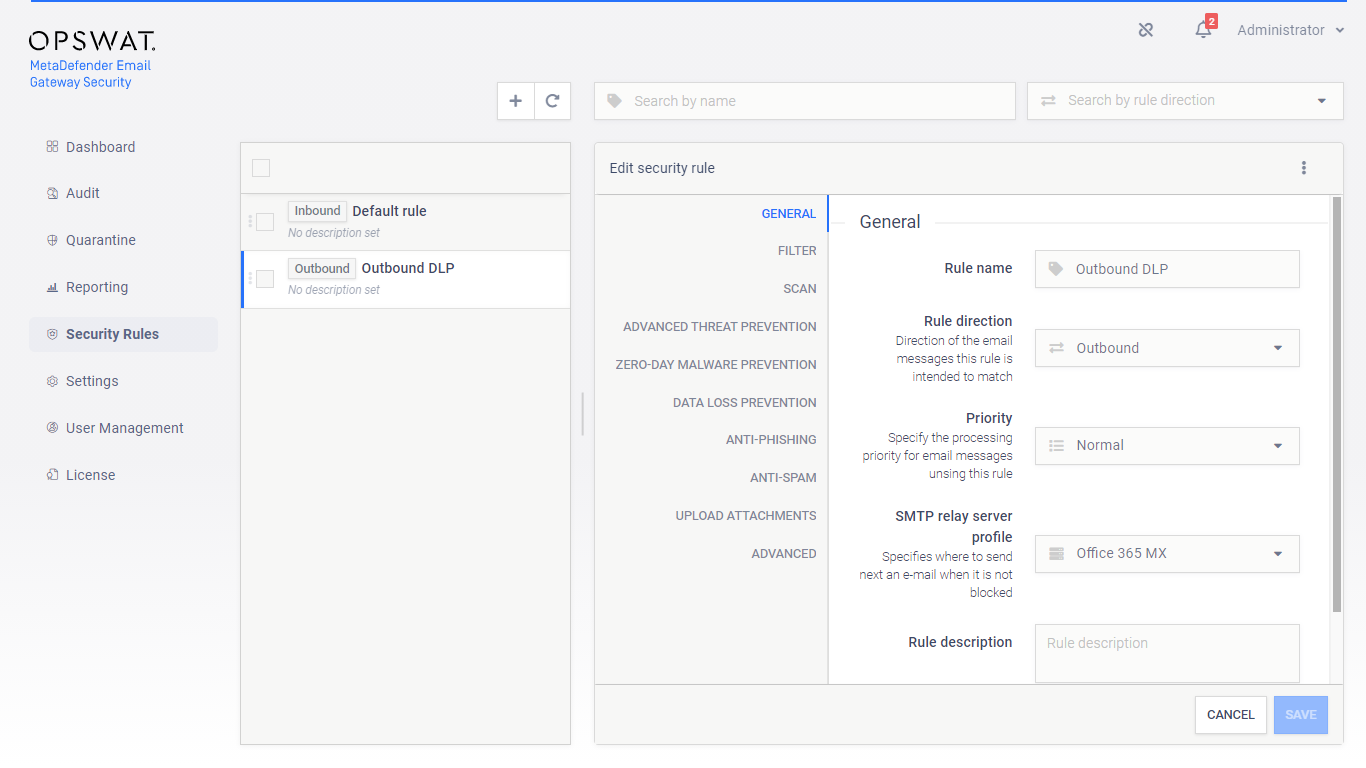
Create a Security Rule that will use the server profile created in the previous step
-
Configure this rule as Outbound
-
Set the rule filters to match outbound email in your organization and save the rule
Rule order
With proper order of the rules we only need to define filters for the inbound email only.
All email that does not match the filters of the inbound rule will fall back to the outbound rule.
Office 365 setup
Overview
We will create a hook in Office 365 email flow to forward emails to Email Gateway Security for processing.
We will create a transport rule to forward emails to Email Gateway Security through an outbound connector.
Then we will create an inbound rule to configure Office 365 to receive emails back from Email gateway Security.
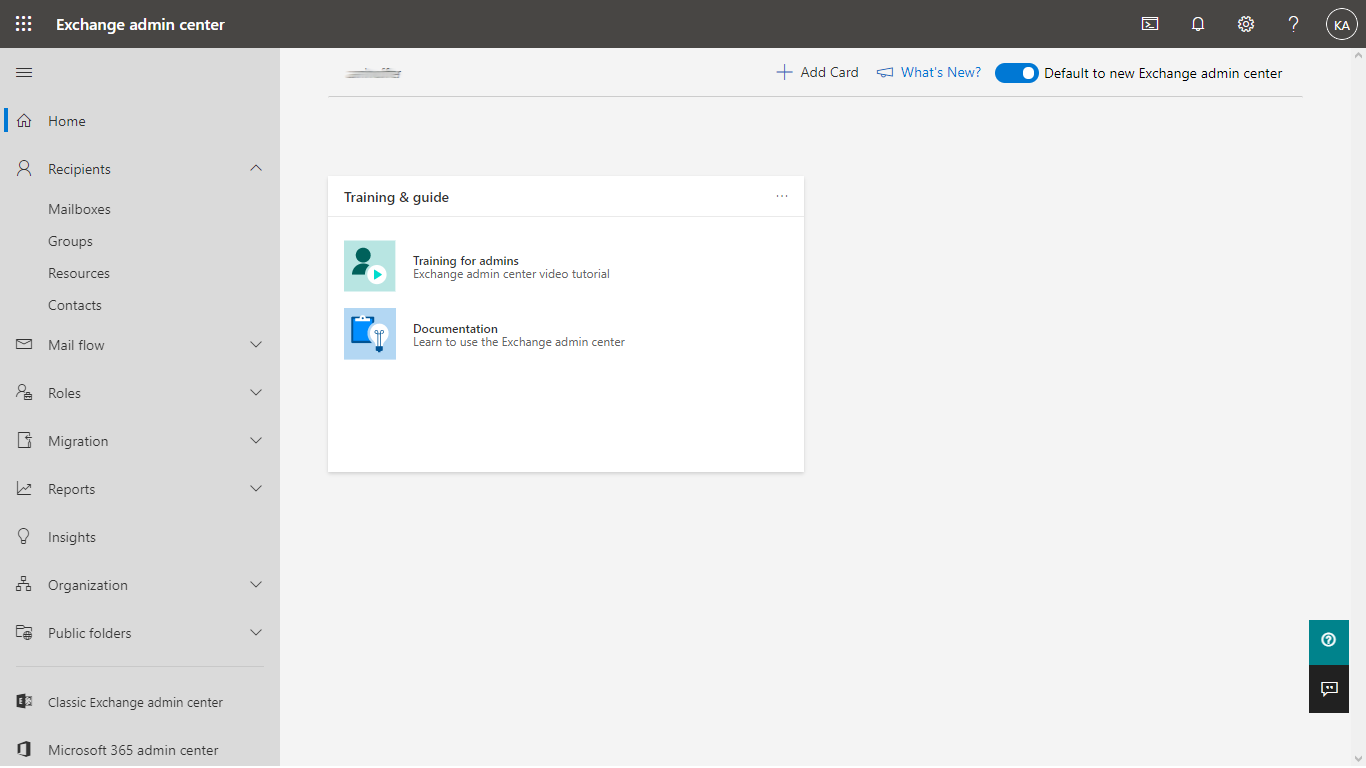
The configuration is done in Exchange admin center available at https://admin.exchange.microsoft.com/.
Connector to Email Gateway Security
Rationale
The connector to Email Gateway Security is required so that Office 365 can forward emails to Email Gateway Security for processing.
Perform the following steps:
-
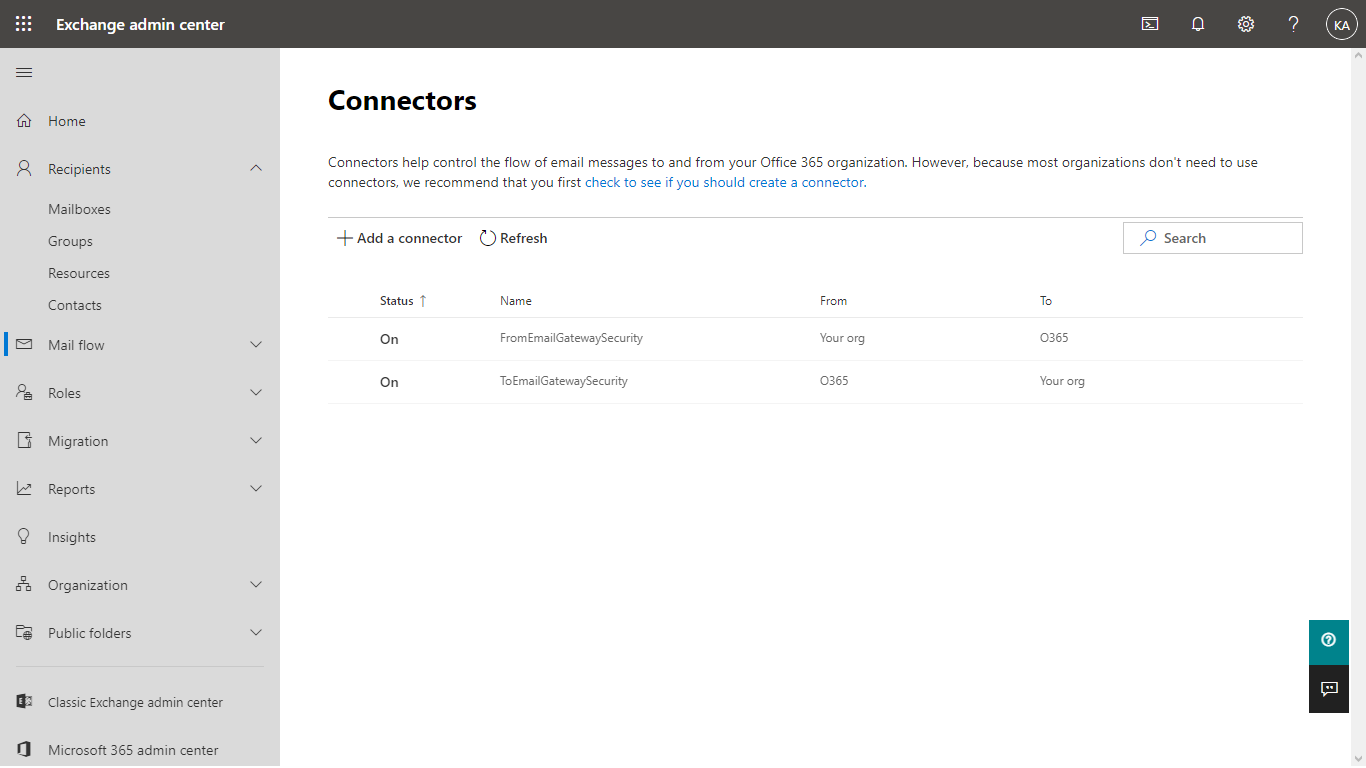
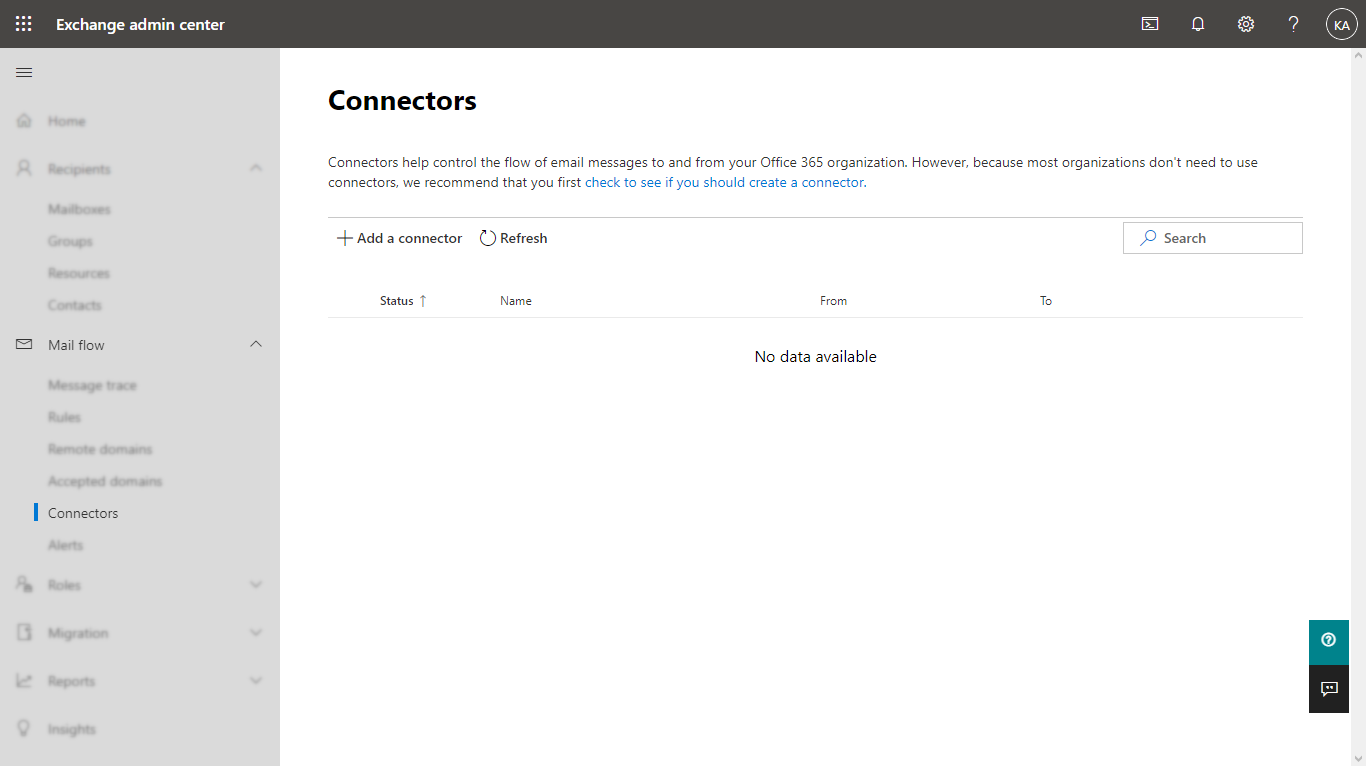
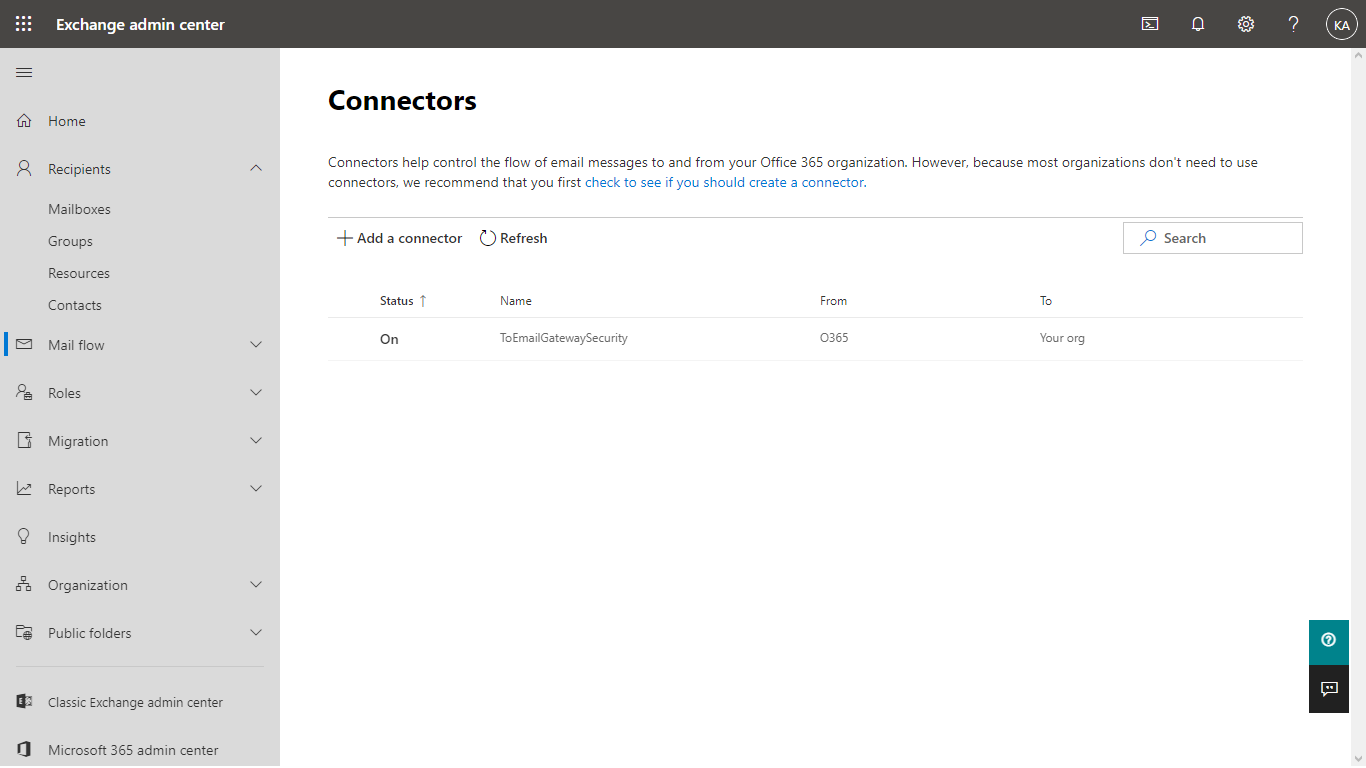
In Exchange admin center go to Mail flow > Connectors
-
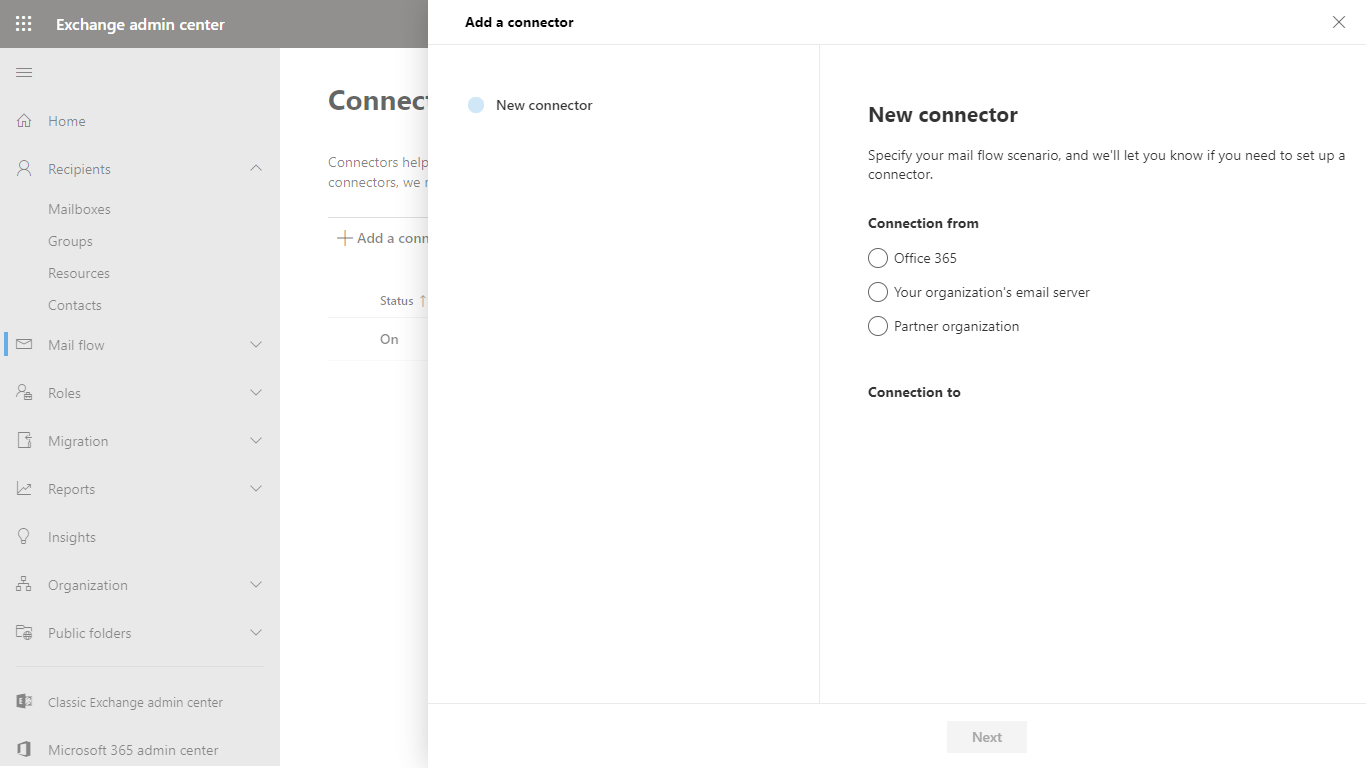
Click Add a connector
-
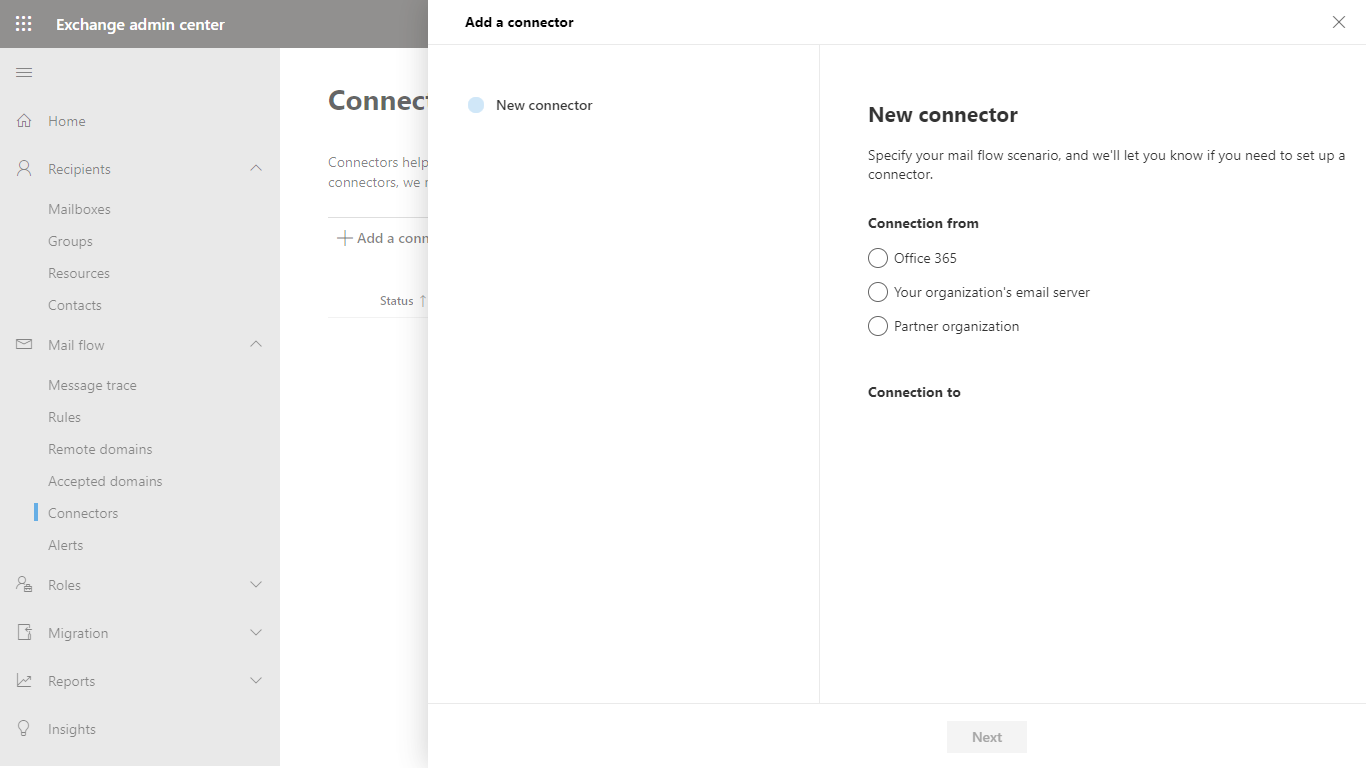
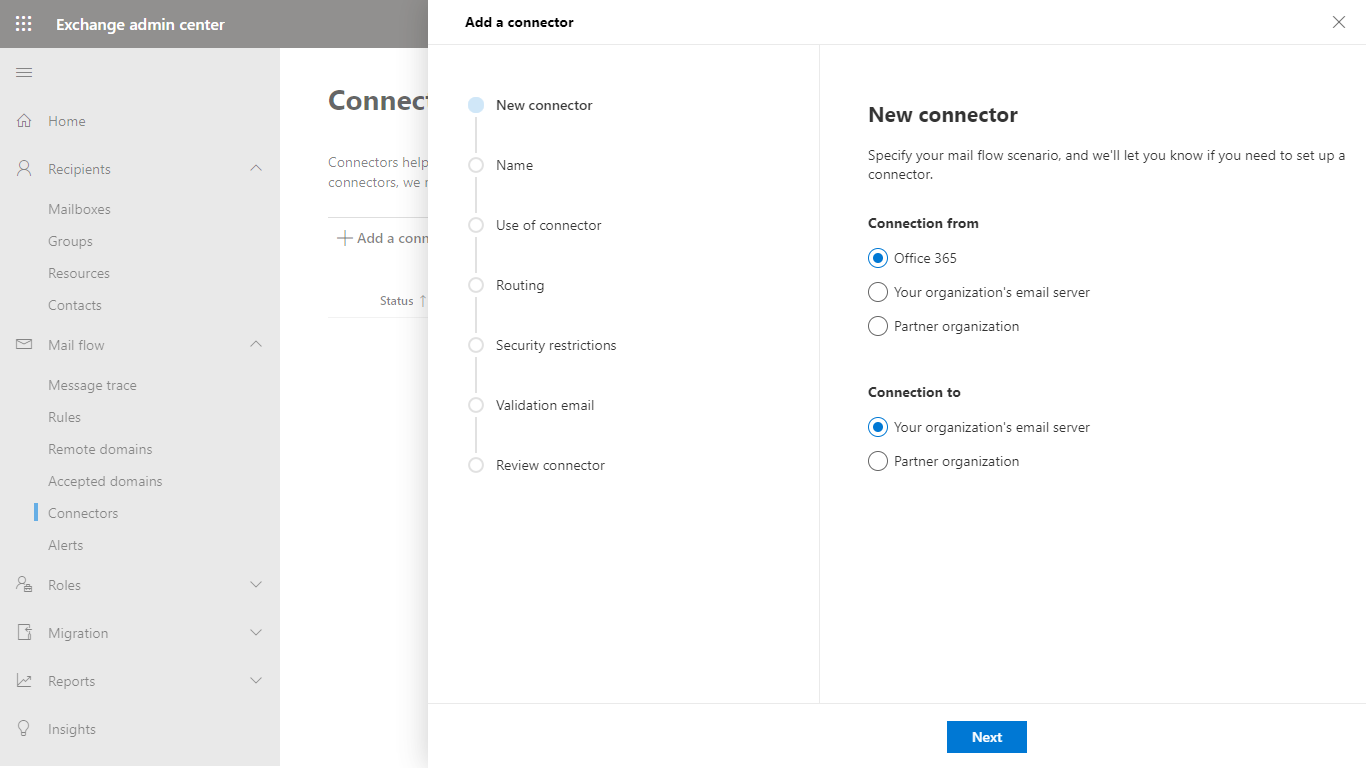
This connector will route email from Office 365 to Email Gateway Security, so in the New connector dialog select:
-
Connection from: Office 365
-
Connection to: Your organization’s email server
-
-
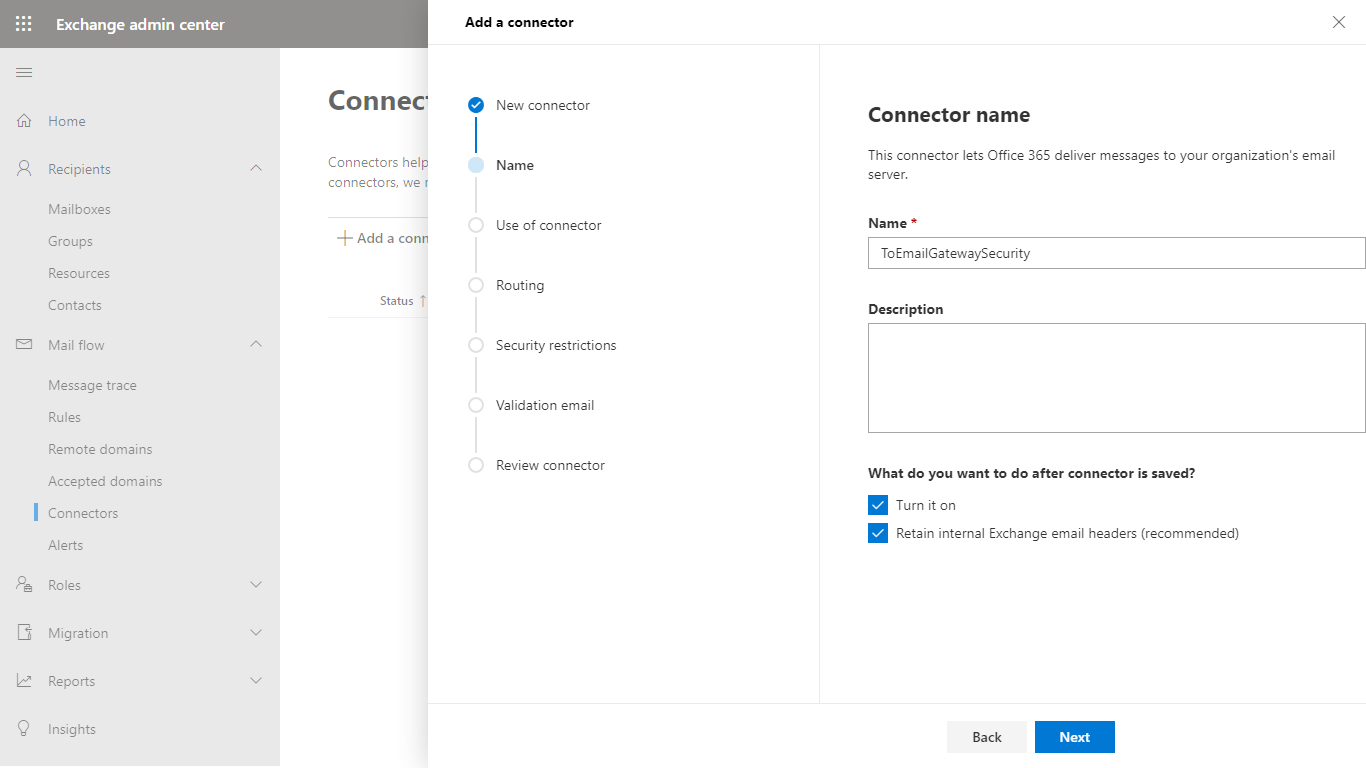
In the Connector name dialog give a descriptive name to the connector and enable Turn it on
-
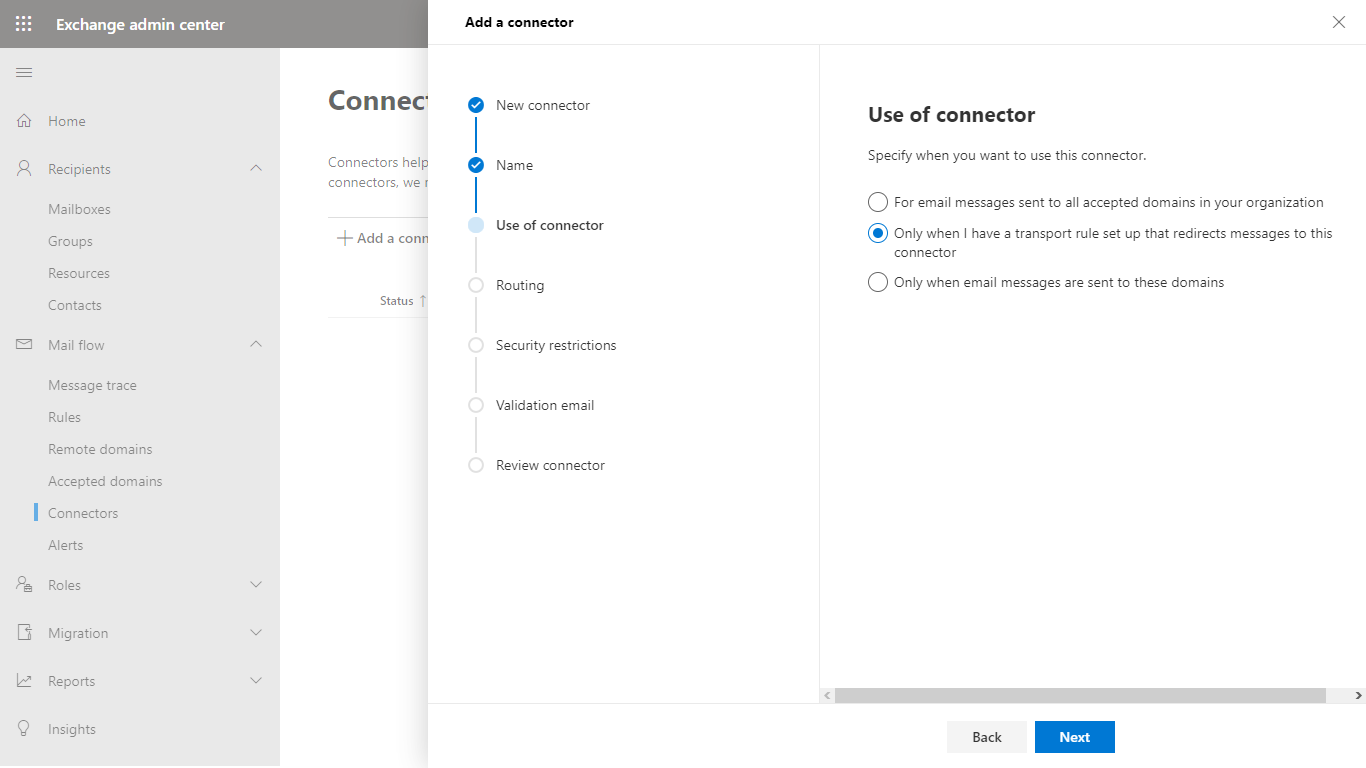
Later we will create a transport rule to redirect messages in certain cases only to Email Gateway Security, so in the Use of connector dialog select Only when I have a transport rule set up that redirects messages to this connector.
-
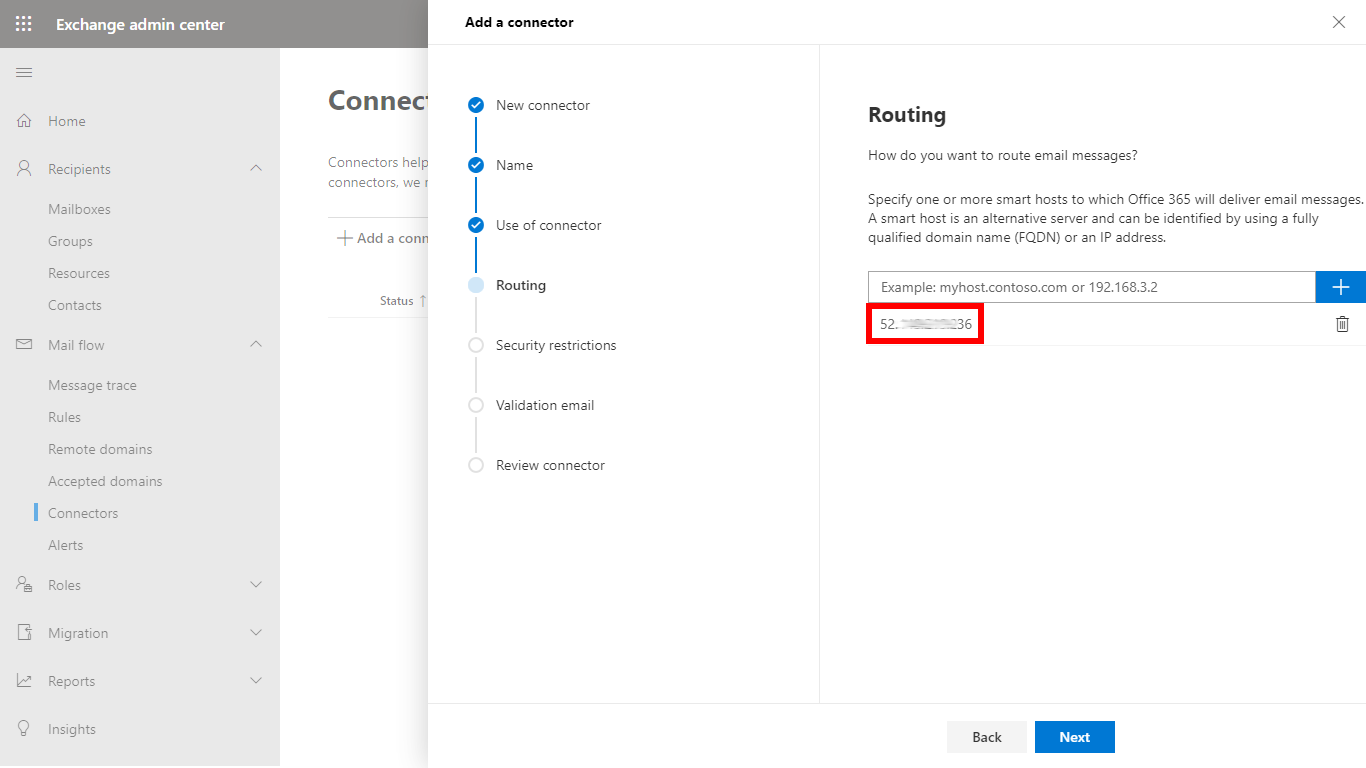
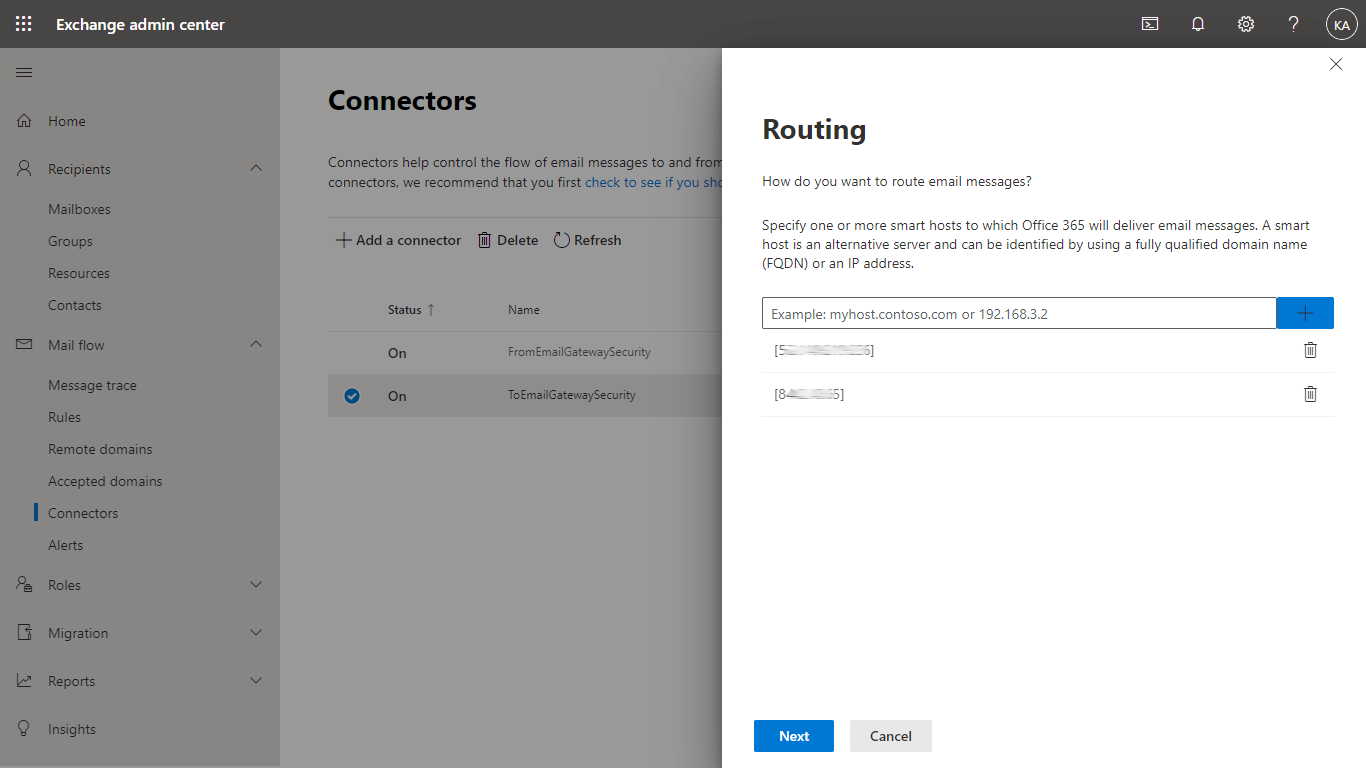
In the Routing dialog specify the address of the Email Gateway Security instance
-
In the Security restrictions dialog apply TLS settings according to your standards
-
In the Validation email dialog validate the connector

-
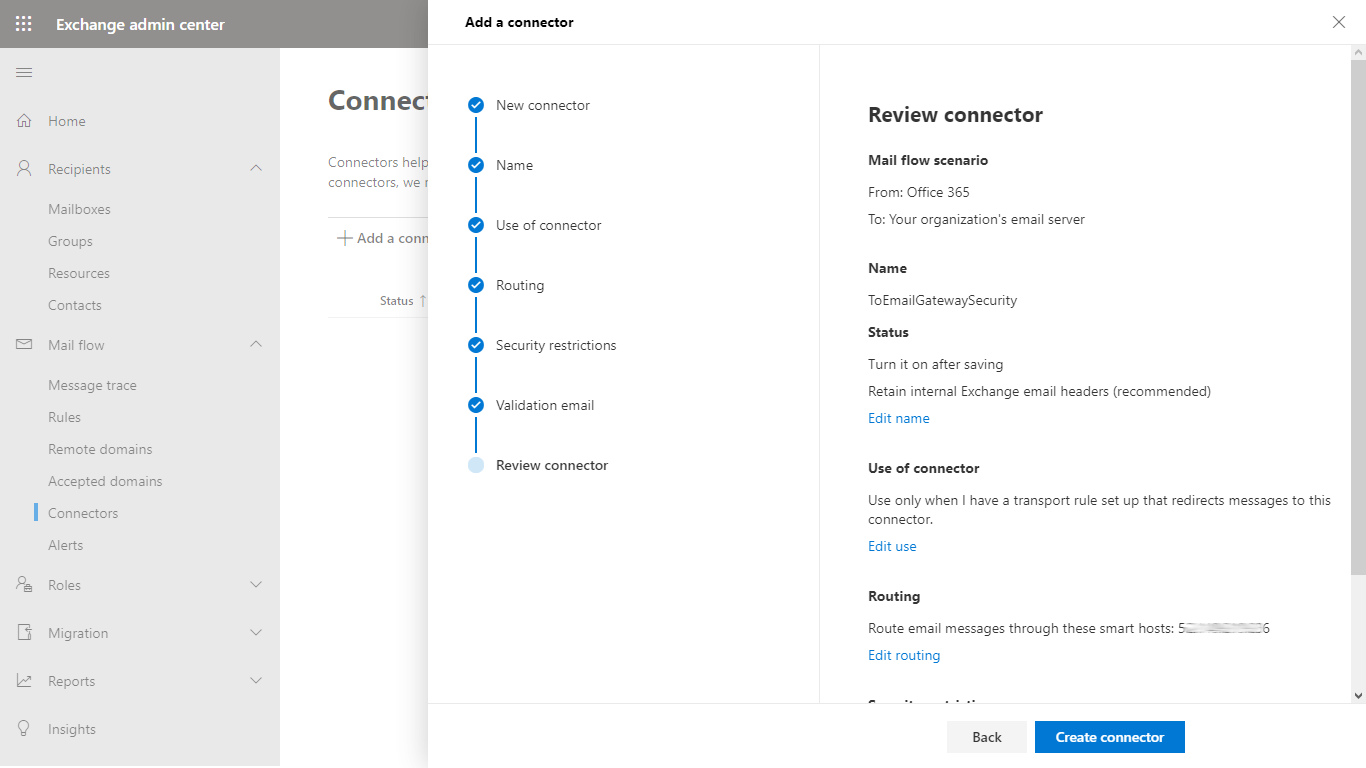
In the Review connector dialog click Create connector to save the configuration
-
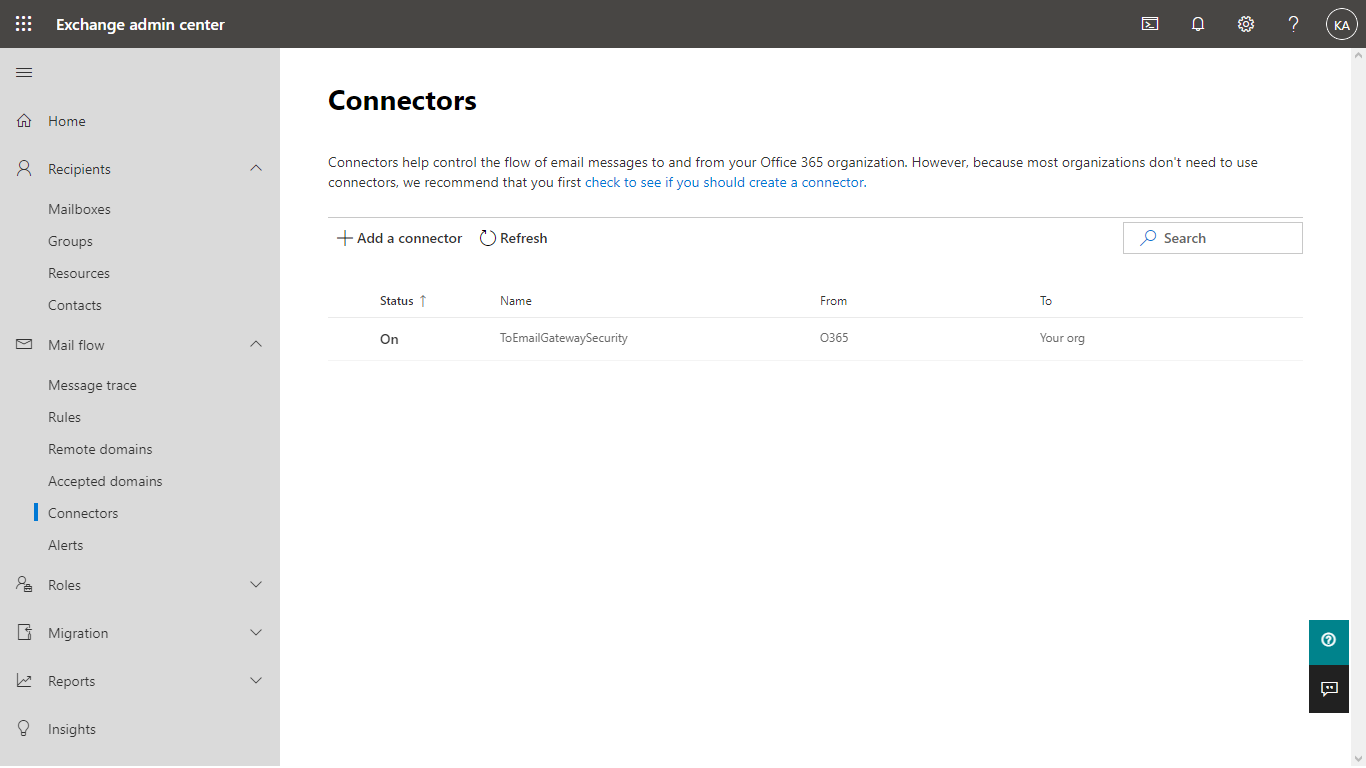
The new connector must appear in the list of connectors. The outbound connector is now ready to route emails.
High availability and load balancing of multiple Email Gateway Security instances
When multiple Email Gateway Security instances are available to process emails in Office 365, then all these Email Gateway Security instances can be specified in the Routing dialog, as a list.
In this case, Office 365 - based on its own algorithm - will send the email to only one of these instances.
Office 365 will be able select an Email Gateway Security instance that is functional.
Transport rule to forward to Email Gateway Security
Rationale
The transport rule to forward to Email Gateway Security is required so that Office 365 can forward emails to Email Gateway Security for processing.
Perform the following steps:
-
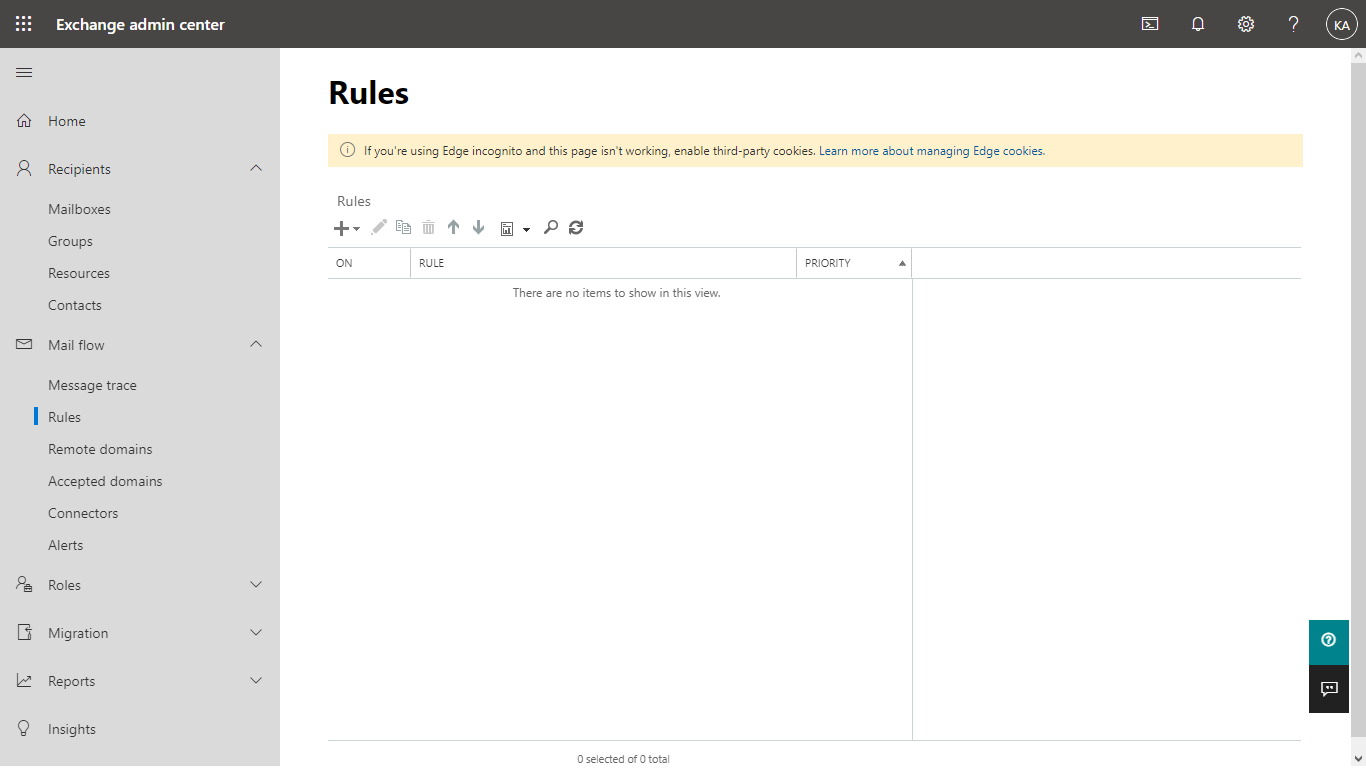
In Exchange admin center go to Mail flow > Rules
-
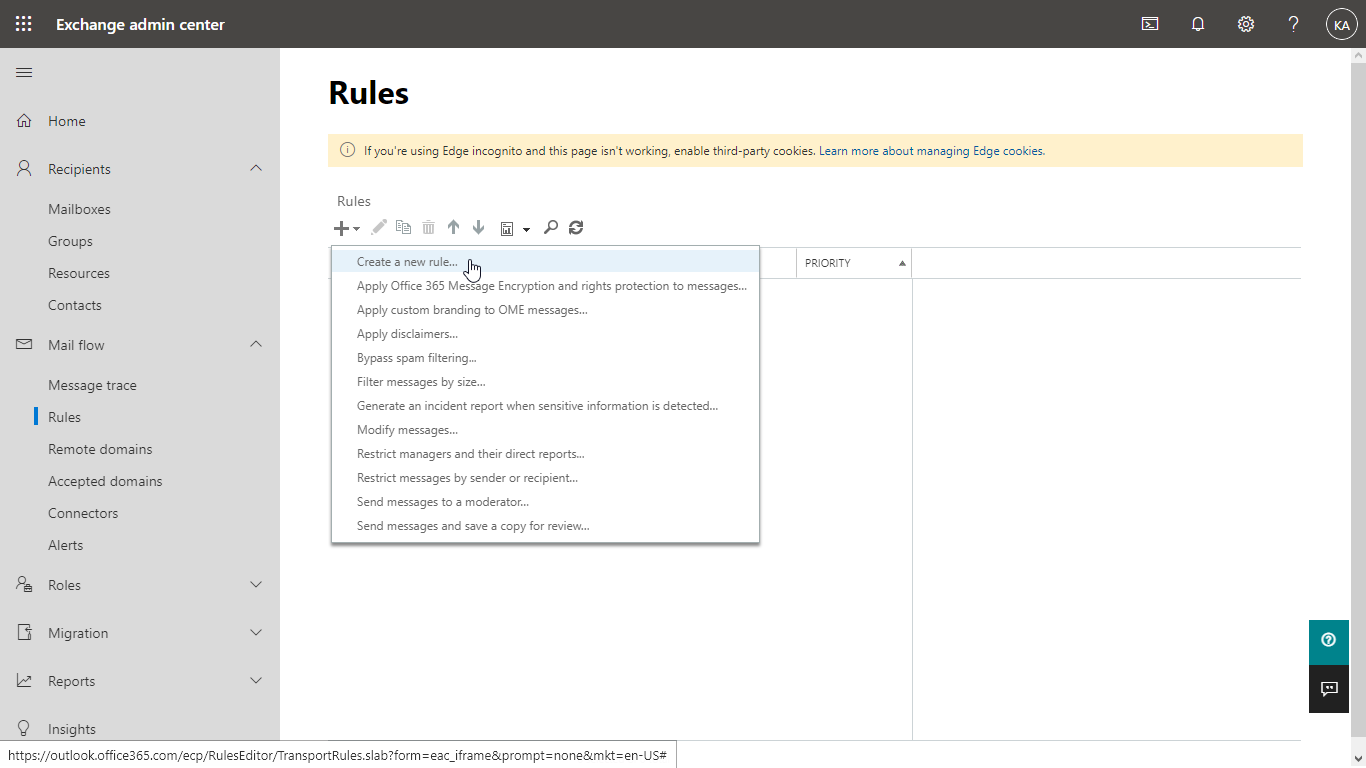
Click + and select Create a new rule to add a new transport rule
-
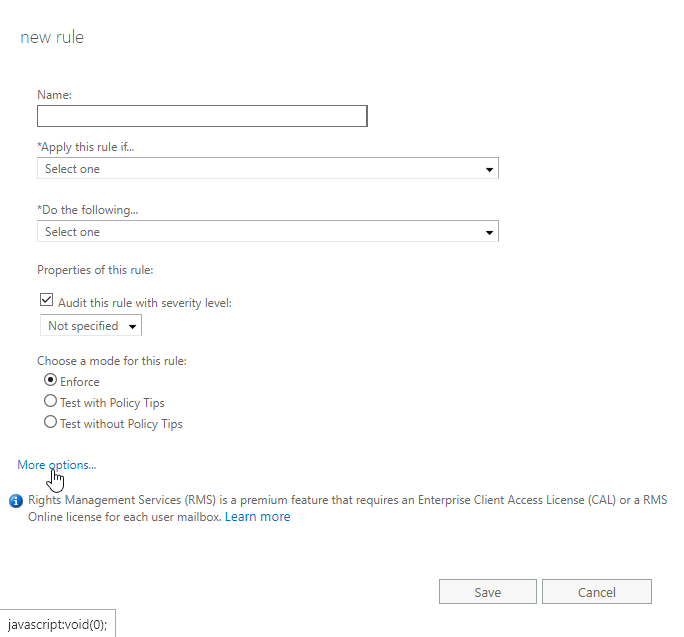
In the new rule dialog click More options…
-
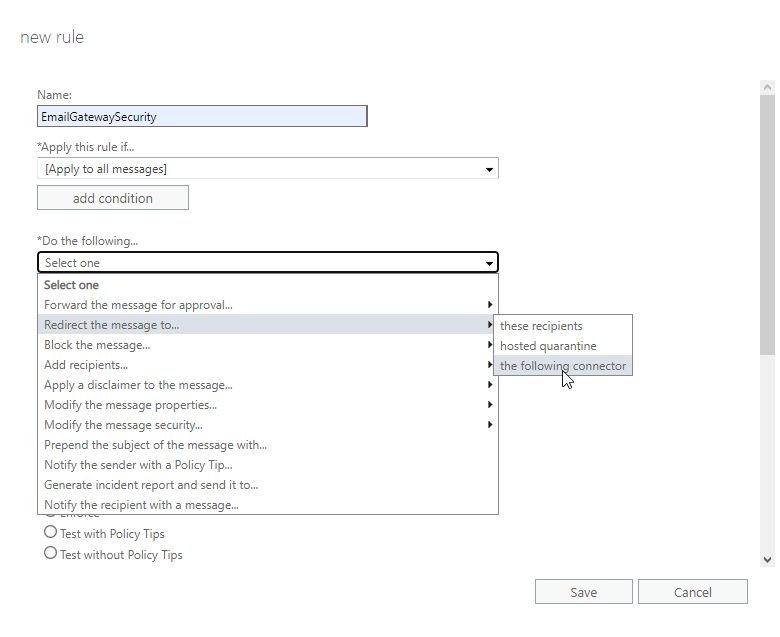
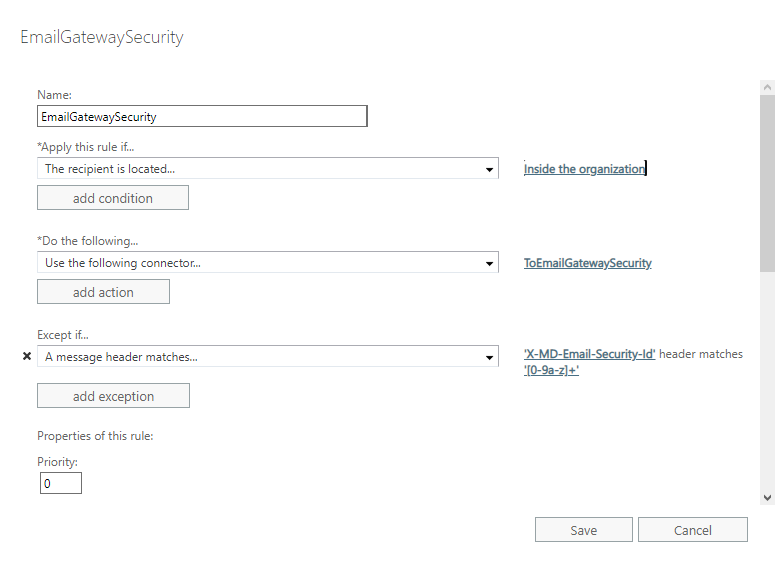
Configure the rule in the following way:
-
Name: give a reasonable name
-
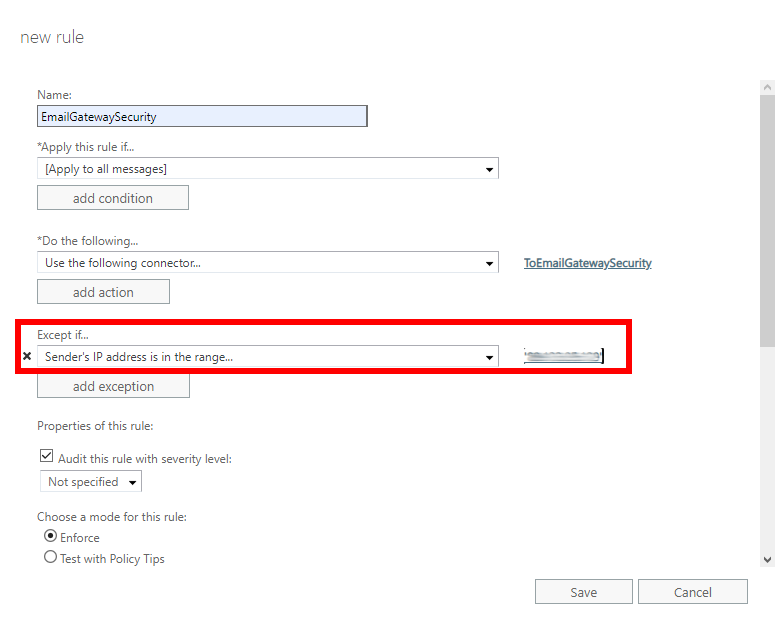
*Apply this rule if…: [Apply to all messages]
-
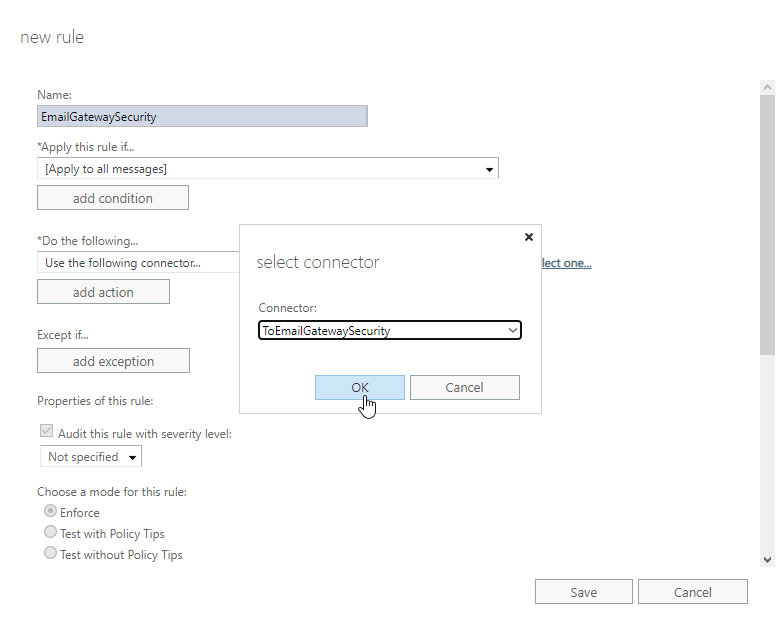
*Do the following…: Use the following connector…: the connector to Email Gateway Security
-
Choose a mode for this rule: Enforce
-
Stay in the new rule dialog and continue with the transport rule exception.
-
Process inbound, outbound and internal email
As the transport rule applies to all email, Email Gateway Security will process inbound, outbound and Exchange internal messages, too.
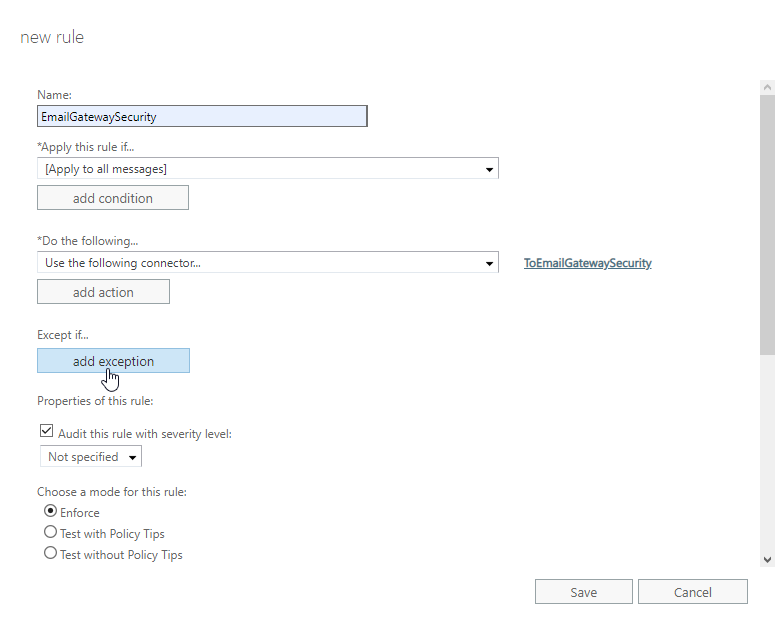
Transport rule exception
The transport rule exception is part of the transport rule. Using this exception we will avoid recursive loops of emails being sent back and forth between Office 365 and Email Gateway Security. Emails that are coming from and that have already been processed by Email Gateway Security won’t be sent to Email Gateway Security again.
Perform the following steps:
-
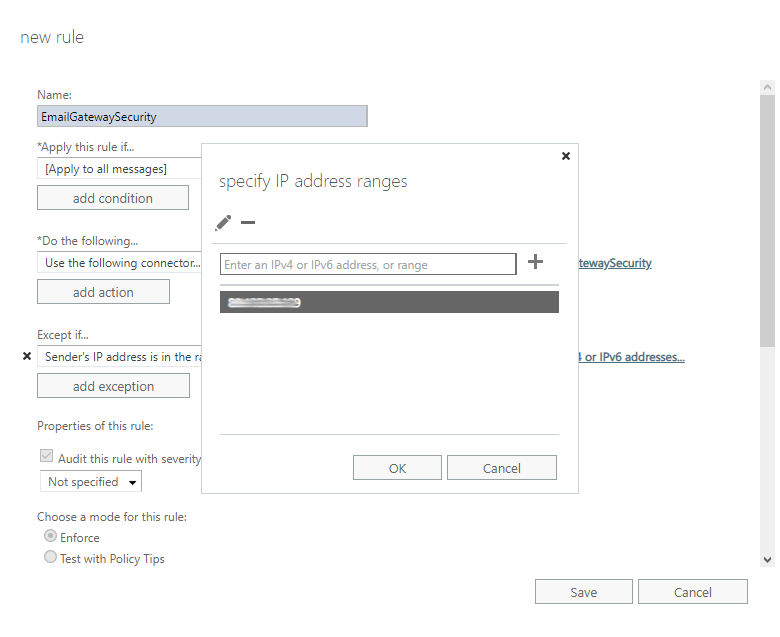
In the new rule dialog click add exception
-
Select The sender… > IP address is in any of these ranges or exactly matches
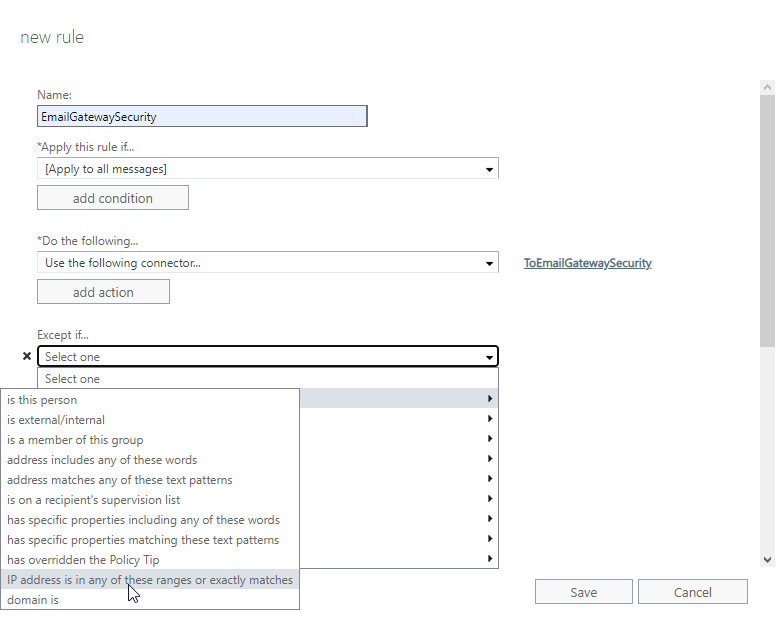
-
Specify the IP address of Email Gateway Security. This way emails coming from Email Gateway Security won’t be sent there back again and again.
-
Save the rule. It will show up in the list of rules.

Customizing what emails to send to Email Gateway Security
As the transport rule was configured to apply to all email, using this rule all email will be sent to Email Gateway Security for processing.
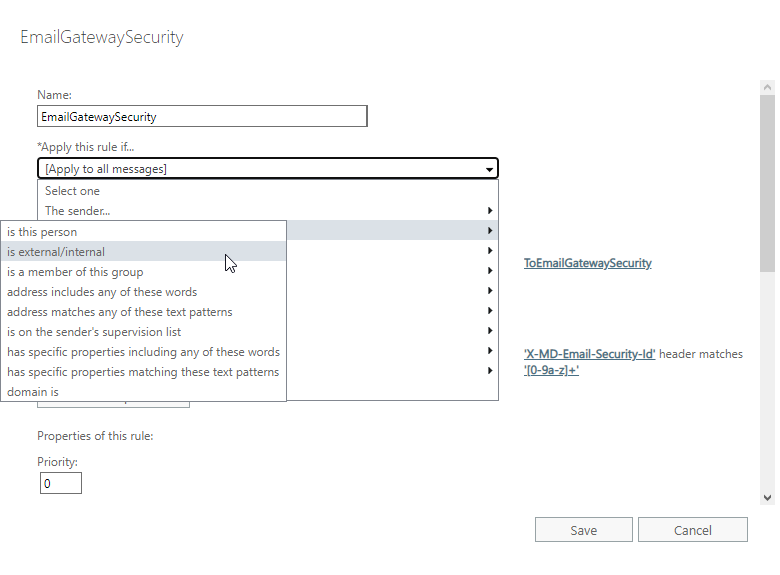
In certain cases not all email is desired to be processed by Email Gateway Security. In these cases the range of emails to be forwarded can be configured setting *Apply this rule if… accordingly.
Example
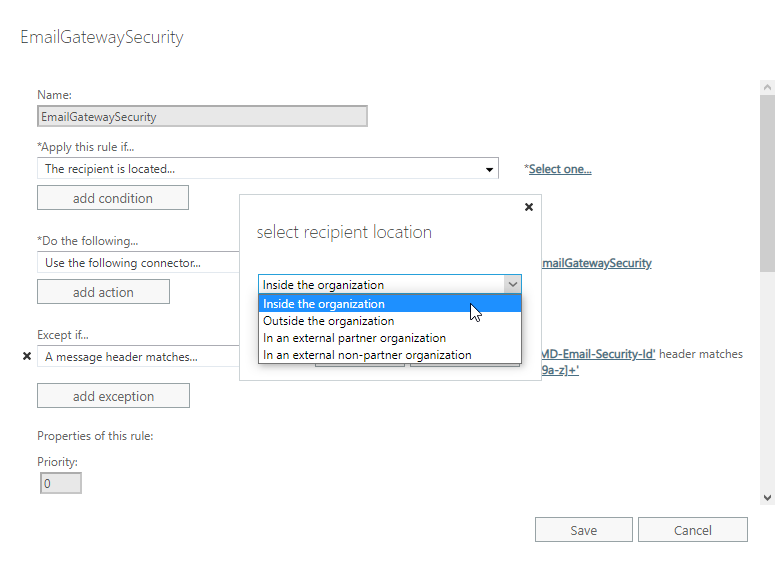
Let us assume, that at an organization only inbound email needs to be processed by Email Gateway Security.
We can easily achieve this by setting *Apply this rule if… to The recipient is located… Inside the organization.
Connector from Email Gateway Security
Rationale
The connector from Email Gateway Security is required so that Office 365 can receive emails from Email Gateway Security in a normal way.
Without this inbound connector Office 365 may reject emails or put them to the Junk email folder.
Perform the following steps:
-
In Exchange admin center go to Mail flow > Connectors (note that the outbound connector previously created is already in the list)
-
Click Add a connector
-
This connector will route email from Email Gateway Security to Office 365, so in the New connector dialog select:
-
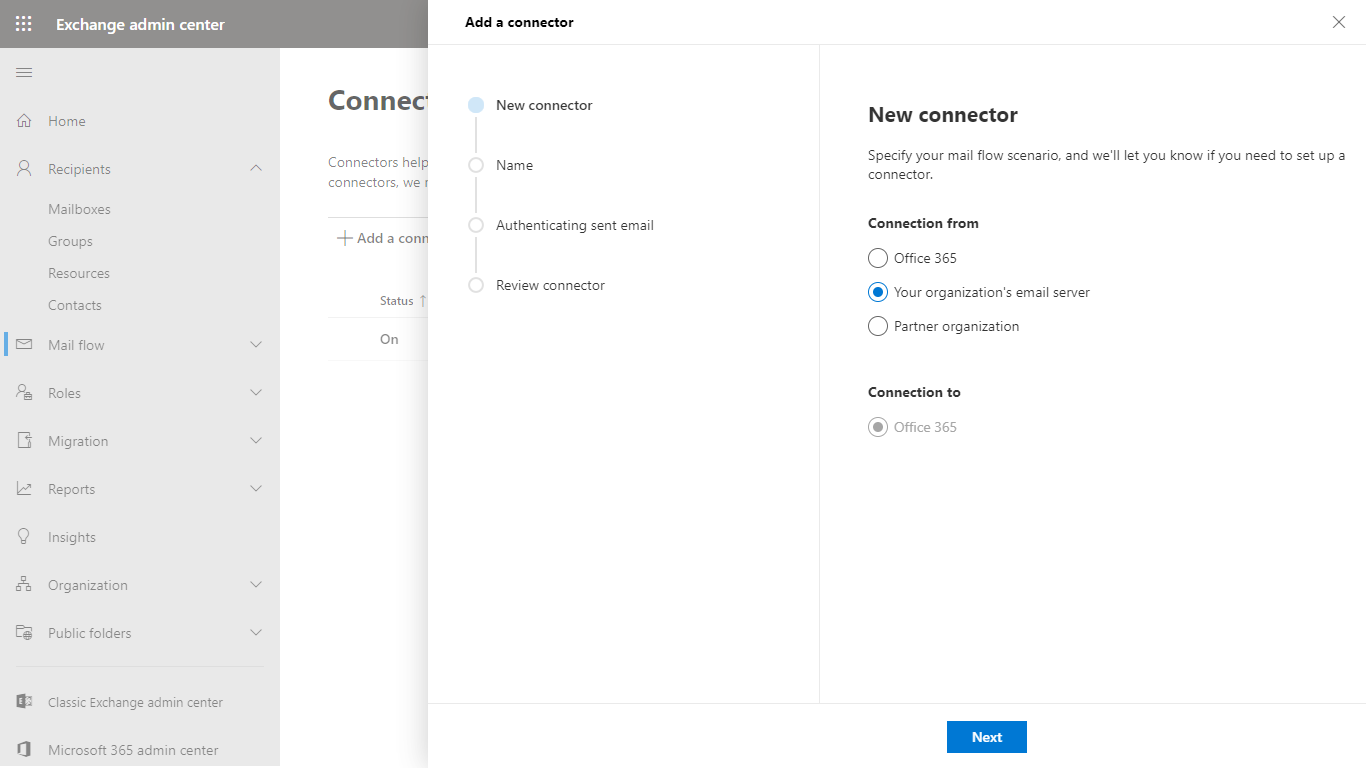
Connection from: Your organization’s email server
-
Connection to: Office 365
-
-
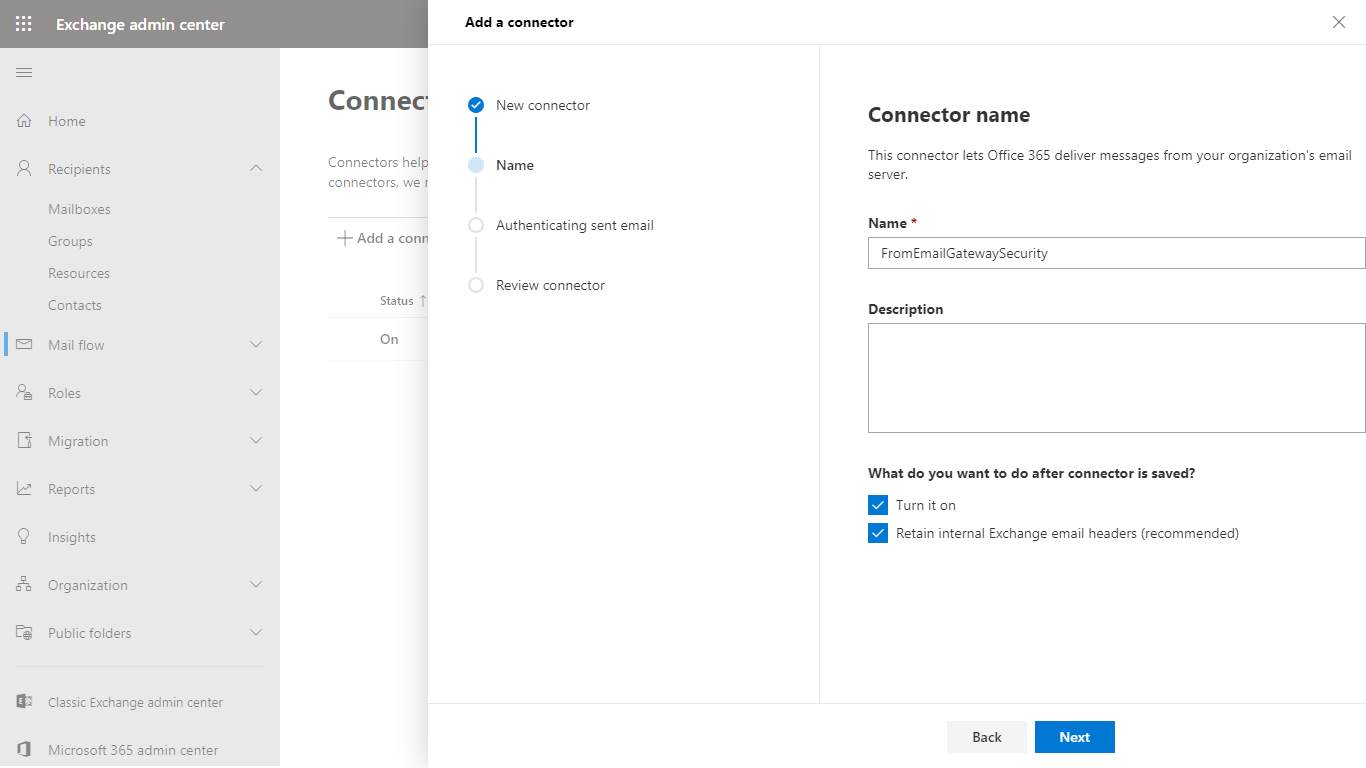
In the Connector name dialog give a descriptive name to the connector and enable Turn it on
-
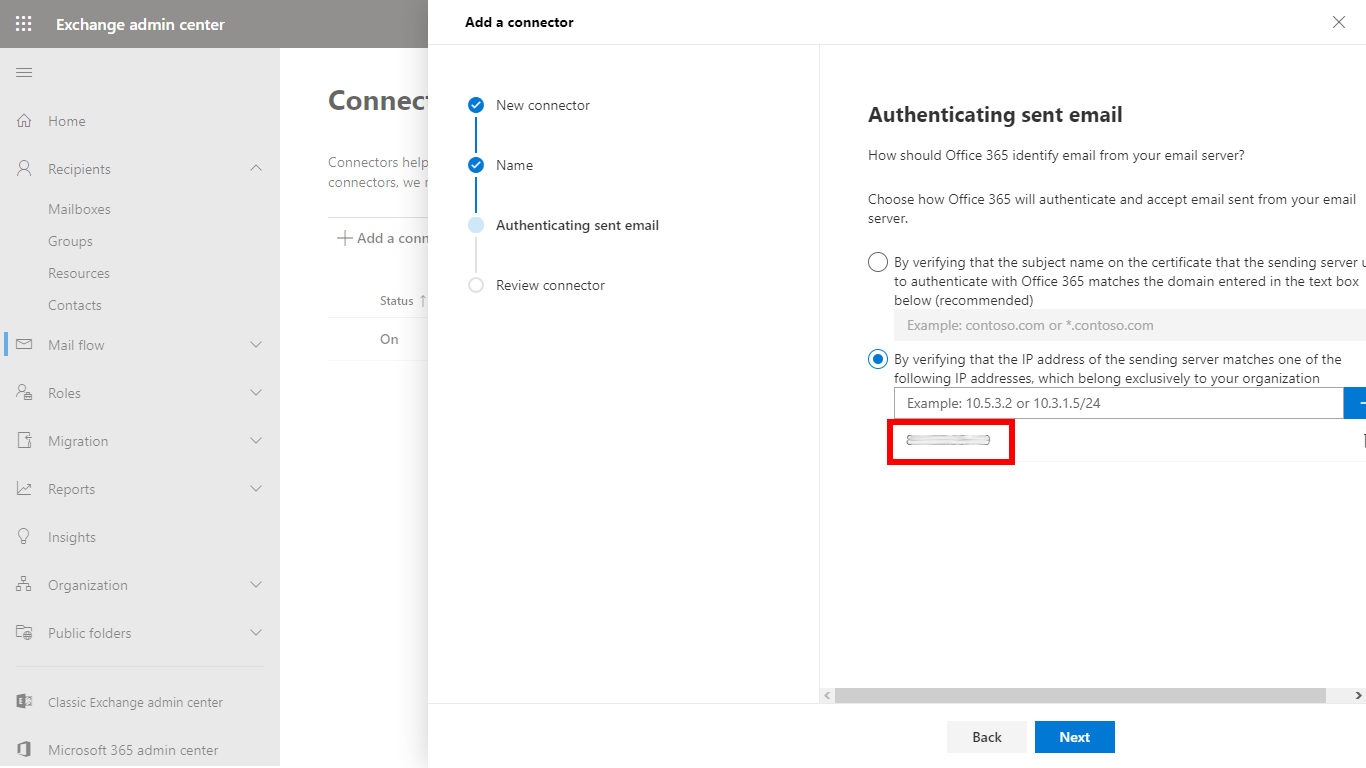
In the Authenticating sent email dialog select By verifying that the IP address of the sending server matches one of the following IP addresses, which belong exclusively to your organization and specify Email Gateway Security’s IP address
-
In the Review connector dialog click Create connector to save the configuration
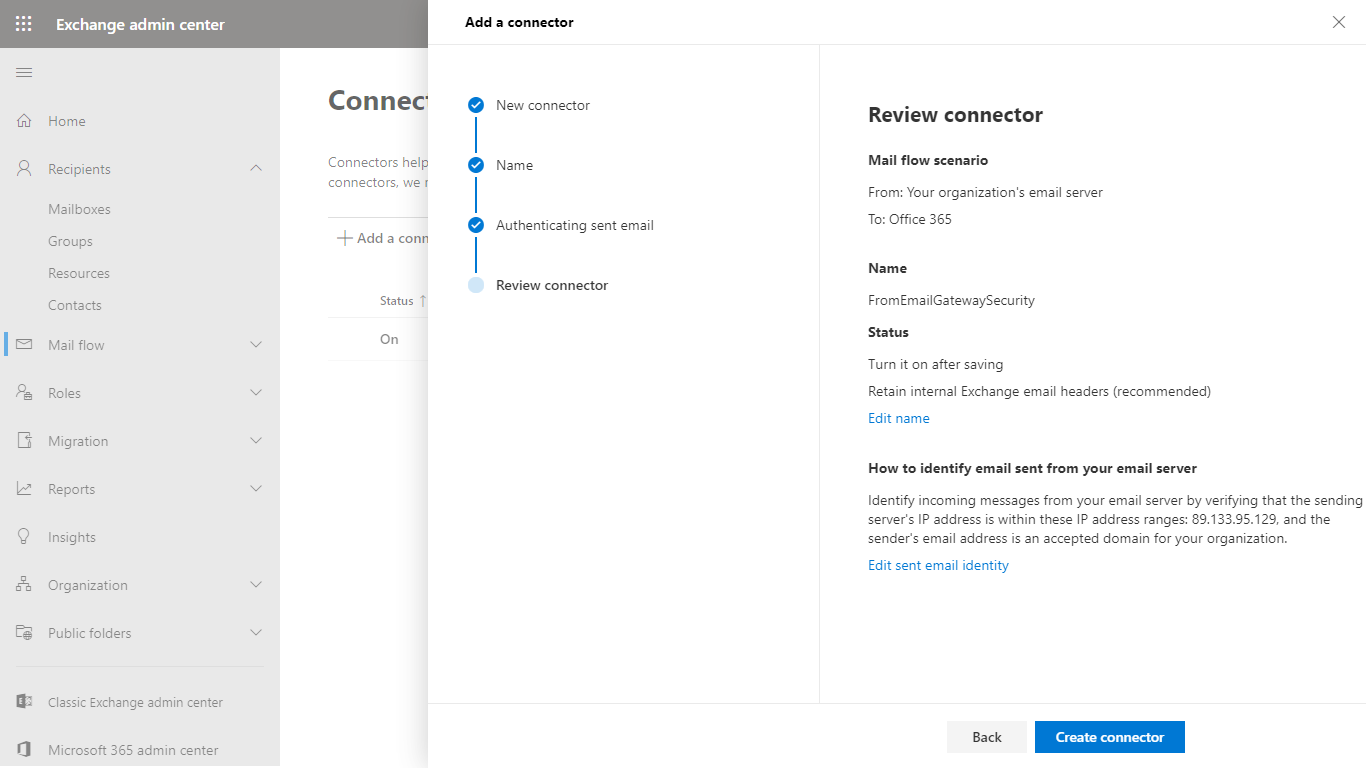
-
The new connector must appear in the list of connectors. The inbound connector is now ready to route emails.