3.4. Wizard
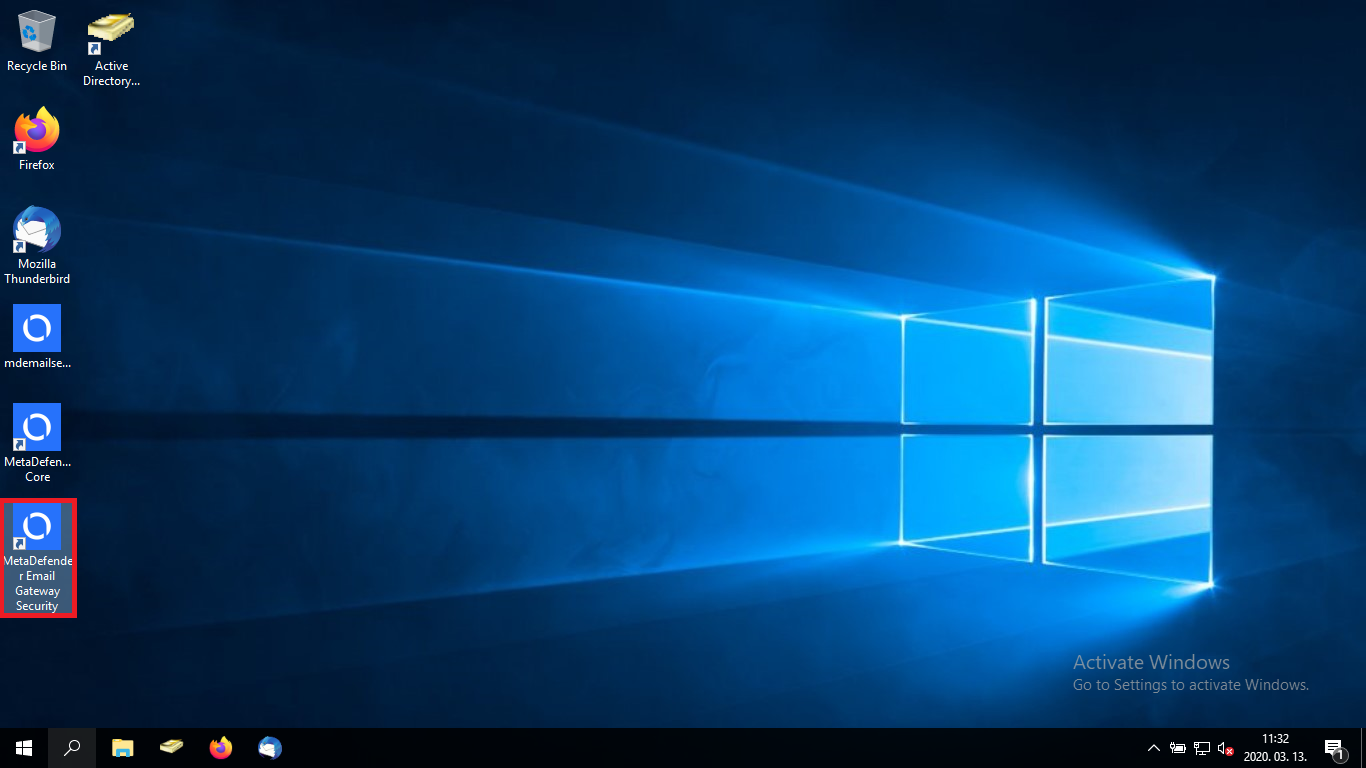
When the installation is complete (for details see 3.3. Installation), MetaDefender Email Gateway Security icon is placed on your desktop.
The configuration wizard will guide you through the most important setup steps to have Email Gateway Security up and running. For a more comprehensive setup see 4. Configuration.
To proceed with the configuration wizard:
-
Double click Email Gateway Security icon on your desktop
-
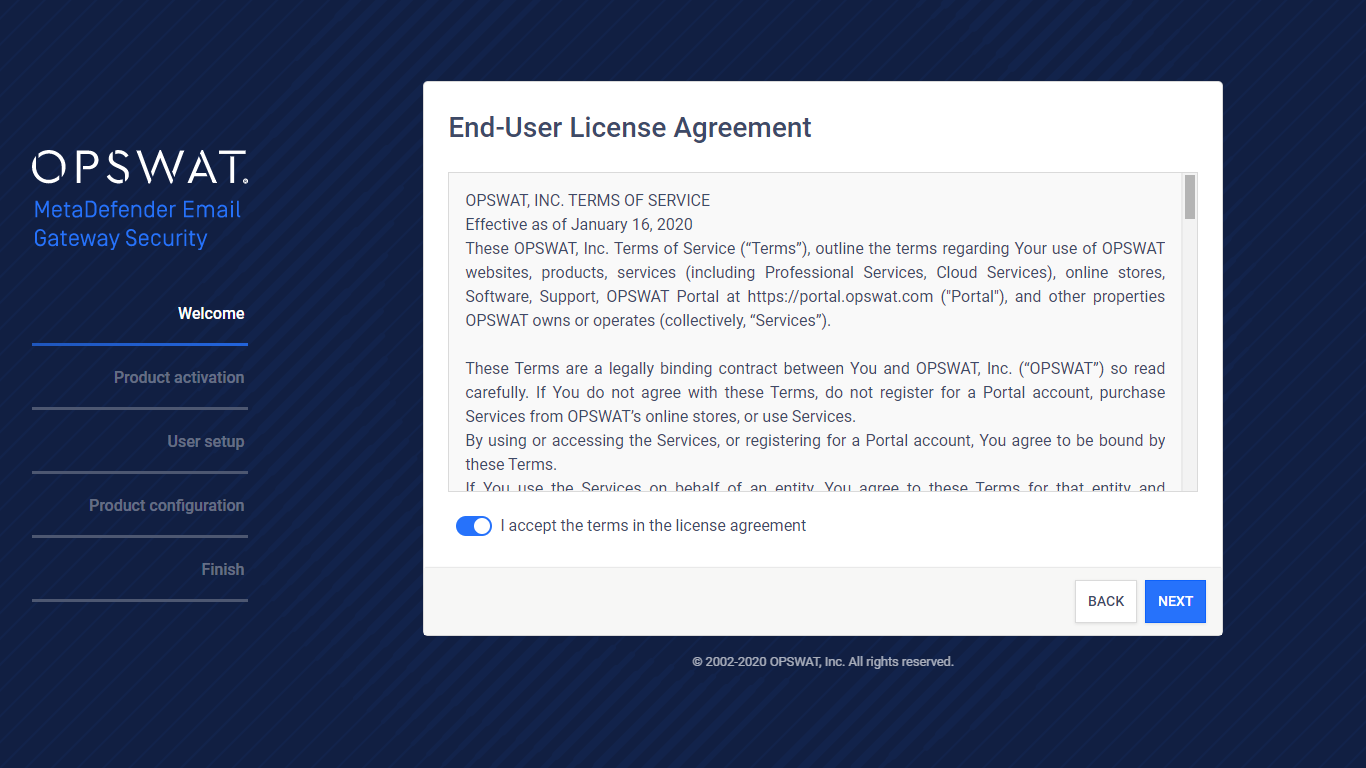
The wizard gets started. The wizard language may be selected on the starting page

-
Accept the terms in the license agreement
-
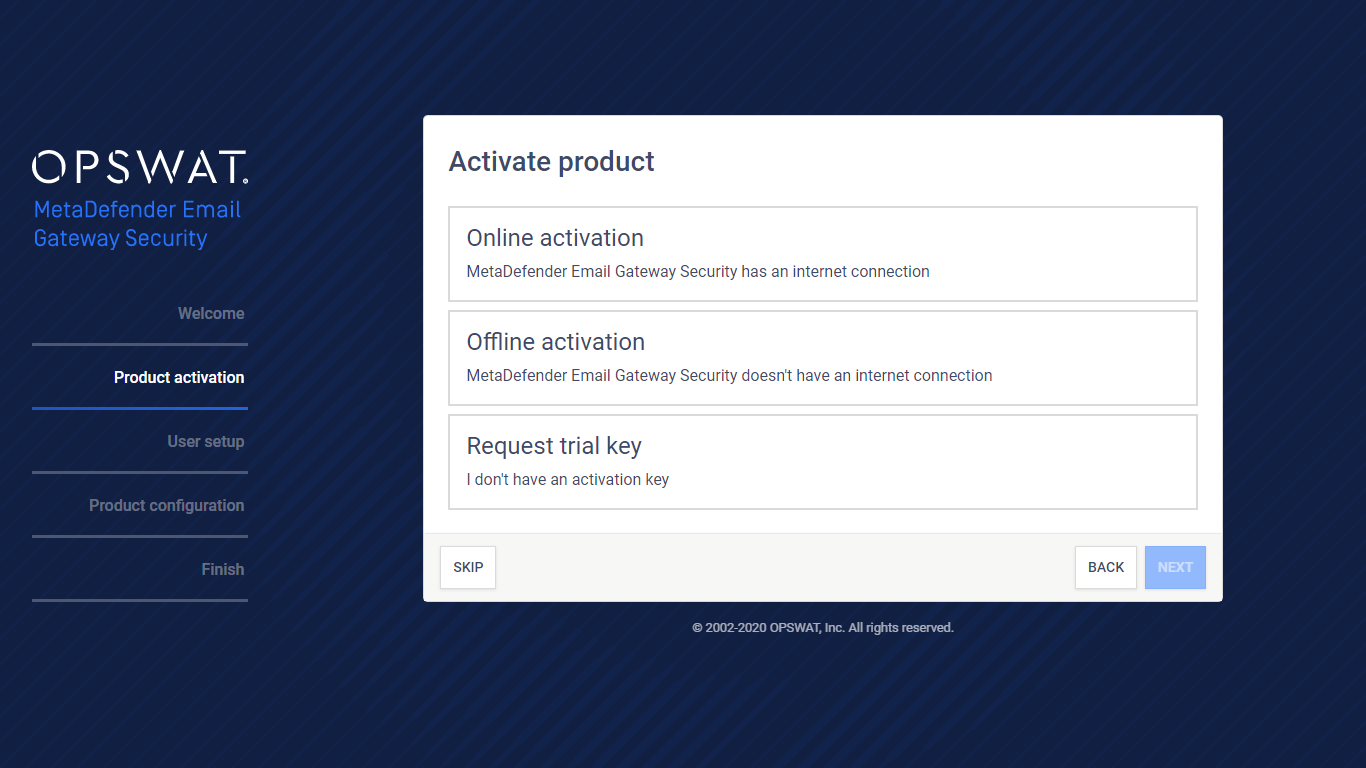
Optionally activate the product (activation may be performed later, for details about activation see 1. Licensing)
-
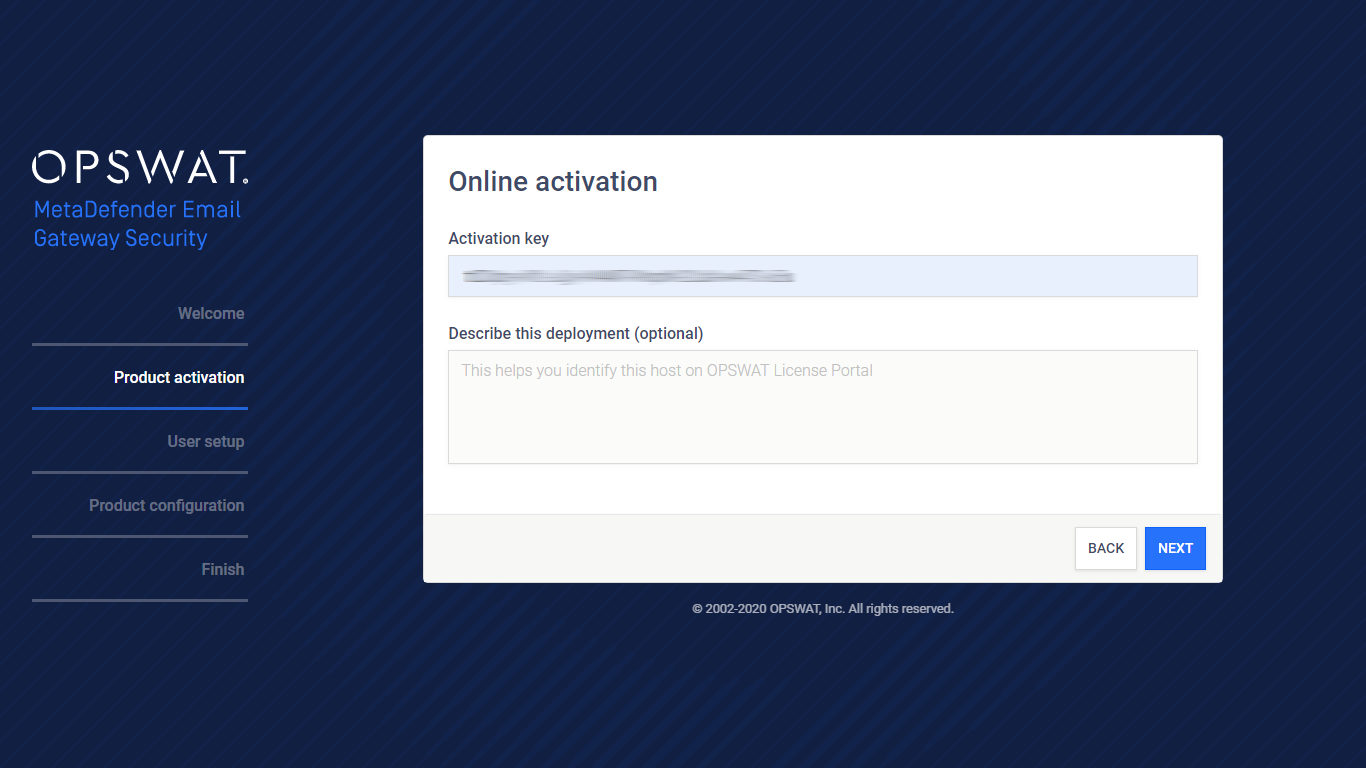
Best is to activate online immediately directly in the wizard
-
-
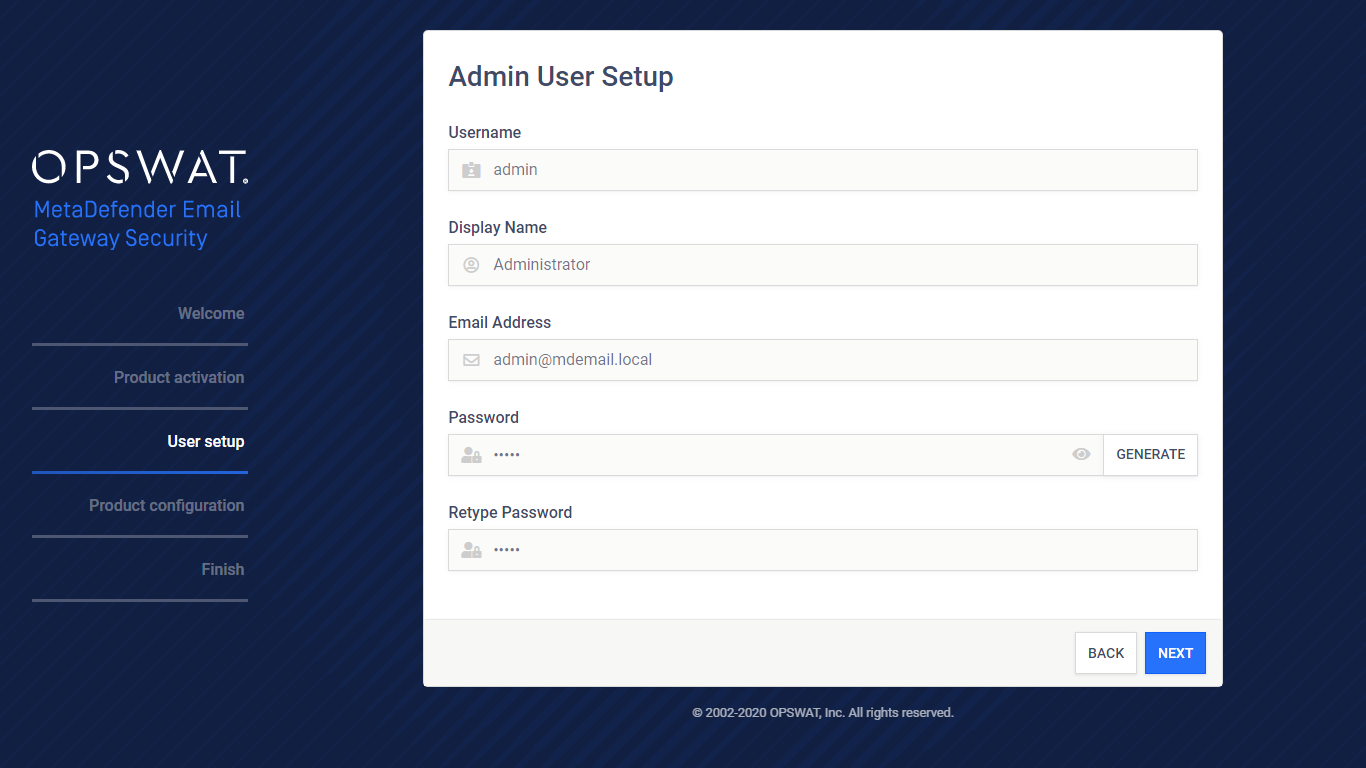
Set up and administrator account. This account will be the only one having access to the system initially.
-
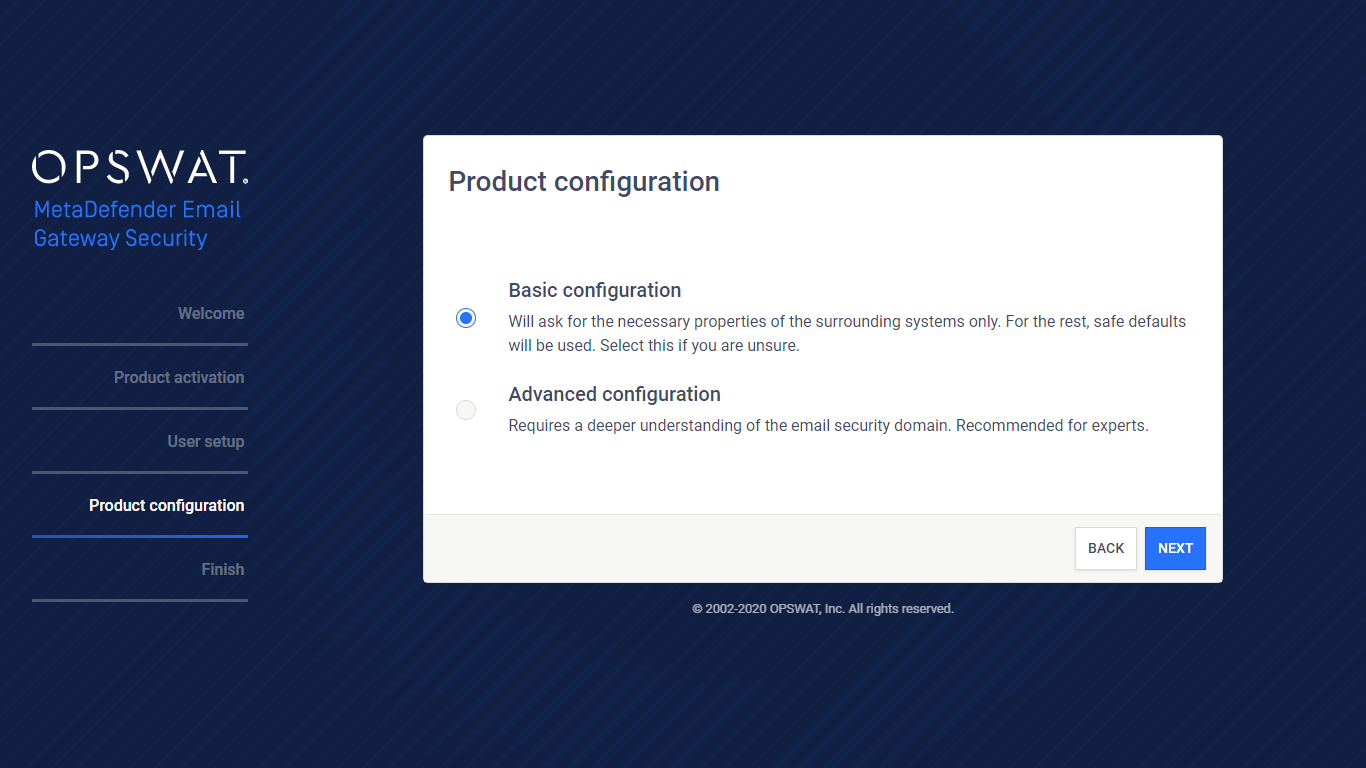
Perform a basic (only the bare necessary settings) or advanced (some more options atop the necessary settings) configuration
-
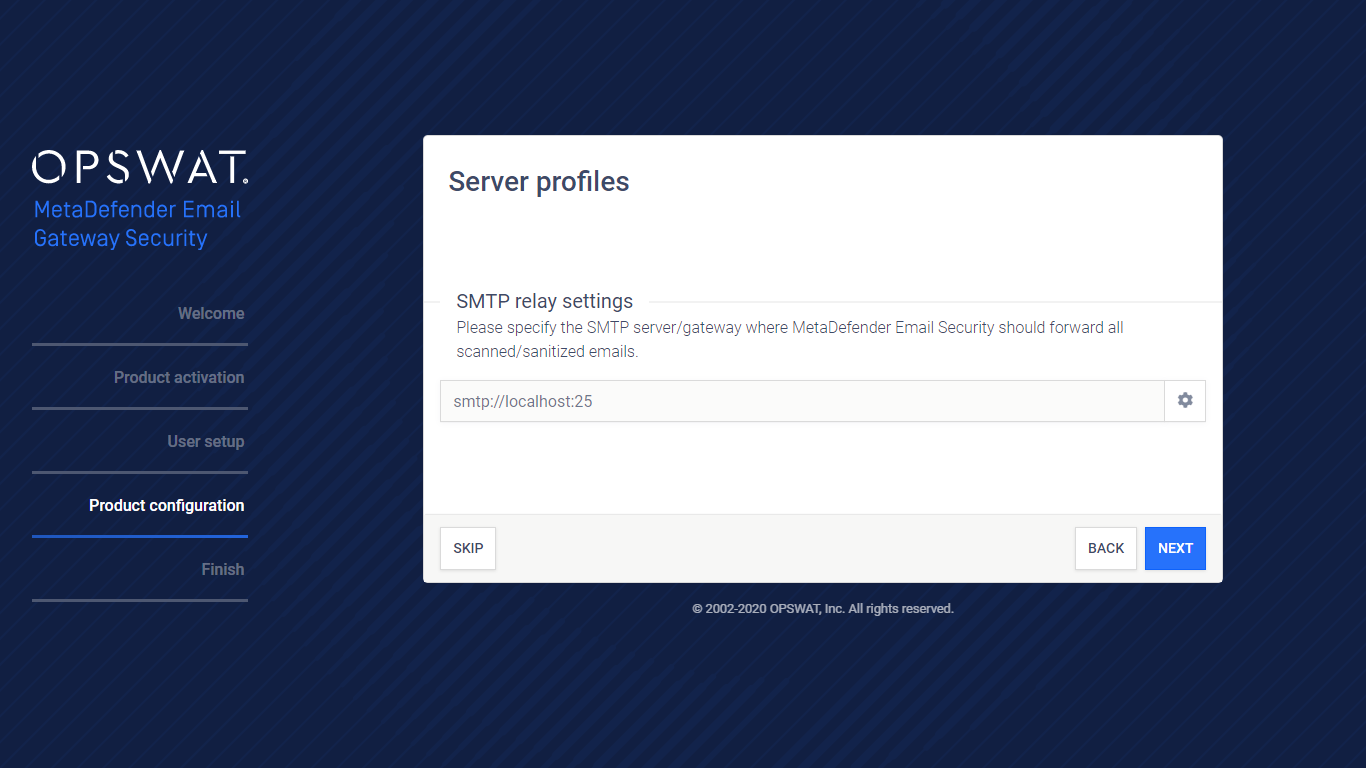
With basic configuration provide the SMTP server URI (mail server or email gateway) where emails will be forwarded after processing on Email Gateway Security
-
With advanced configuration
-
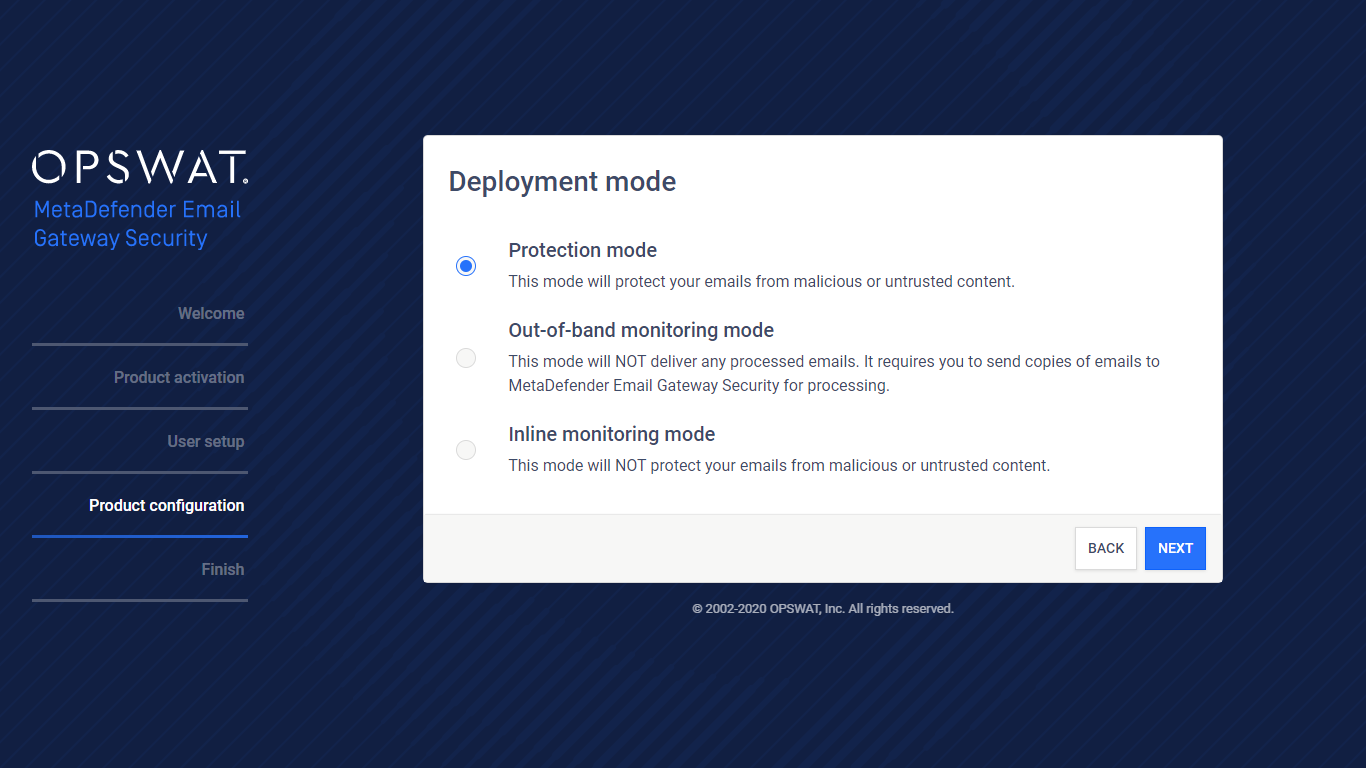
Select deployment mode (for details see 2. Evaluation)
-
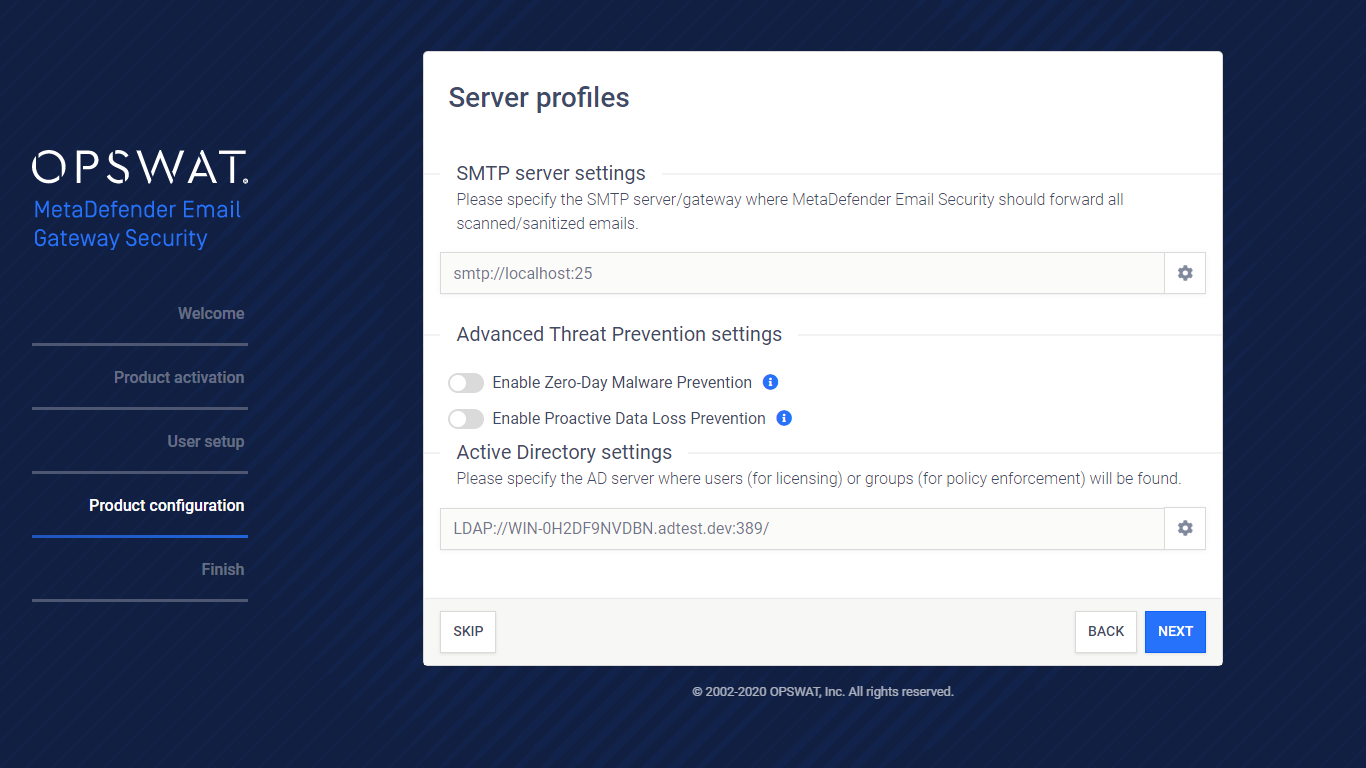
Configure server profiles (for details see 4.6. Server profiles):
-
Provide the SMTP server URI (mail server or email gateway) where emails will be forwarded after processing on Email Gateway Security
-
Enable or disable Zero-Day Malware Prevention (for details see 4.4. Policy)
-
Enable or disable Proactive Data Loss Prevention (for details see 4.4. Policy)
-
Provide the Active Directory server where users for licensing and groups for policy enforcement will be found
-
-
-
After the wizard has been completed, Email Gateway Security needs to be inserted into the email flow to do email processing (for details see 3.5. Insertion).
Further reading
For further setup possibilities see 4. Configuration.