Configuring Outgoing Threat Protection
In order to install and configure Metadefender Email outgoing threat protection, you must first install Metadefender Email and then configure the routing of the outgoing threat protection, verify the routing settings, and then connect your mail server to Metadefender Email.

Installation
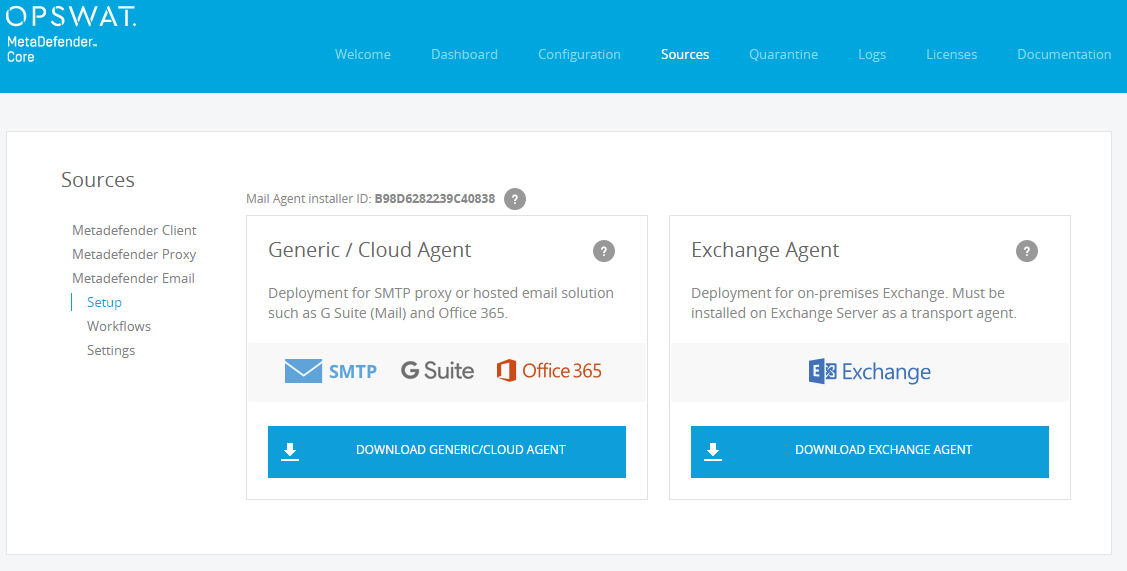
Generate Metadefender Email installer package from Metadefender Core Management console. "Source">"Metadefender Email" > "Setup" page, choose "Generic / Cloud Agent". Download the Metadefender Email installer, copy it to where you want to install it, and follow the installation wizard to finish installation.
If you get Metadefender Email installer from OPSWAT portal or another source other than the Metadefender Core server you want it to process with, run the installation by opening a command prompt and type the following command:
MetadefenderEmailAgent.exe METASCANAPIKEY=<Mail Agent installer ID> METASCANURL=http://<Metadefender Core IP address>:8008/metascan_rest [ENTER]Notes:
-
Replace <Mail Agent installer ID> with the ID shown on Metadefender Core management console source page under Email setup sectionNote:
-
Replace <Metadefender Core IP address> with the IP address or hostname of the machine where you have installed Metadefender Core.
-
Metadefender Email will automatically detect if Exchange Server is installed or not and install the appropriate edition (Proxy/Exchange)
Configure Routing & Connect to E-mail gateway
In this section, you will connect Metadefender Email to your mail server.
-
Open the Metadefender Core Management Console.
-
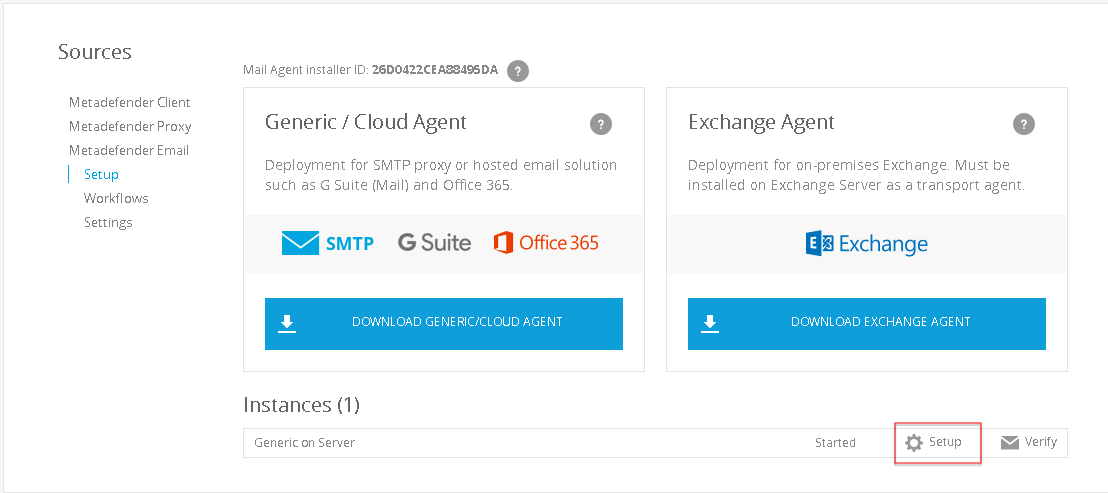
Select Sources > Metadefender Email > Setup.
-
Click Setup on the newly installed Metadefender Email instance.
-
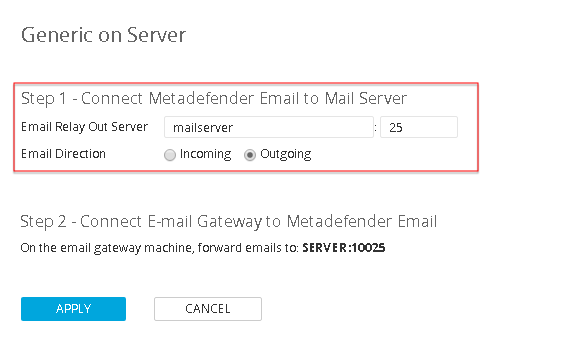
In the Email Relay Out Server field, specify the IP address (or name) of your outbound 3rd party gateway and the SMTP protocol port that the gateway is listening on (usually port 25).
-
In the Email Direction field, select Outgoing.
-
Configure your mail server to forward all e-mails to the server:port specified in the dialog.
Note: By default, Metadefender Email listens on SMTP port 10025. Make sure that your firewall allows traffic on the port used by the Mail Agent. You might need to open port 10025 in Windows Firewall.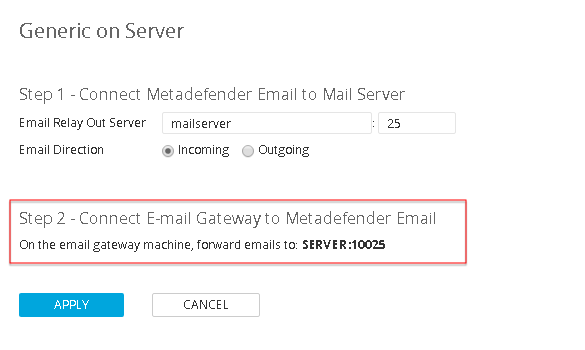
-
Click Apply to save your changes.
Verify Settings
In this section, you will verify your configuration settings and confirm that Metadefender Email works as expected.
-
Open the Metadefender Core Management Console.
-
Select Sources > Metadefender Email > Setup.
-
Click Verify on the newly configured Metadefender Email instance.

-
Select Outgoing as verification type and specify an local mailbox as sender and an external e-mail address as recipient.
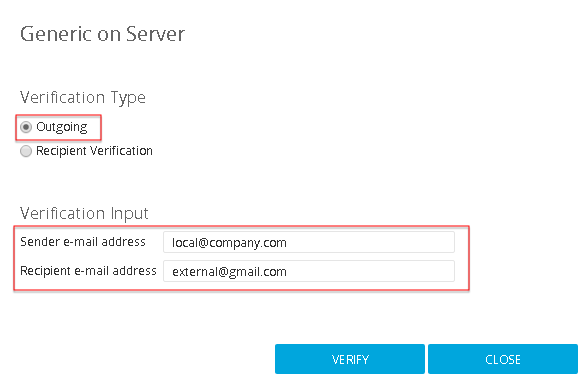
-
Click Verify to perform the test. If the test is successful, Metadefender Email is configured correctly.
-
Optionally, manually send an e-mail from a local mailbox to an external source to verify that email routing from the Mail Server to Metadefender Email is configured correctly.
-
Go to the Metadefender Core Management Console Dashboard and verify that the e-mail has been scanned.