8.9.1 Integrate with Okta
Below you can find a step by step tutorial on how to integrate Okta IdP with MetaDefender Vault using the OpenID Connect protocol.
-
Sign into Okta and navigate to admin dashboard
-
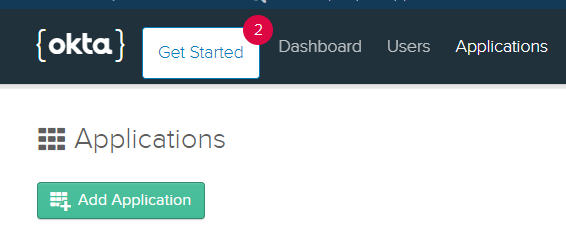
Go to Applications and select Add application
-
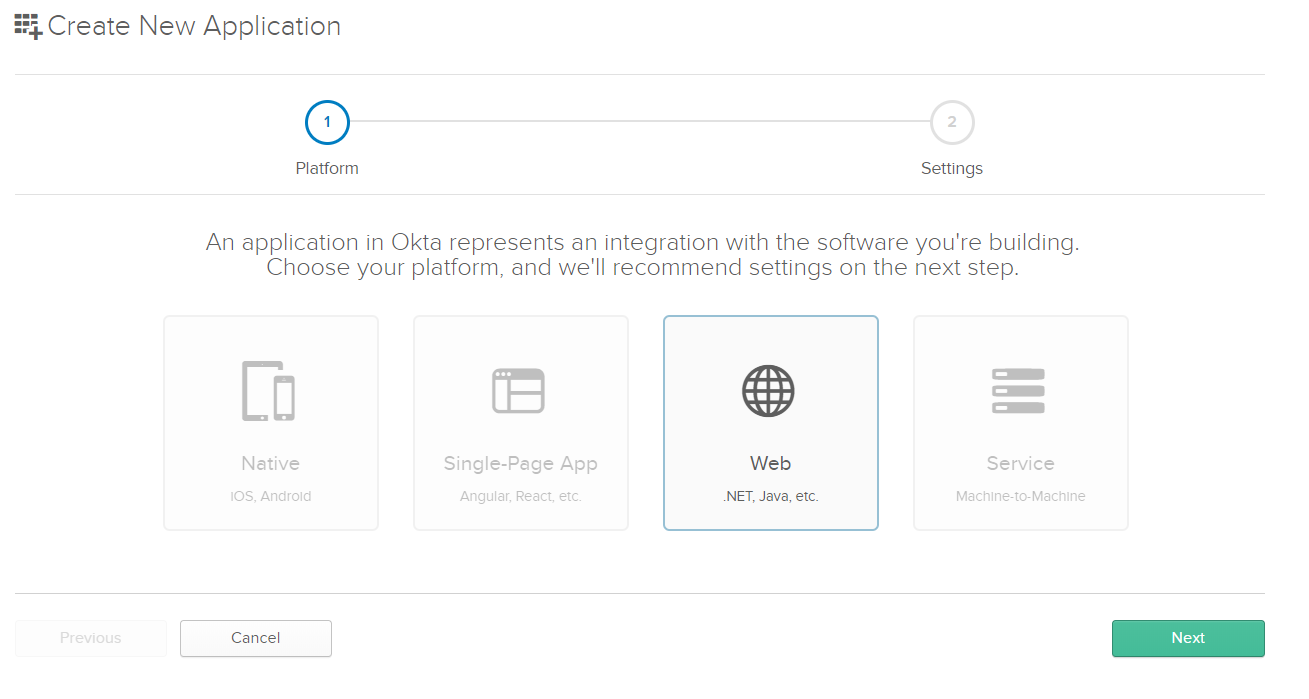
Choose Web application type and click Next
-
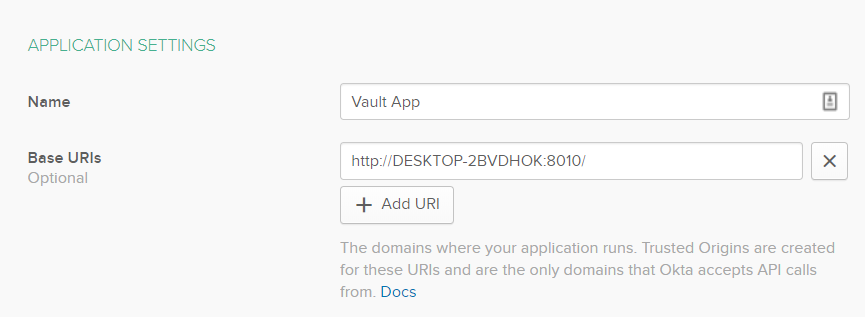
Let’s configure the application settings. Give the application a name like for example “Vault App”.
-
Base URI should point to the location of the Vault machine
-
To find the Login redirect URI
-
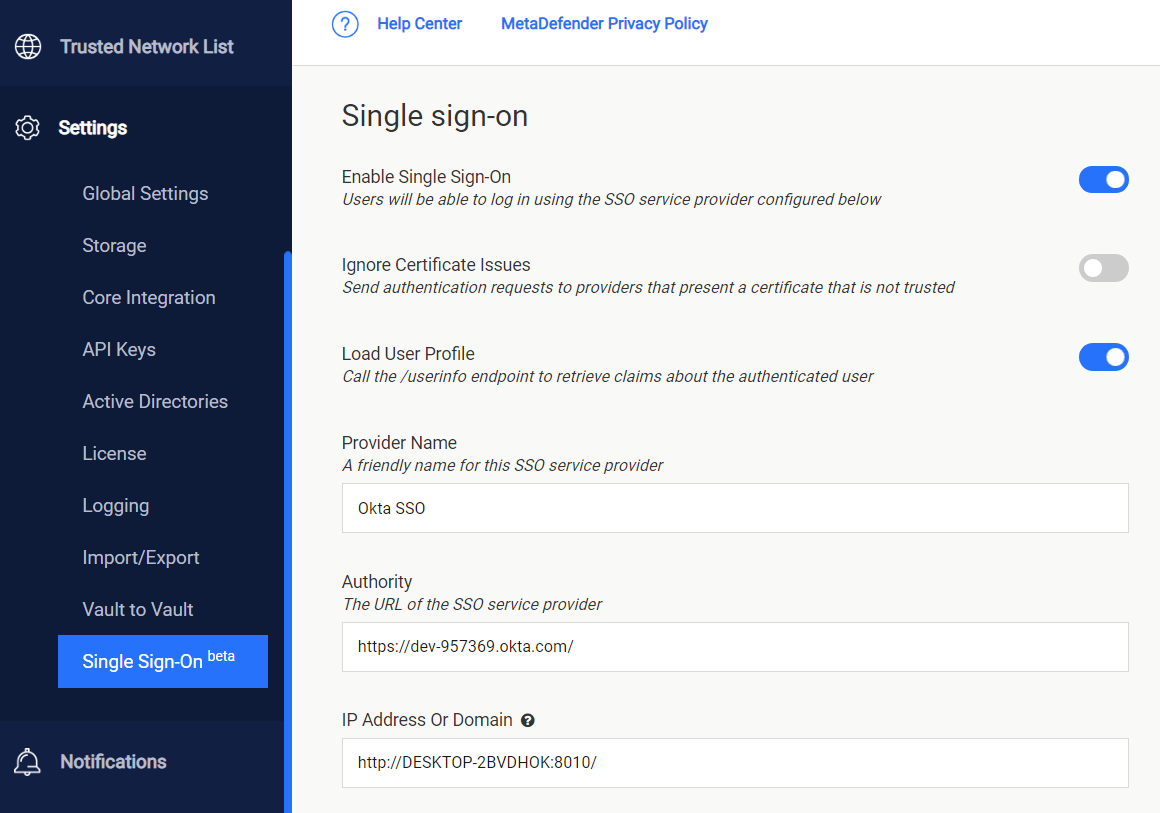
Go to MetaDefender Vault web console and navigate to Settings → Single Sign-On
-
Turn on Enable Single Sign-On
-
Don’t turn on Ignore Certificate Issues as Okta will provide a trusted certificate
-
Turn on Load User Profile such that MetaDefender Vault can acquire the following claims
-
name
-
email
-
preferred_username
-
given_name
-
family_name
-
-
Authority should point to your Okta Org. URL. You can find this URL in the Okta dashboard
-
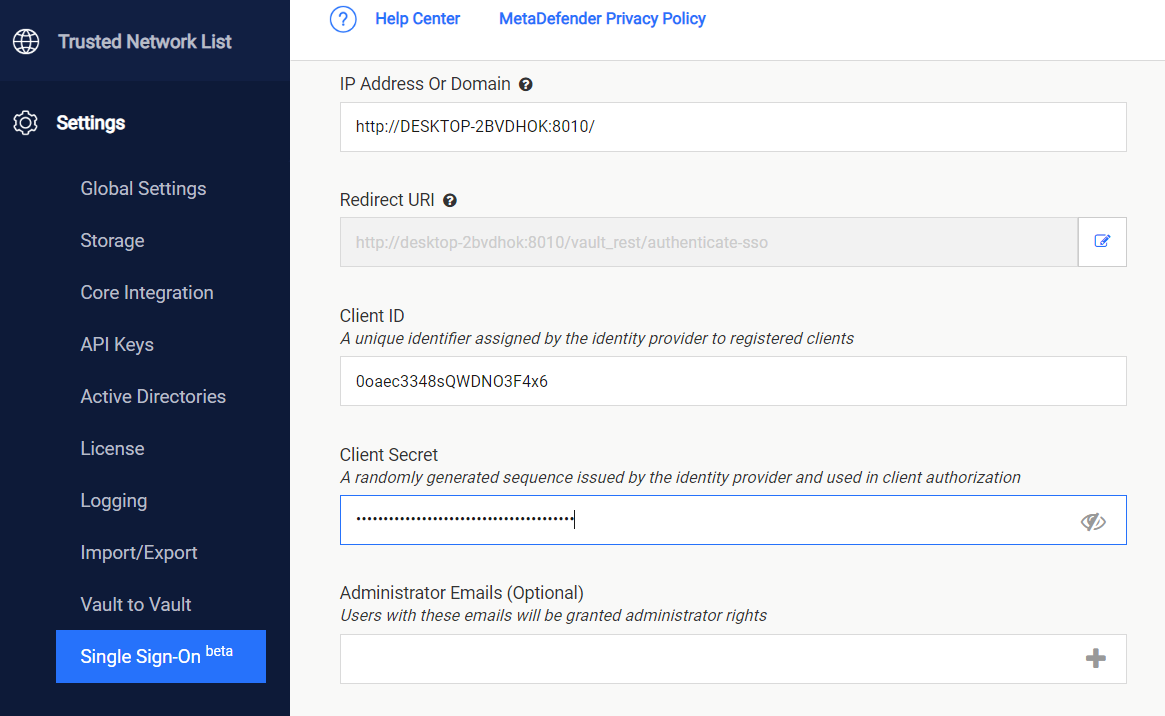
IP Address or Domain should point to the location of your Vault instance. Once you fill this information, Vault will automatically generate the Redirect URI
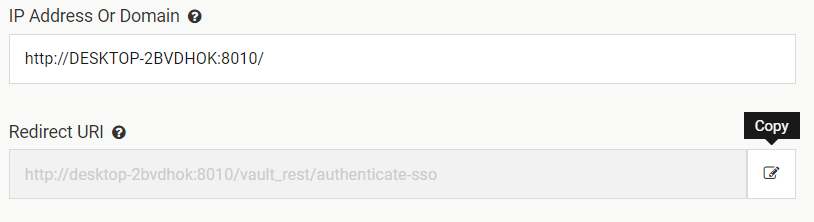
-
Copy the Redirect URI and go back to the Okta Application Settings and paste it (step 6)
-
-
You should now have a configuration similar to this:

-
Logout redirects URIs do not need to be configured as Vault doesn’t support single log out for the moment.
-
You can configure Group assignments as desired
-
Grant type allowed: please make sure that Authorization Code is checked
-
Click Done to finish the process of creating an OKTA app.
-
You will be redirected to the app that you just created. On the General tab, scroll down to the Client Credentials section

-
Copy the Client ID and Client secret so we can enter them in MetaDefender Vault SSO configuration.
-
Administrator Emails: if some of the Okta users should have administrative rights in Vault, please enter a list of emails in this field. MetaDefender Vault will compare the email of users that login from Okta against the provided list to determine if a user should be an administrator
-
You don’t need to specify additional integration scopes
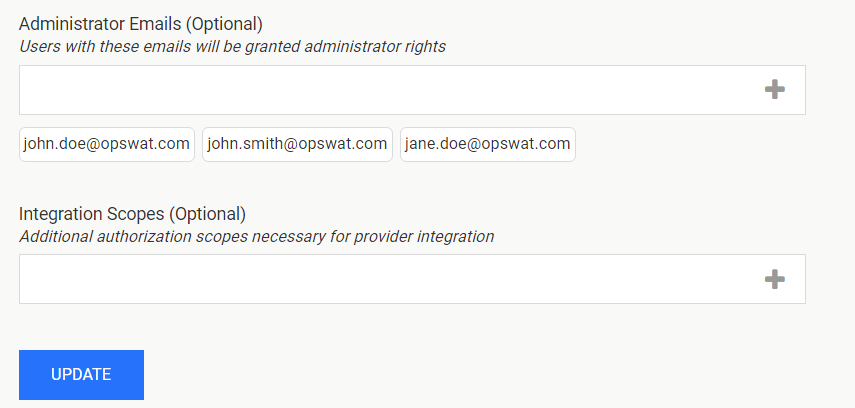
-
If everything is ready, click Update.
-
Log out of MetaDefender Vault
-
You will notice that there is a new LOGIN WITH SSO button on the login page
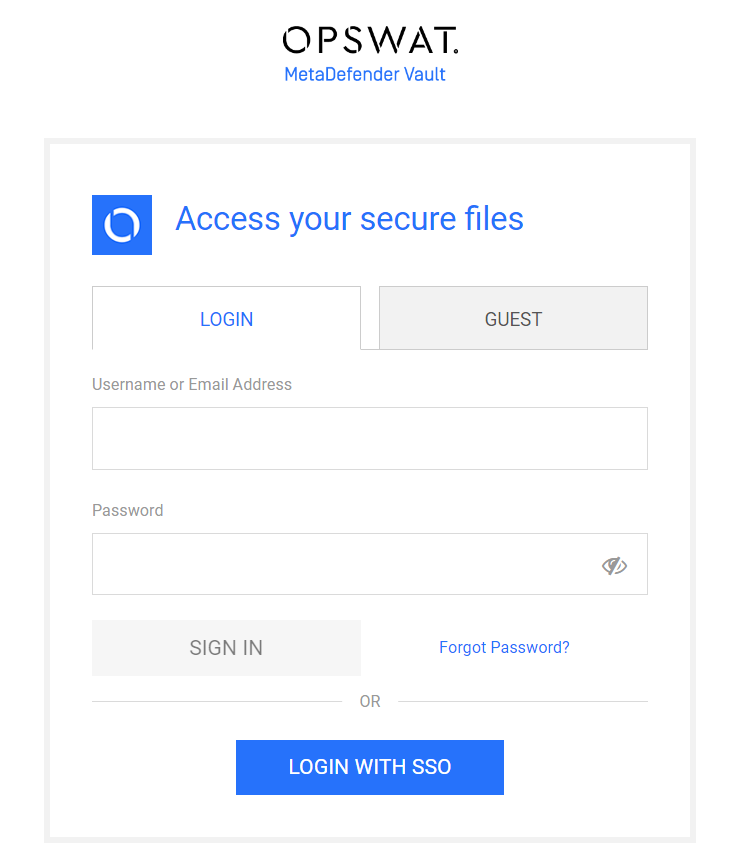
-
Click LOGIN WITH SSO. You should be redirected to Okta to login. Once logged in, you will be redirected back to MetaDefender Vault and automatically logged in.