10.6.1 Wizard Installation (Windows Only)
Only applicable to MetaDefender Core 4.20.0 or newer using wizard on Windows OS.
Clean install scenario:
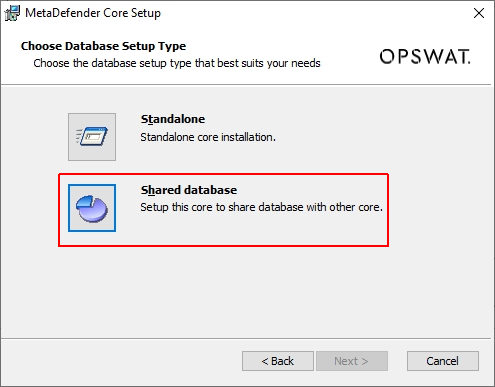
1.) Choose Shared database option:
2.) Setup database server for MetaDefender Core:
You can choose to create a native / built-in PostgreSQL server and setup the shared database on (then other MetaDefender Core instances will want to connect to that PostgreSQL server afterwards)
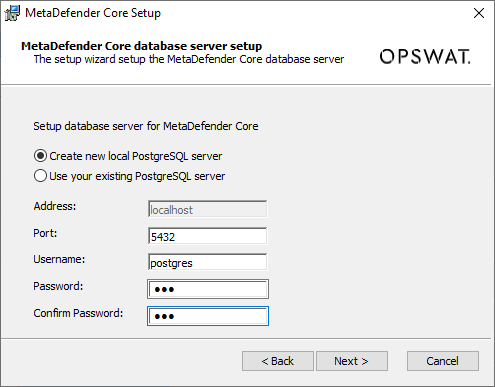
Or choose to connect to a pre-setup existing PostgreSQL server:
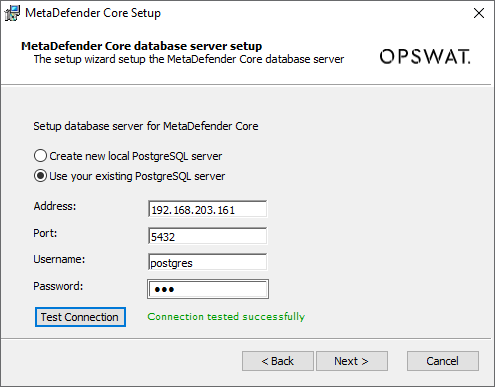
In case of connecting to the existing PostgreSQL failed, please make sure to follow steps at Open Connection On PostgreSQL Server to remediate.
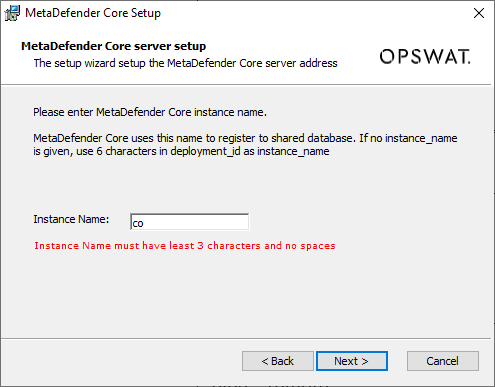
3.) Create an unique instance name for that MetaDefender Core (different from other MetaDefender Core instances):
Instance name must contain at least 3 characters and no white space.
If you choose to leave it blank, which means it will use the default instance name with 6 characters extracted from that MetaDefender Core deployment ID.
4.) Input the file storage path (sanitized, DLP, quarantined files)
In the shared database model, all MetaDefender Core instances could use the same folder path to store all their own sanitized, DLP, quarantined files after processed.
The default location is: <MetaDefender Core installation folder>\data\ {sanitized|dlp|quarantine}
If you wish to use that default location, just leave the input box blank and press Next.
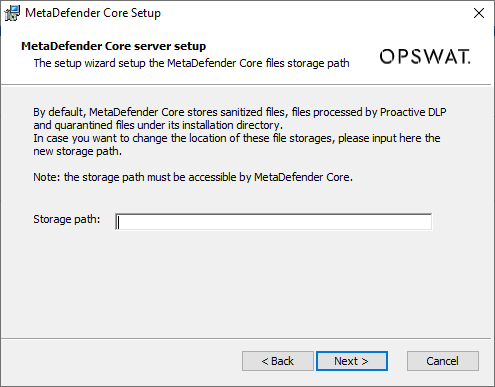
Otherwise, you can specify a different location of sanitized/dlp/quarantined files. It could be a local path on the same machine, or a shared folder located in a remote connected machine. Make sure that folder is open access (read and write) to MetaDefender Core.
For example:
-
C:\new_folder
-
\\192.168.1.1\new_folder
Upgrade scenario:
This scenario demonstrates a use-case where you wish to upgrade your current MetaDefender Core e.g. 4.19.2 to 4.20.0, and switch to using shared database mode.
1.) Prepare for data migration:
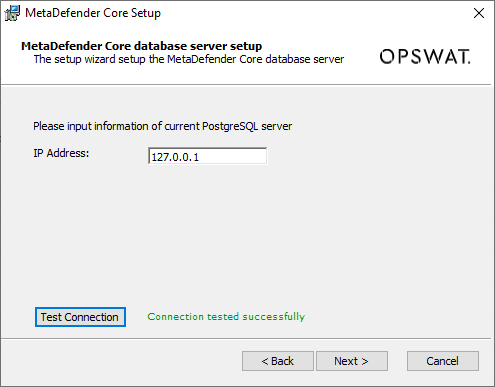
Since we will support you to migrate all of your current MetaDefender Core’s data to a new PostgreSQL server used for shared database, thus it requires you to follow steps at Open Connection On PostgreSQL Server performed on your current MetaDefender Core (4.19.2 etc.) to open the connection for a new PostgreSQL server could connect to (for data migration).
Please skip this step if you are currently using a native / built-in PostgreSQL server, and wish to keep using that server for the shared database to setup on the same.
2.) Run installer of MetaDefender Core 4.20.0 or newer
The same procedure and instructions like what described above with clean install scenario. The only different step here is, expecting you to specify your current PostgreSQL server IP address: