9.3.1.1. Install MetaDefender in AWS EC2
1. Go to the EC2 Management Console in AWS and select Launch Instance:

2. Select the desired Operating System you want to run for MetaDefender instance. And then select the instance type.
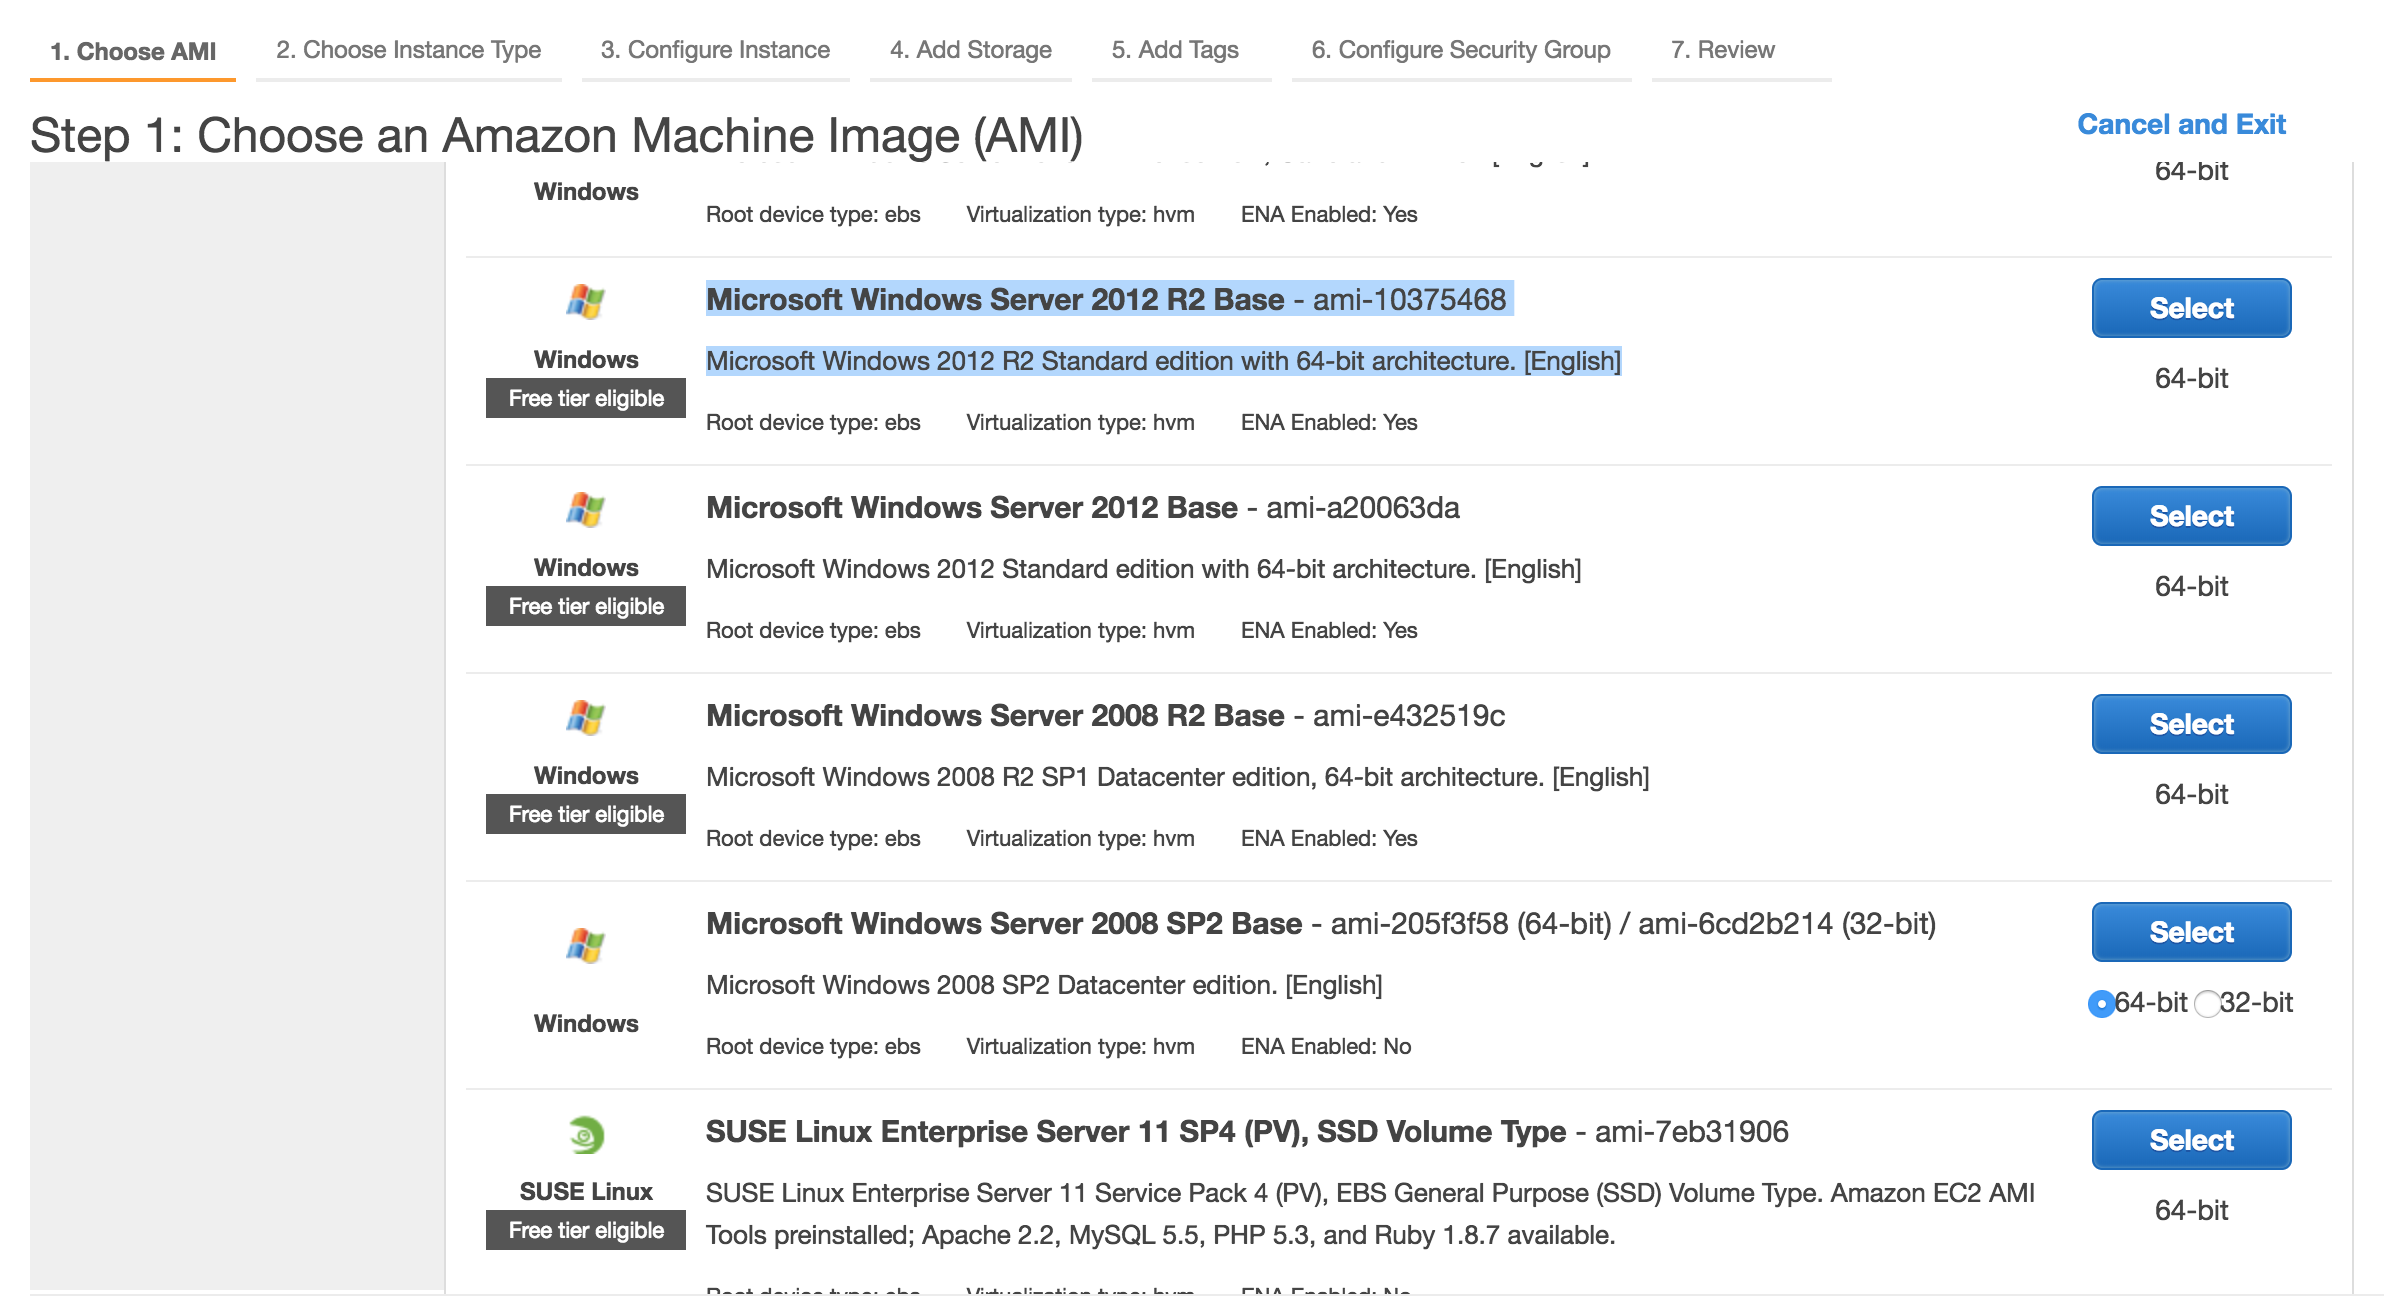
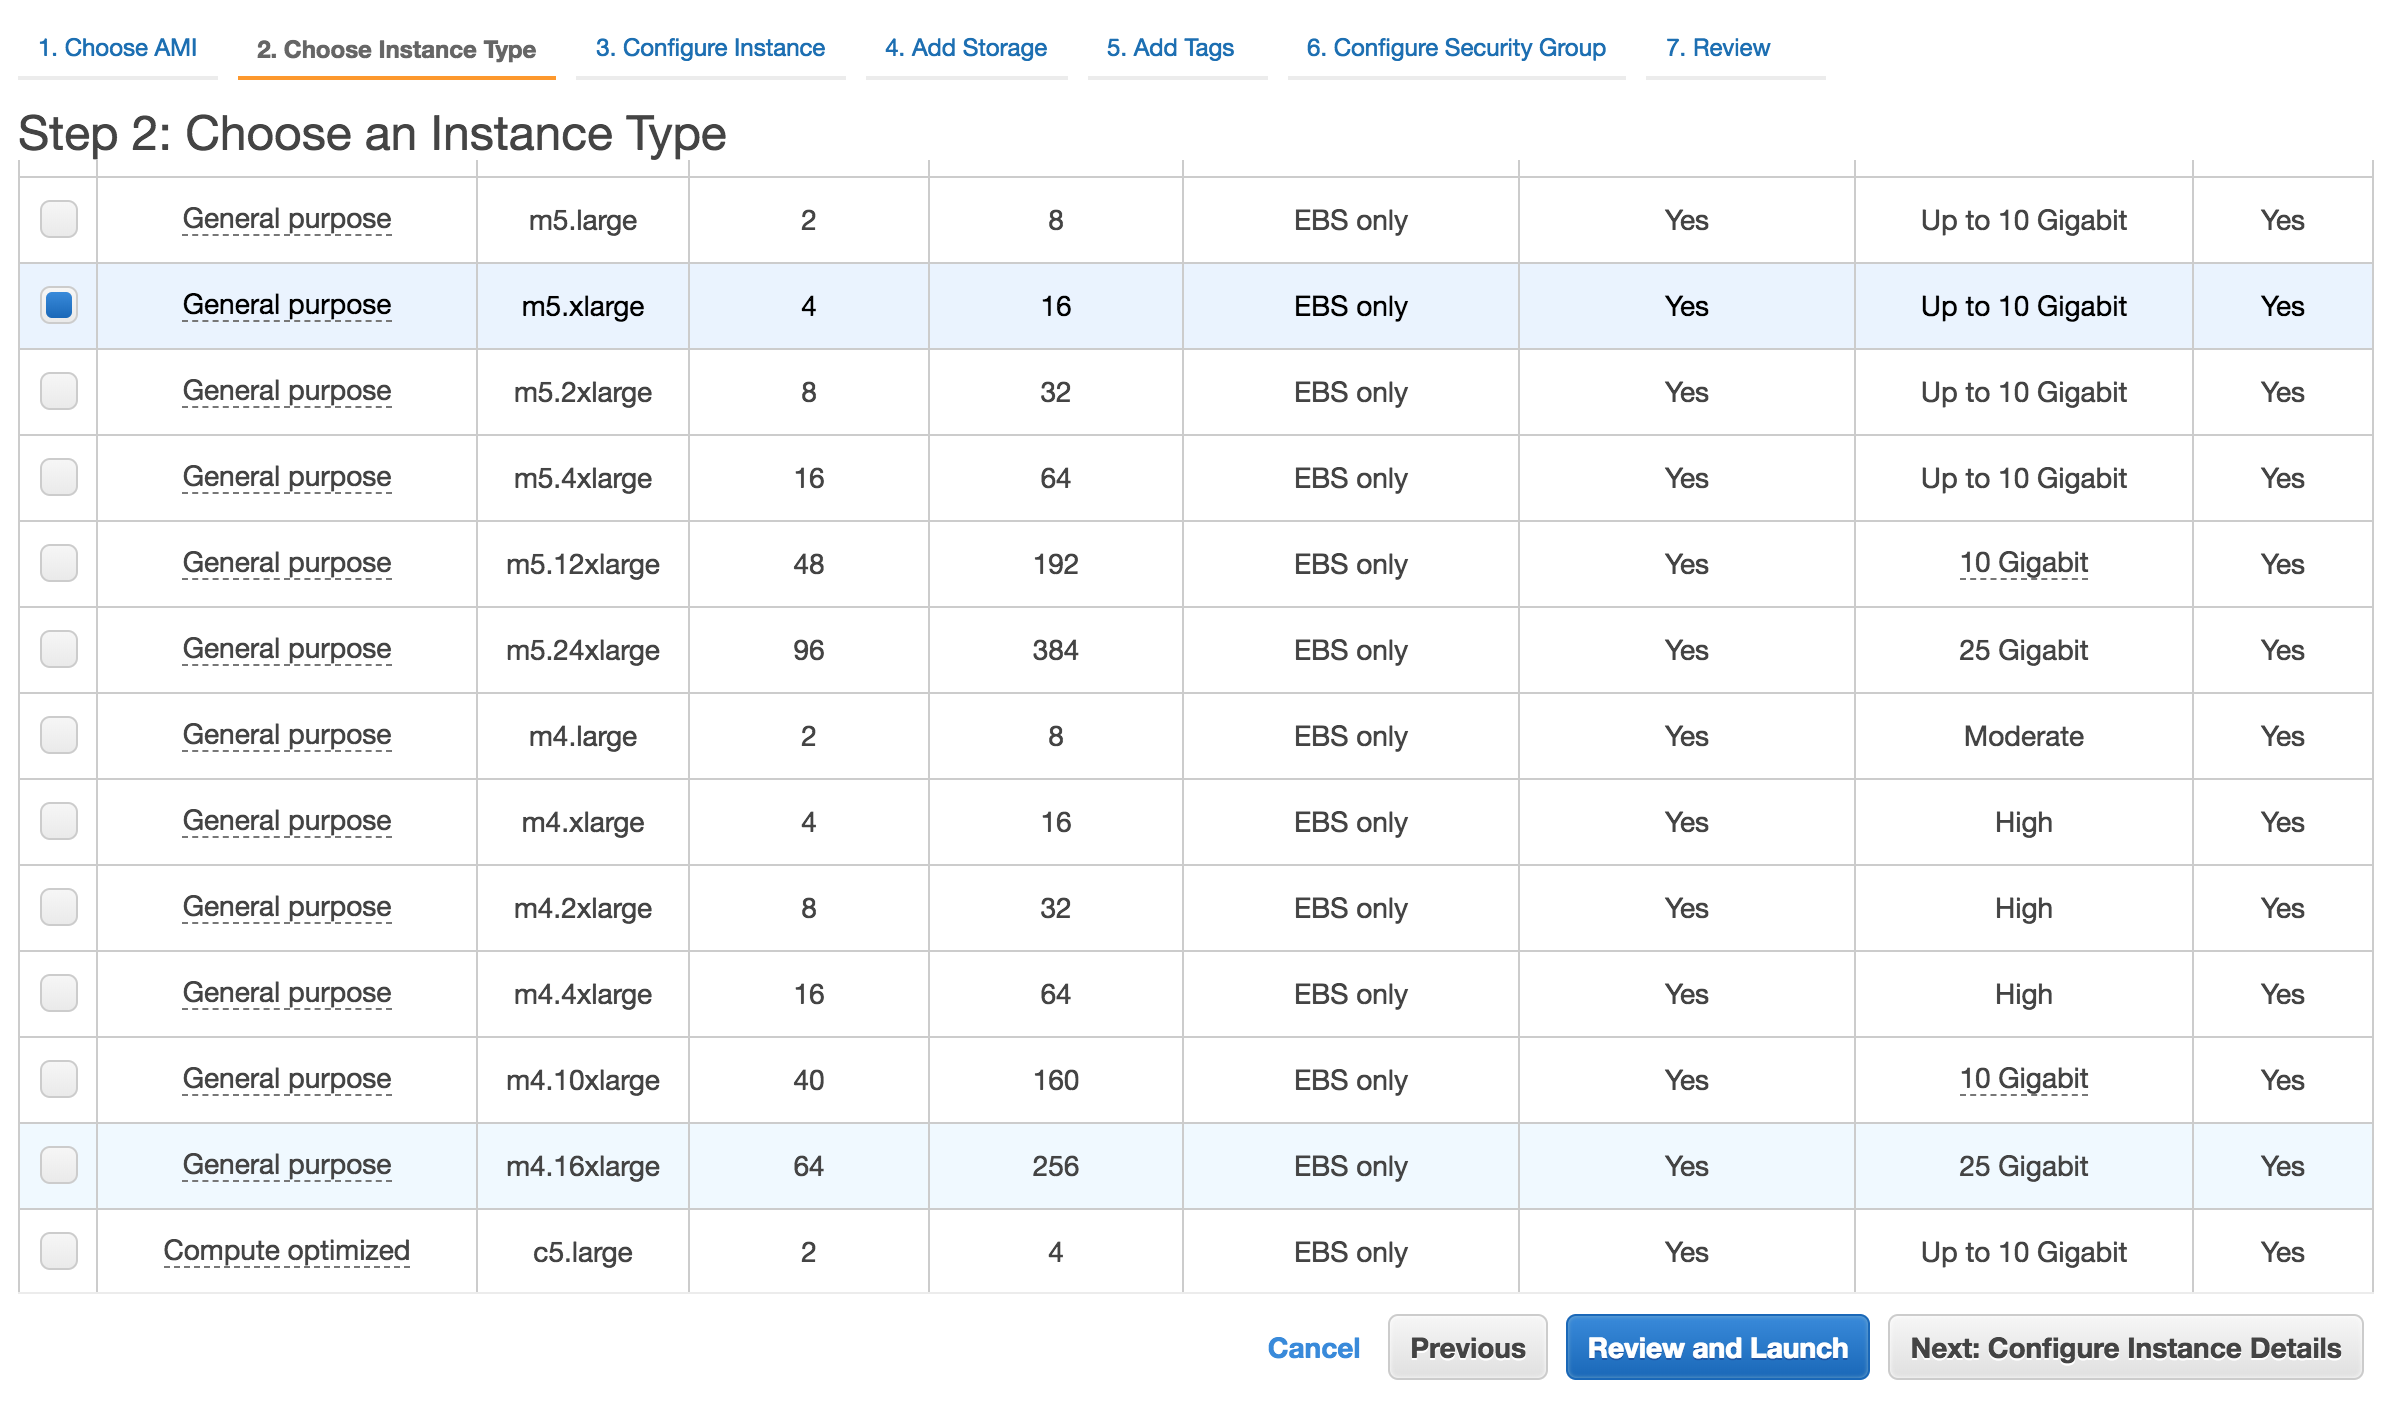
Please review MetaDefender's system requirements (OS and hardware requirements) before choosing the desired AMI and instance type.
3. Select the desired VPC and subnet you would like to have MetaDefender deployed.
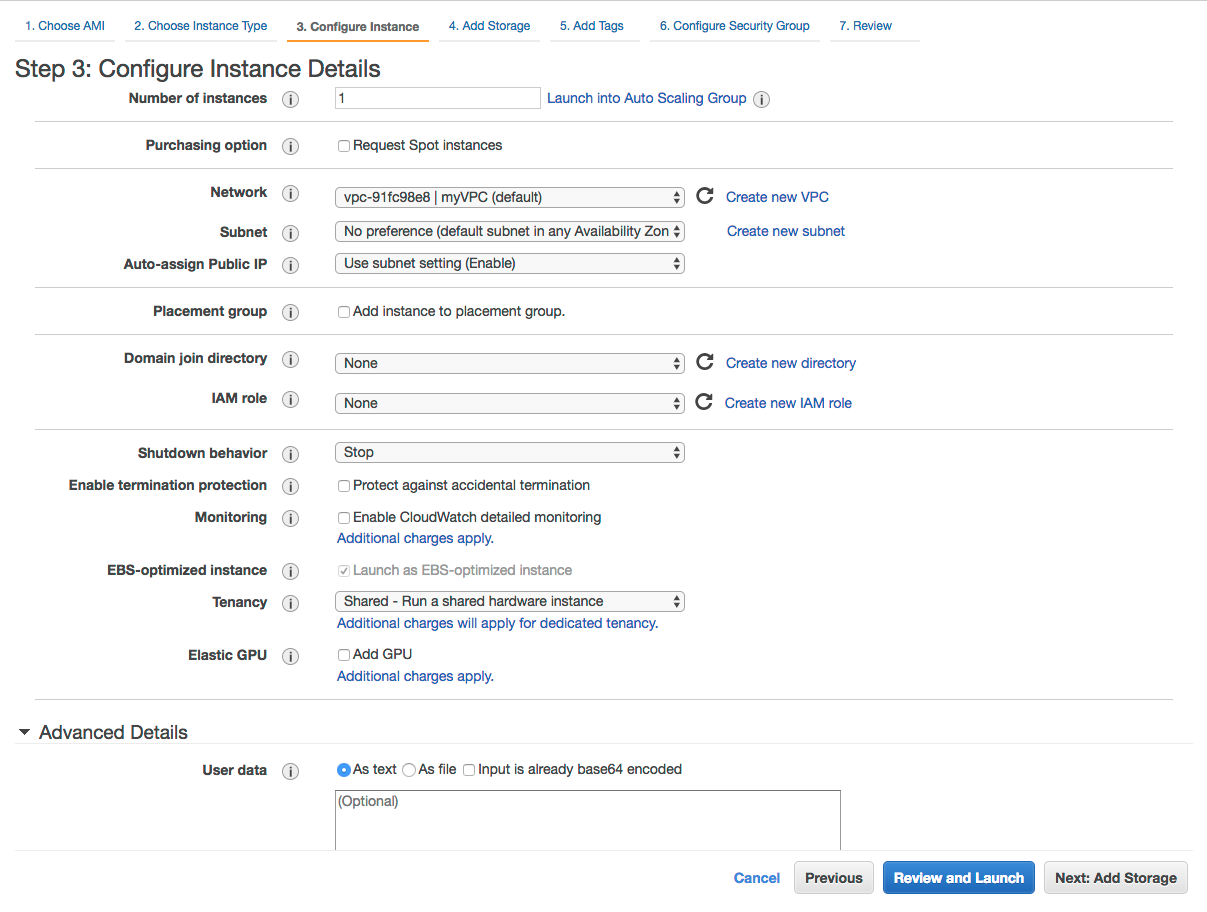
Depending on the deployment model, the recommendation would be to deploy MetaDefender in a private subnet, with no Internet Connection. And to separately deploy an instance of OPSWAT Central Management in a different EC2 instance as part of a public subnet. The 2 subnets need to be able to connect to each other, in order for Central Management to manage and deploy new engine versions to MetaDefender.
From security perspective, no IAM role is needed as of right now for MetaDefender. However, depending on the deployment model, it might be needed in order to have access to different internal resources
-
Lambda functions:
-
if Lambda functions are used for product activation/deactivation or to process uploaded files to S3, define an IAM role that grants access to those resources and attach it to the instance
-
-
Advanced Details:
-
Recommended would be to add an User Data script to do the following:
-
Change default credentials from admin/admin to admin/instance-id
-
Activate the product
-
-
See OPSWAT's Github account for scripts references.
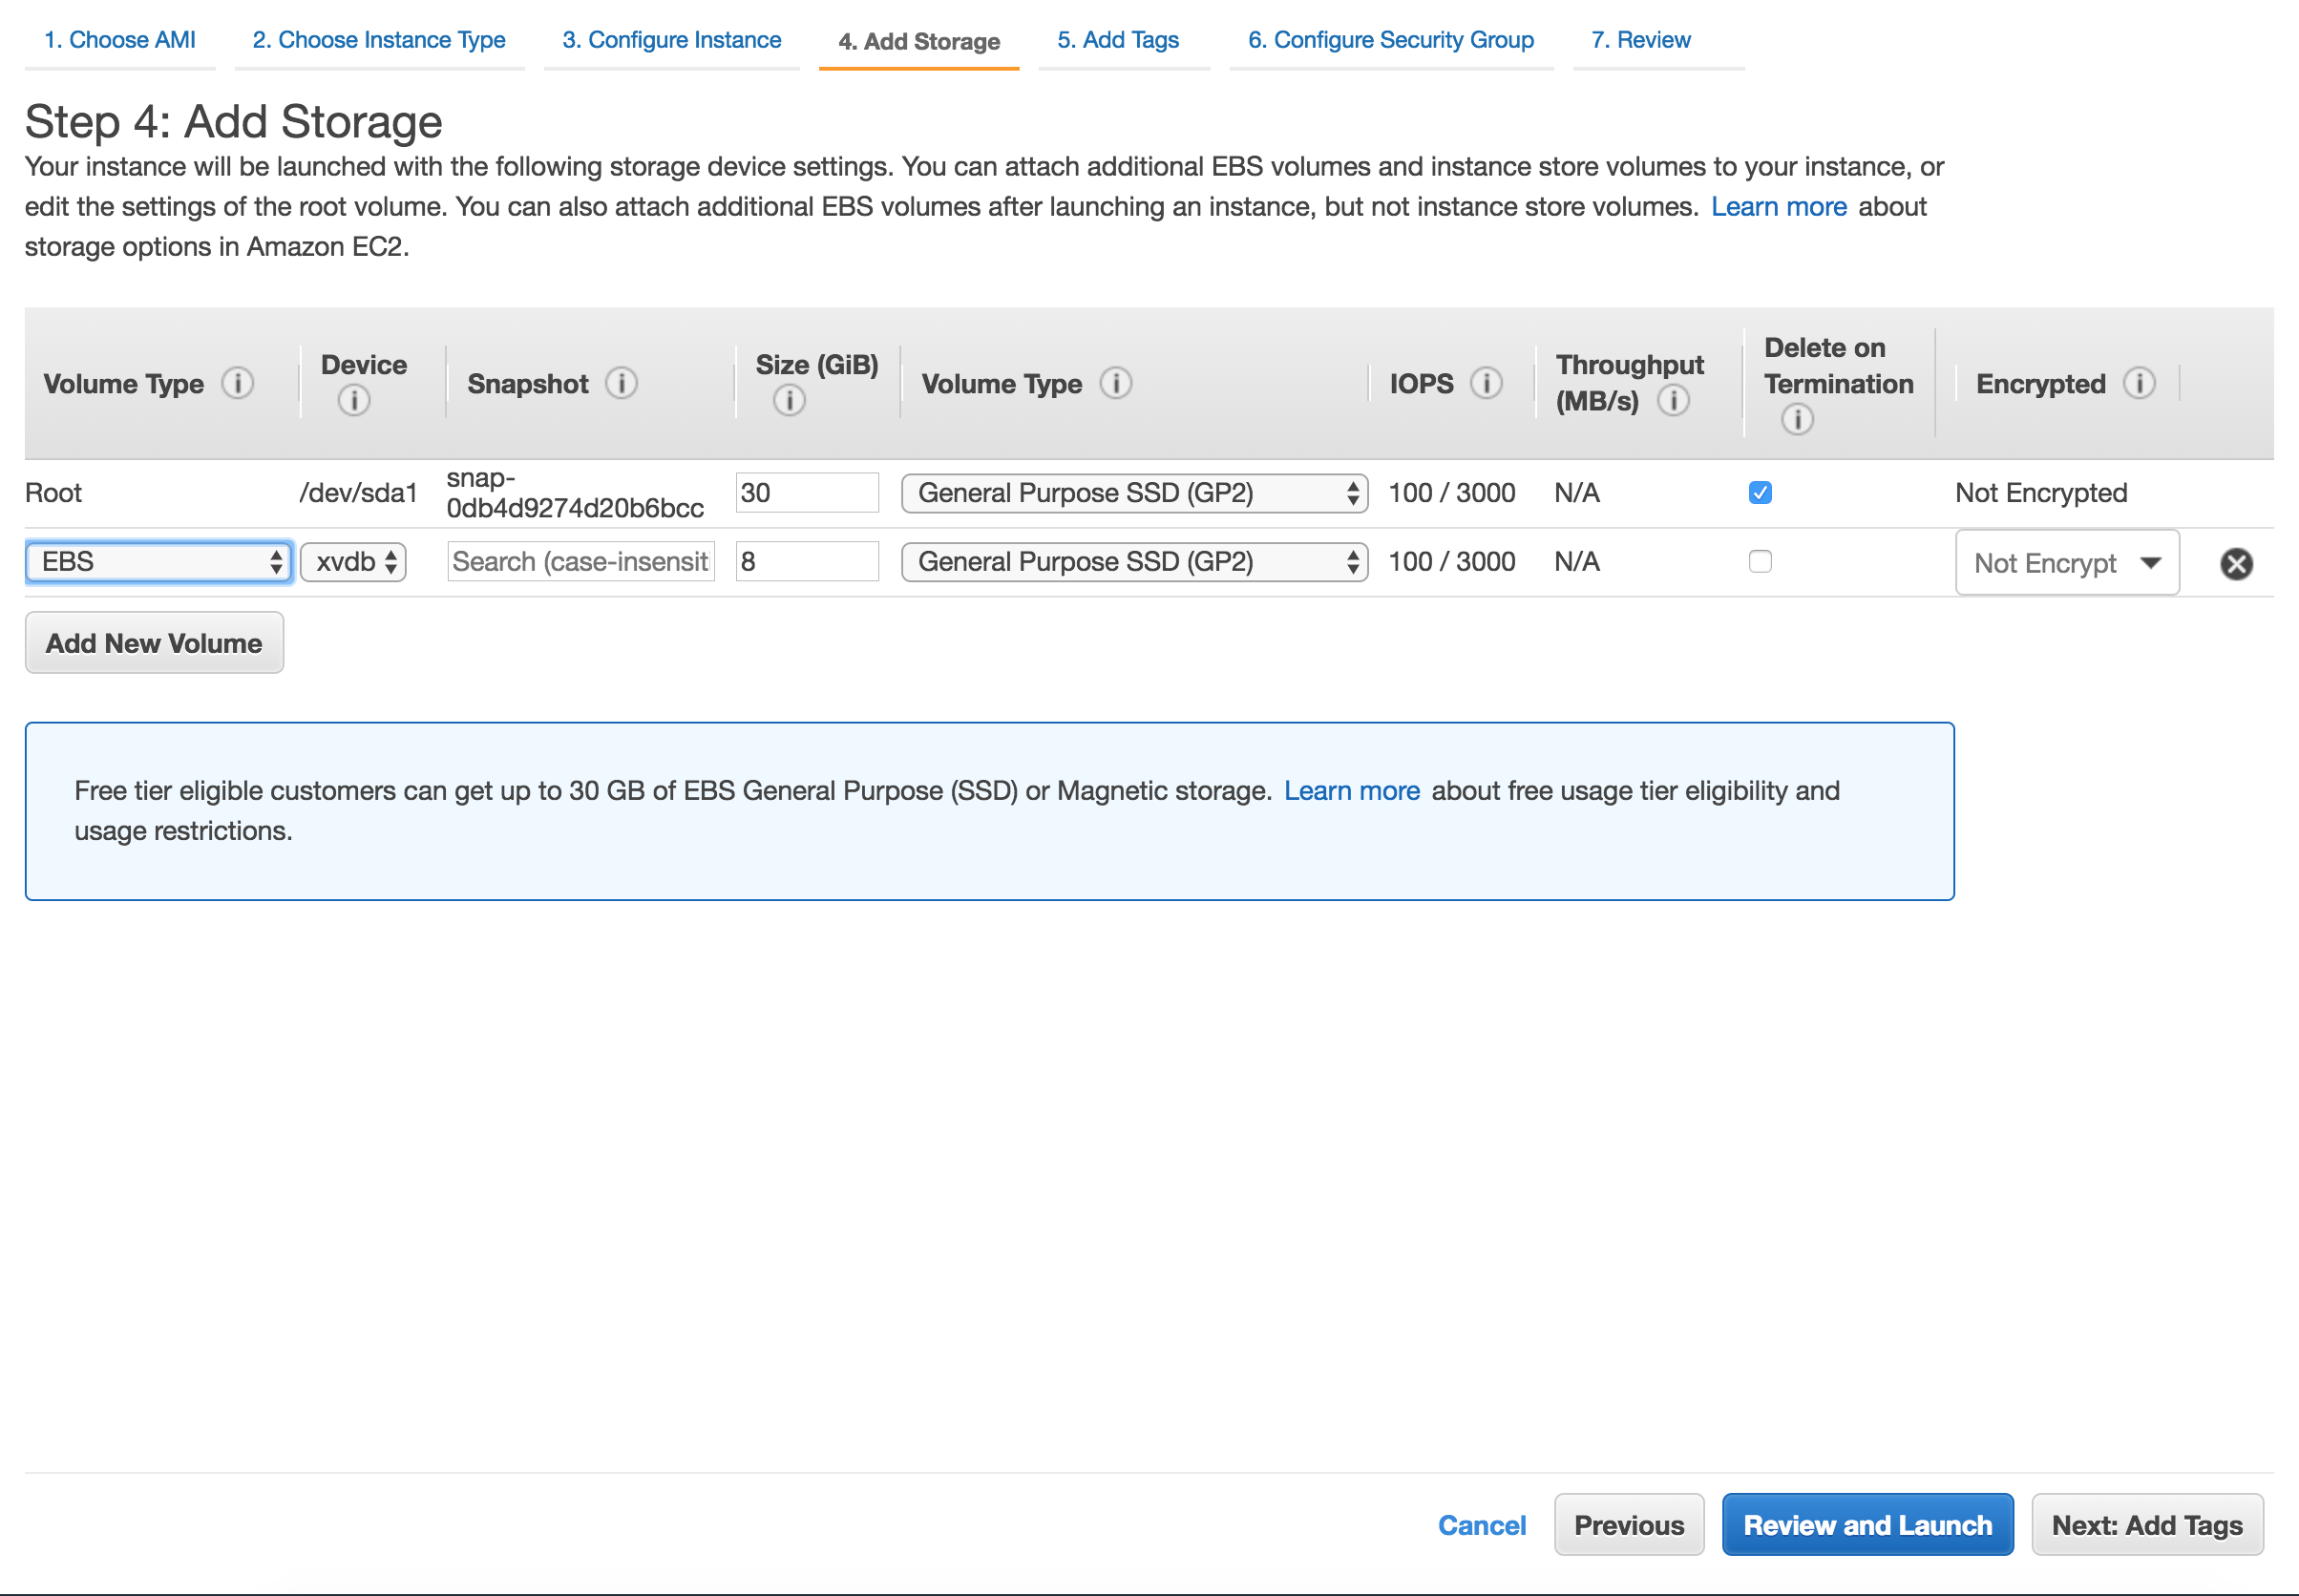
4. Storage step can be skipped
In general there's no need for additional storage by MetaDefender. However, there are 2 situations where additional local storage might be required:
-
MetaDefender will process large files or a high volume of files which submitted in MetaDefender's queue will need over 10GB files storage
-
MetaDefender is configured to store files in the Quarantine section which will eventually fill the entire root volume.
In case quarantining the files in the MetaDefender instance or analyzing high volumes of files is a requirement, please consider adding an EBS volume.
5. Security Groups
There are 2 rules that are needed to be opened during the installation phase, after which only one rule should remain:
-
Custom TCP: 8008
-
MetaDefender exposes it's REST API by default to port 8008. However this port can be changed during the installation phase or updated during it's lifetime.
-
-
RDP / SSH
-
In order to install MetaDefender on Windows add access for RDP and for Linux add support for SSH
-
Highly recommended would be not to allow traffic to RDP or SSH from anywhere, but to limit to your IP address
-
-
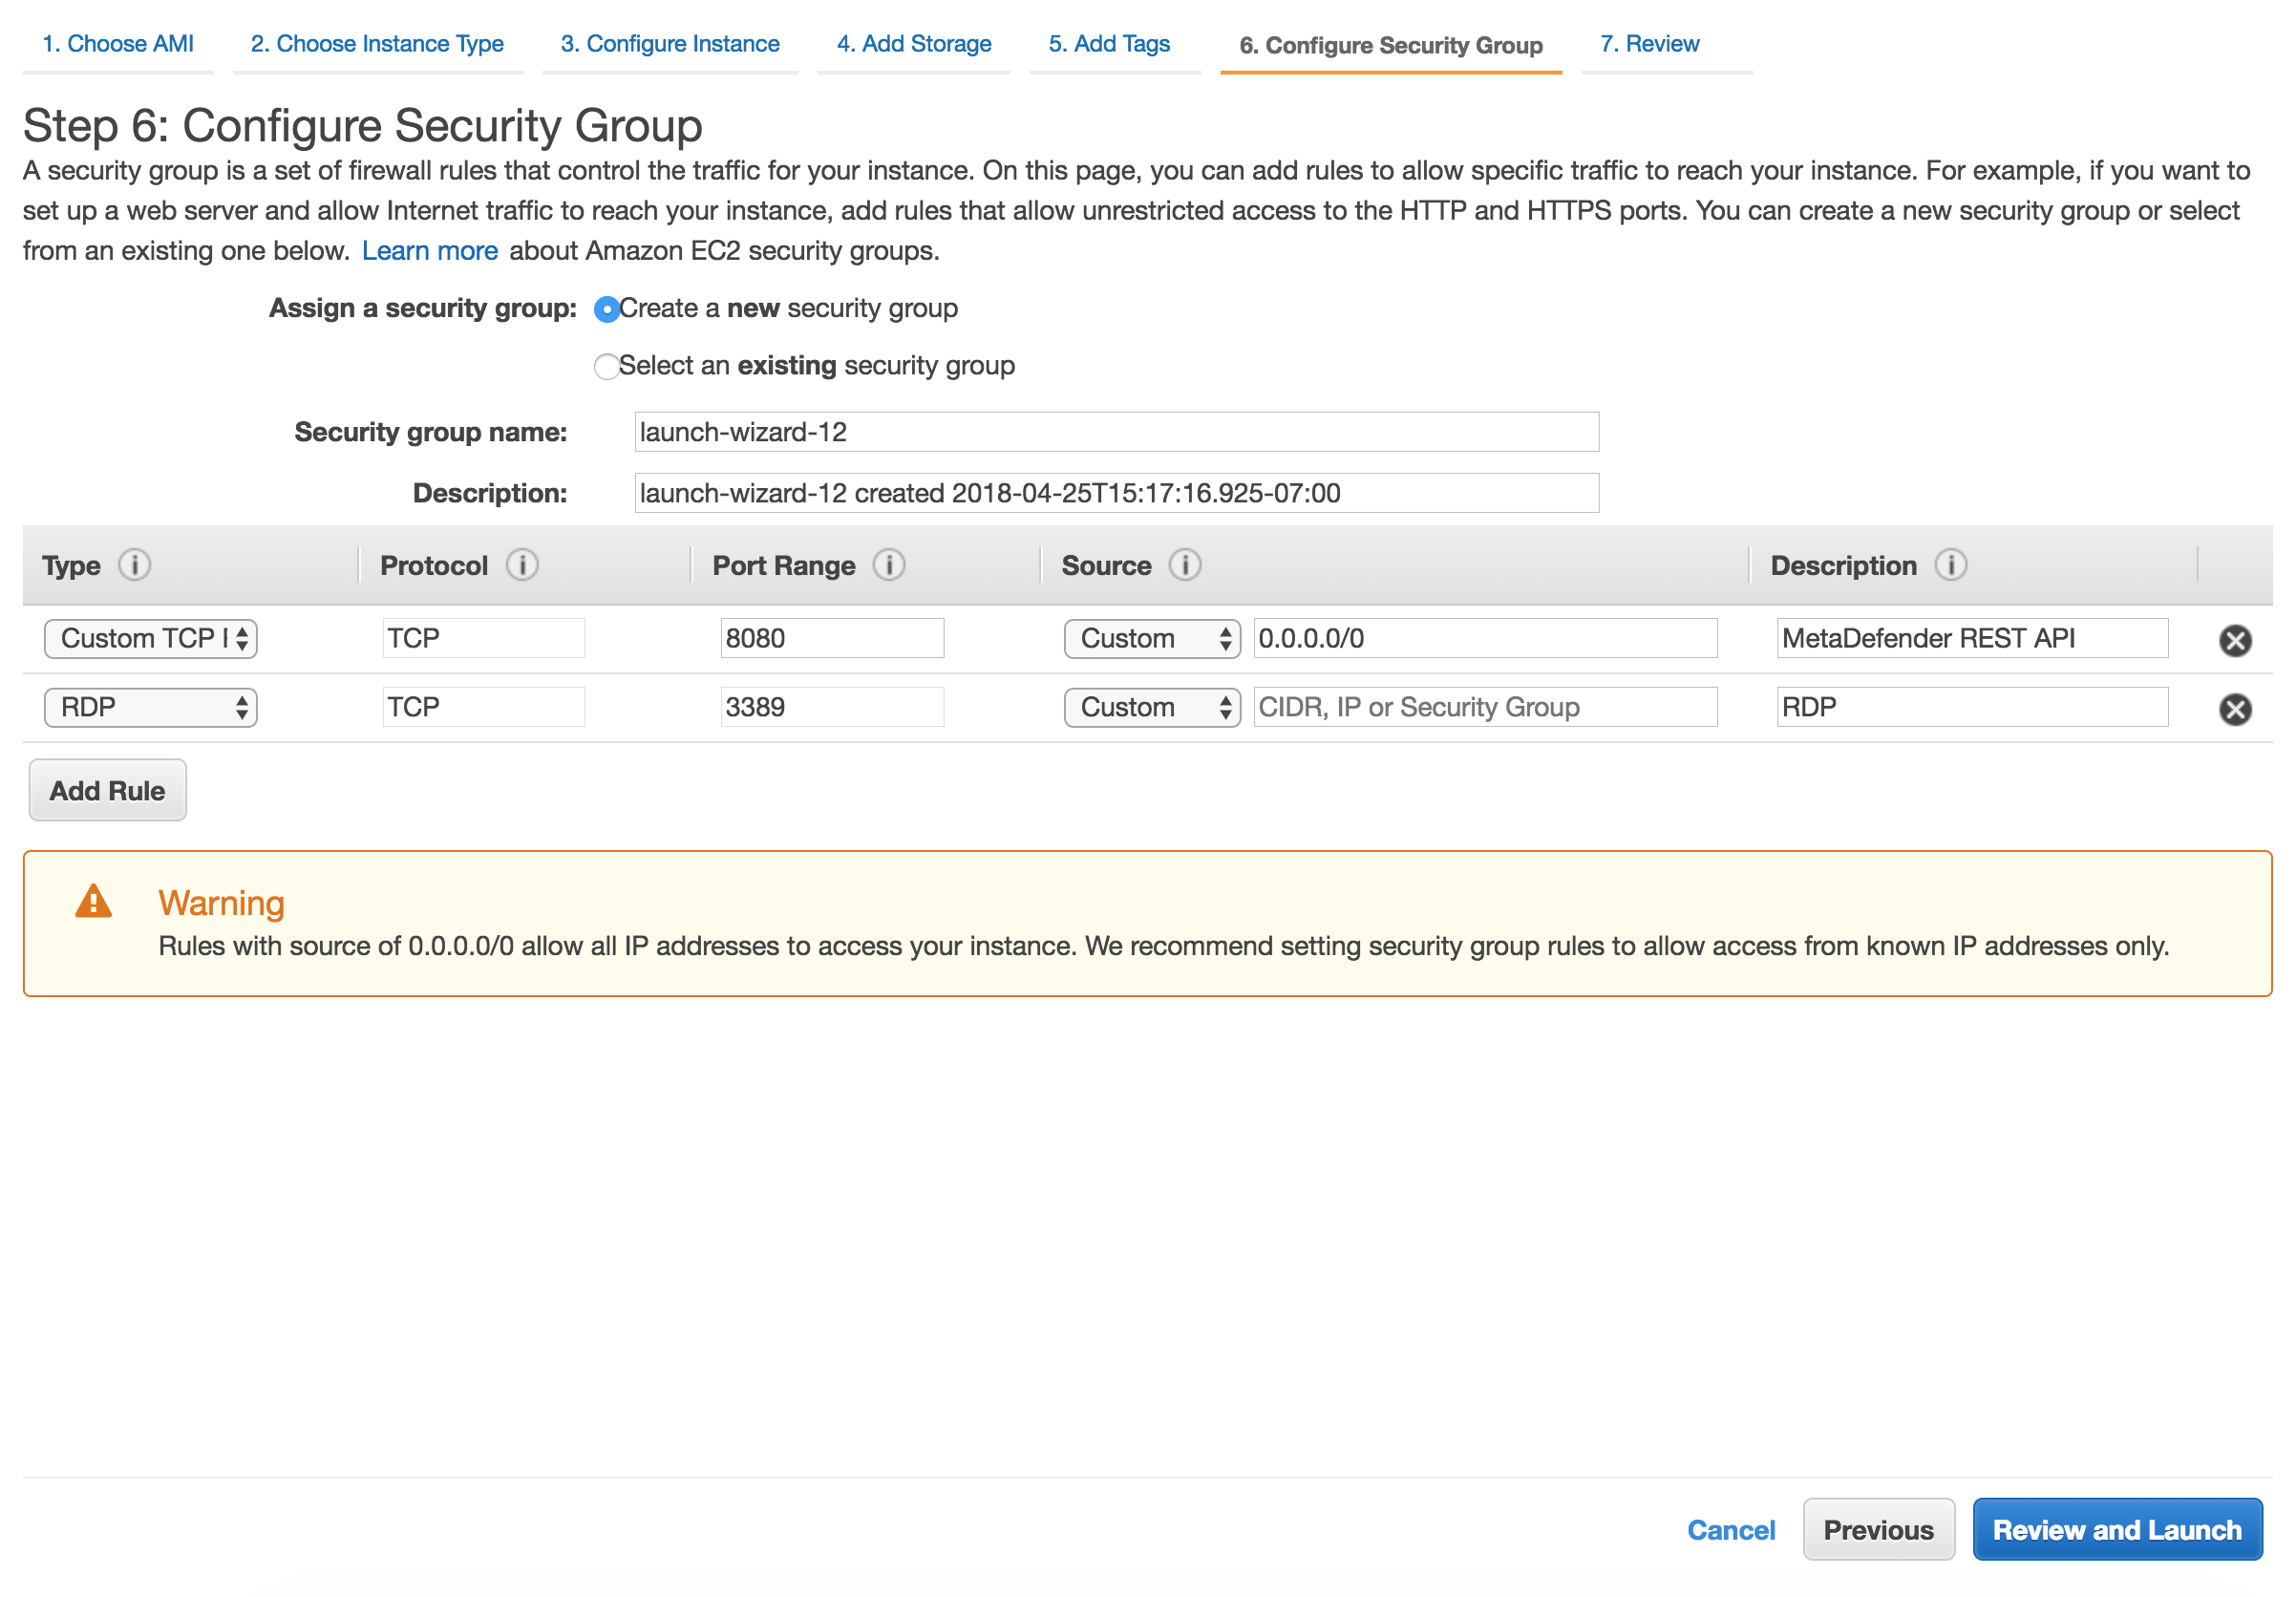
After the installation remove RDP or SSH from this Security Group!
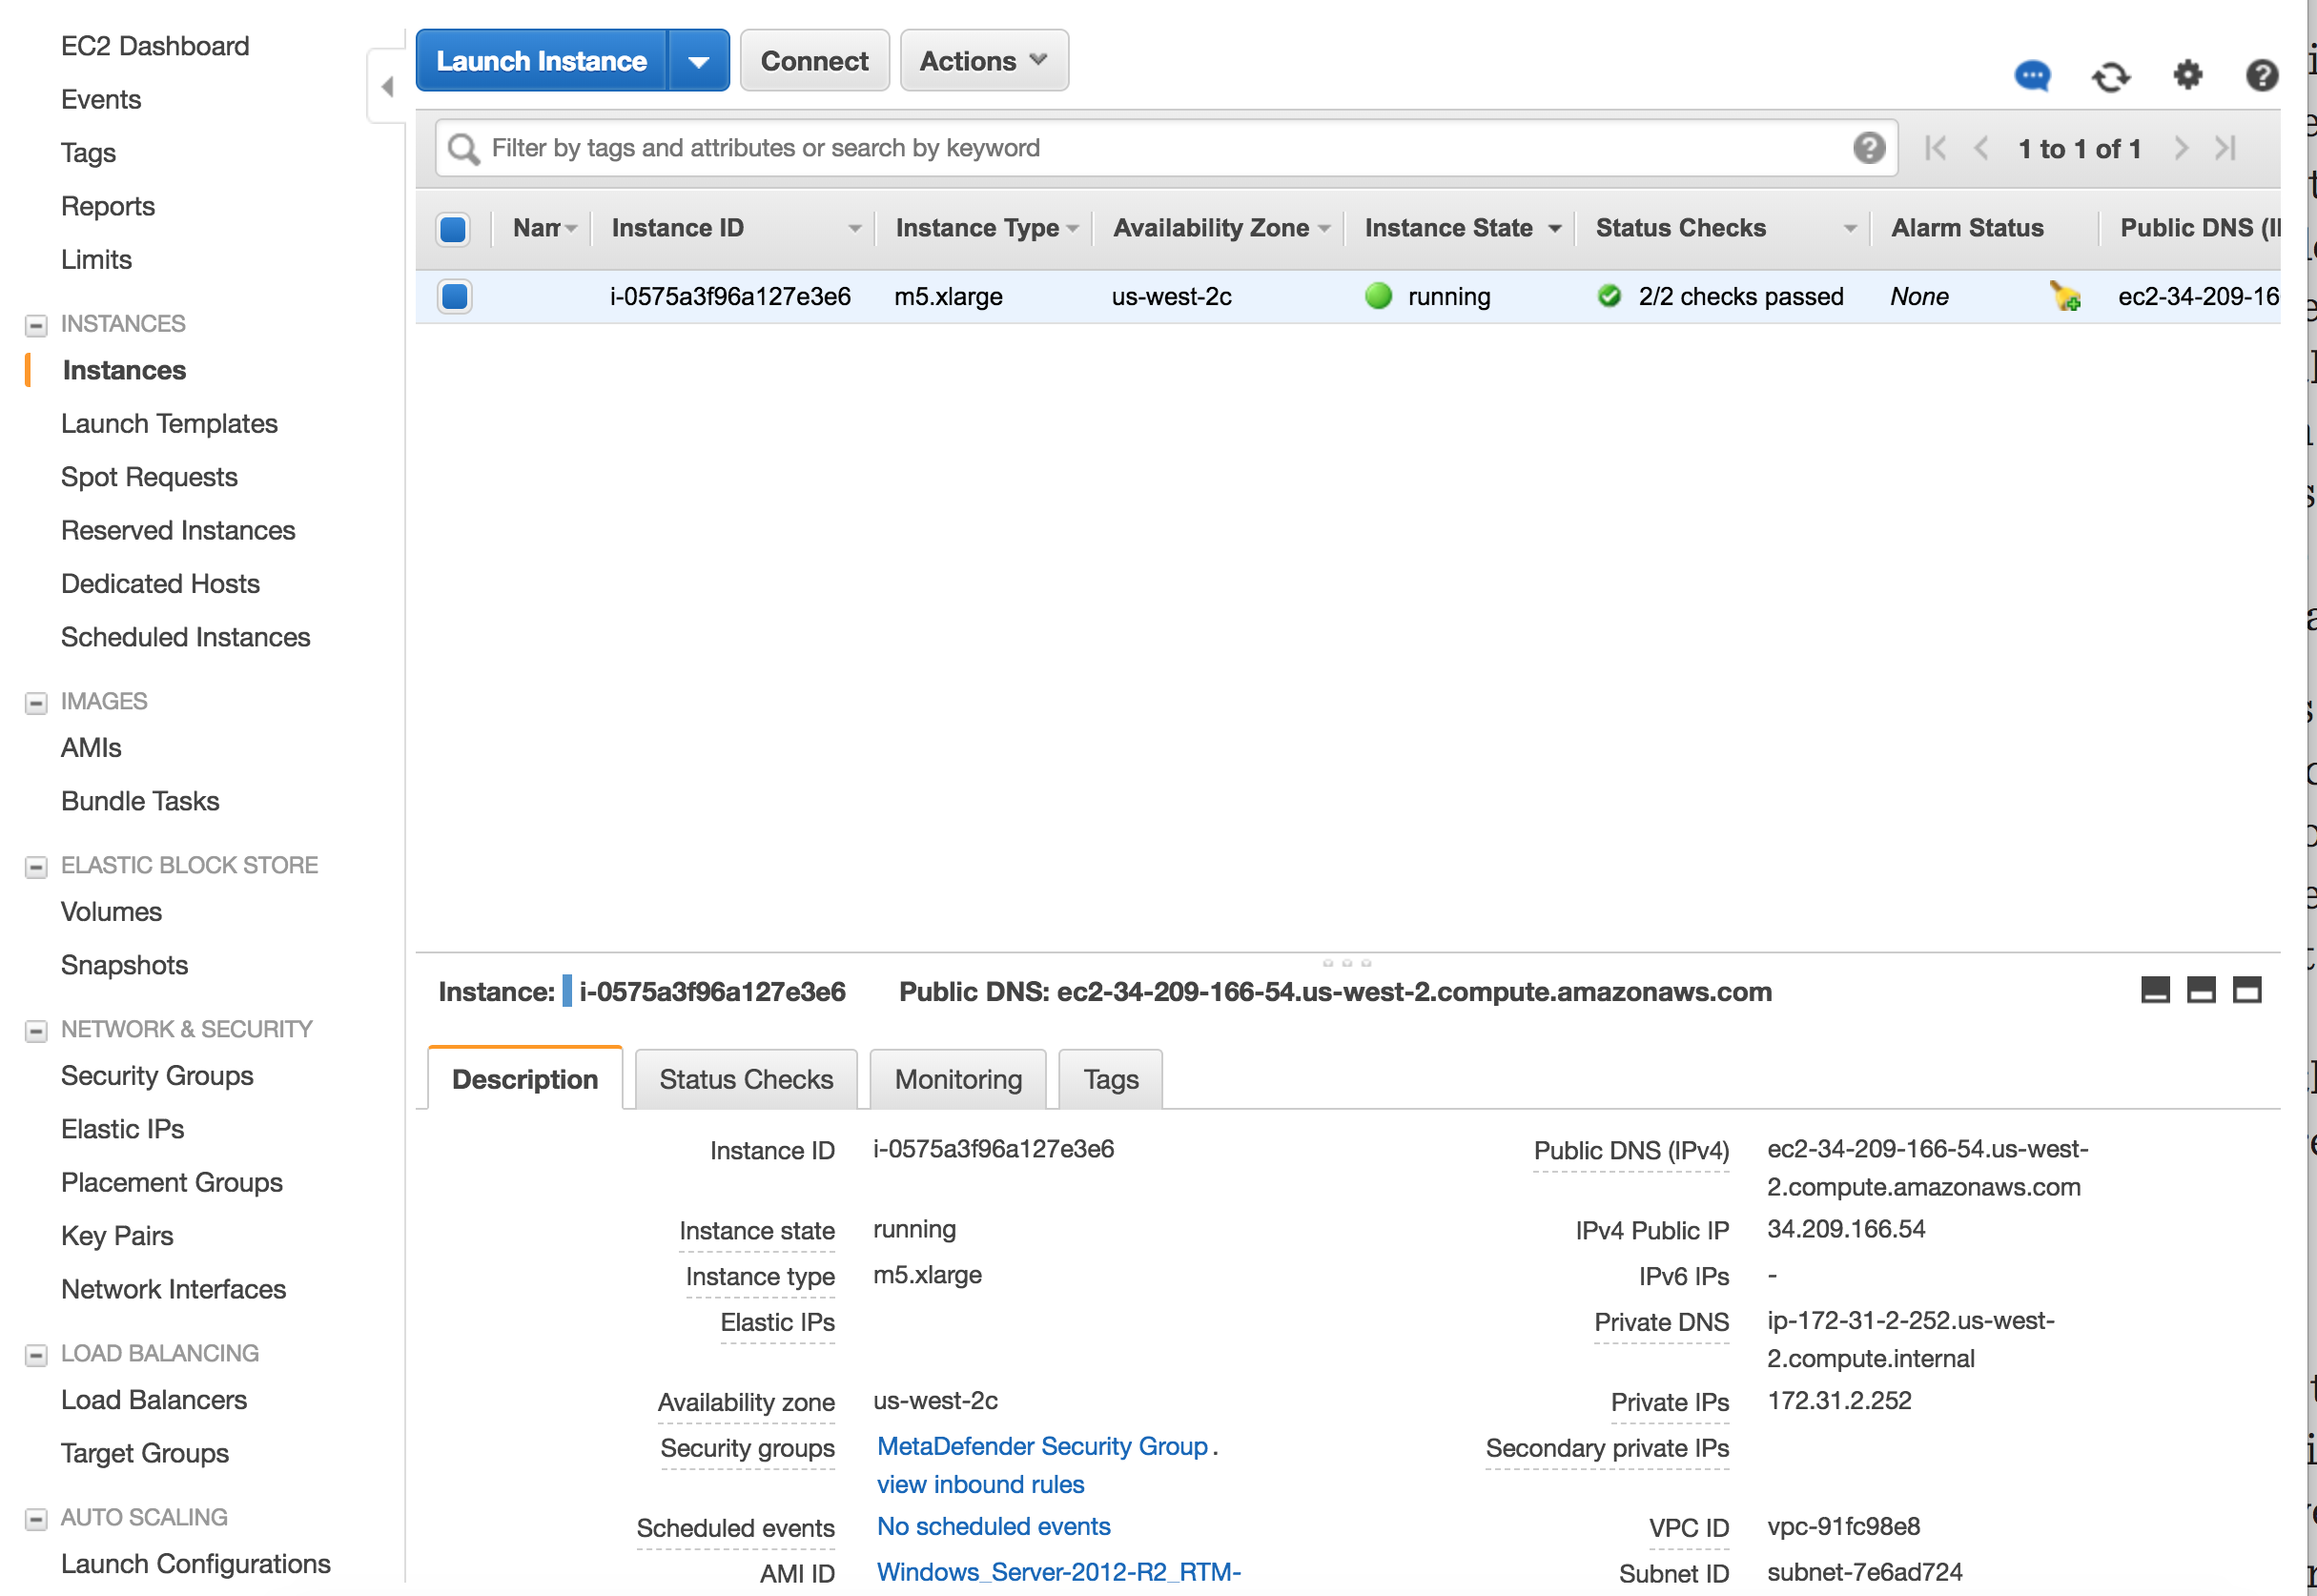
6. Launch the instance
After you review the settings, hit Launch. In a few minutes the instance should become available
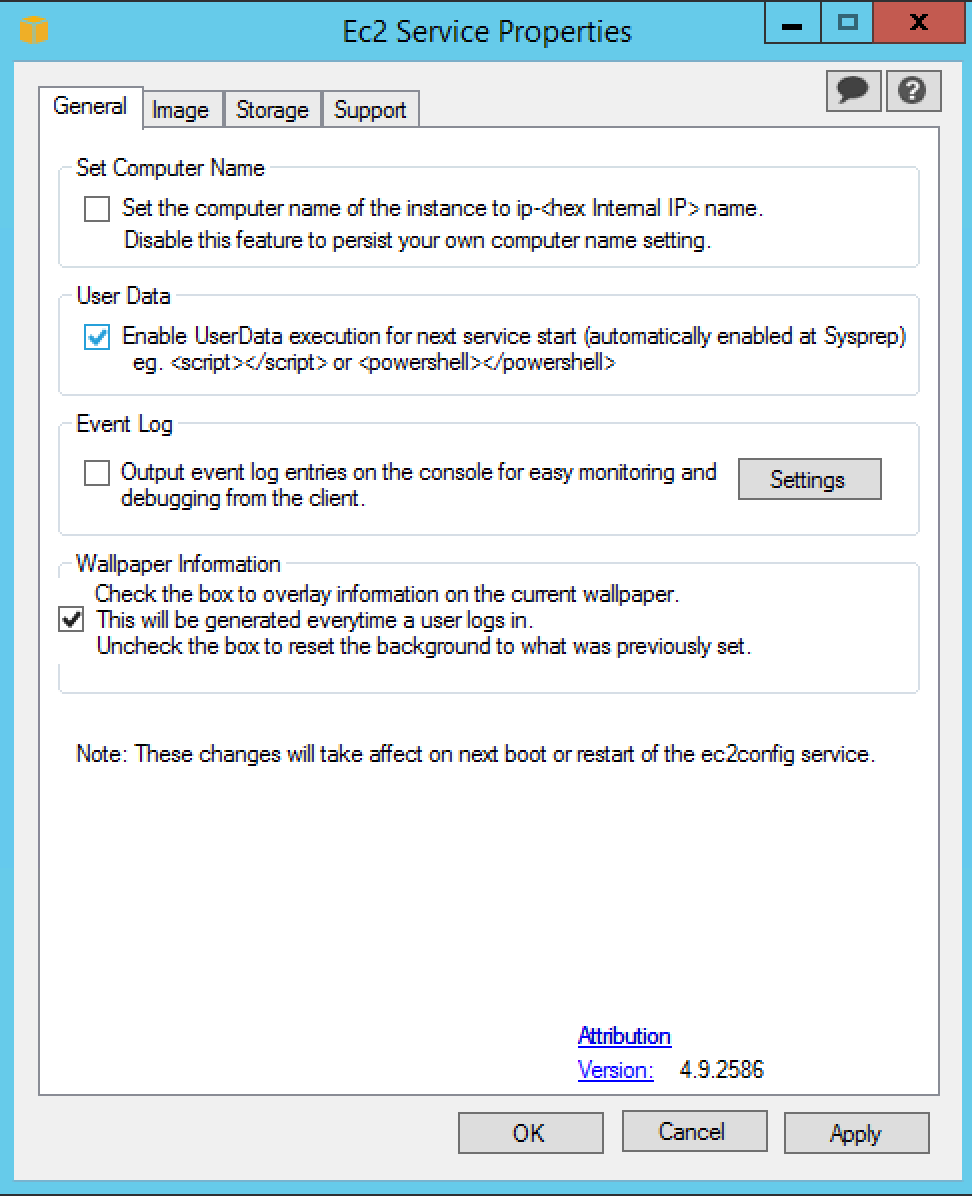
7. Additional steps
-
User Data
-
In case you've added a User Data script, make sure that running User Data is enabled on the new instance
-
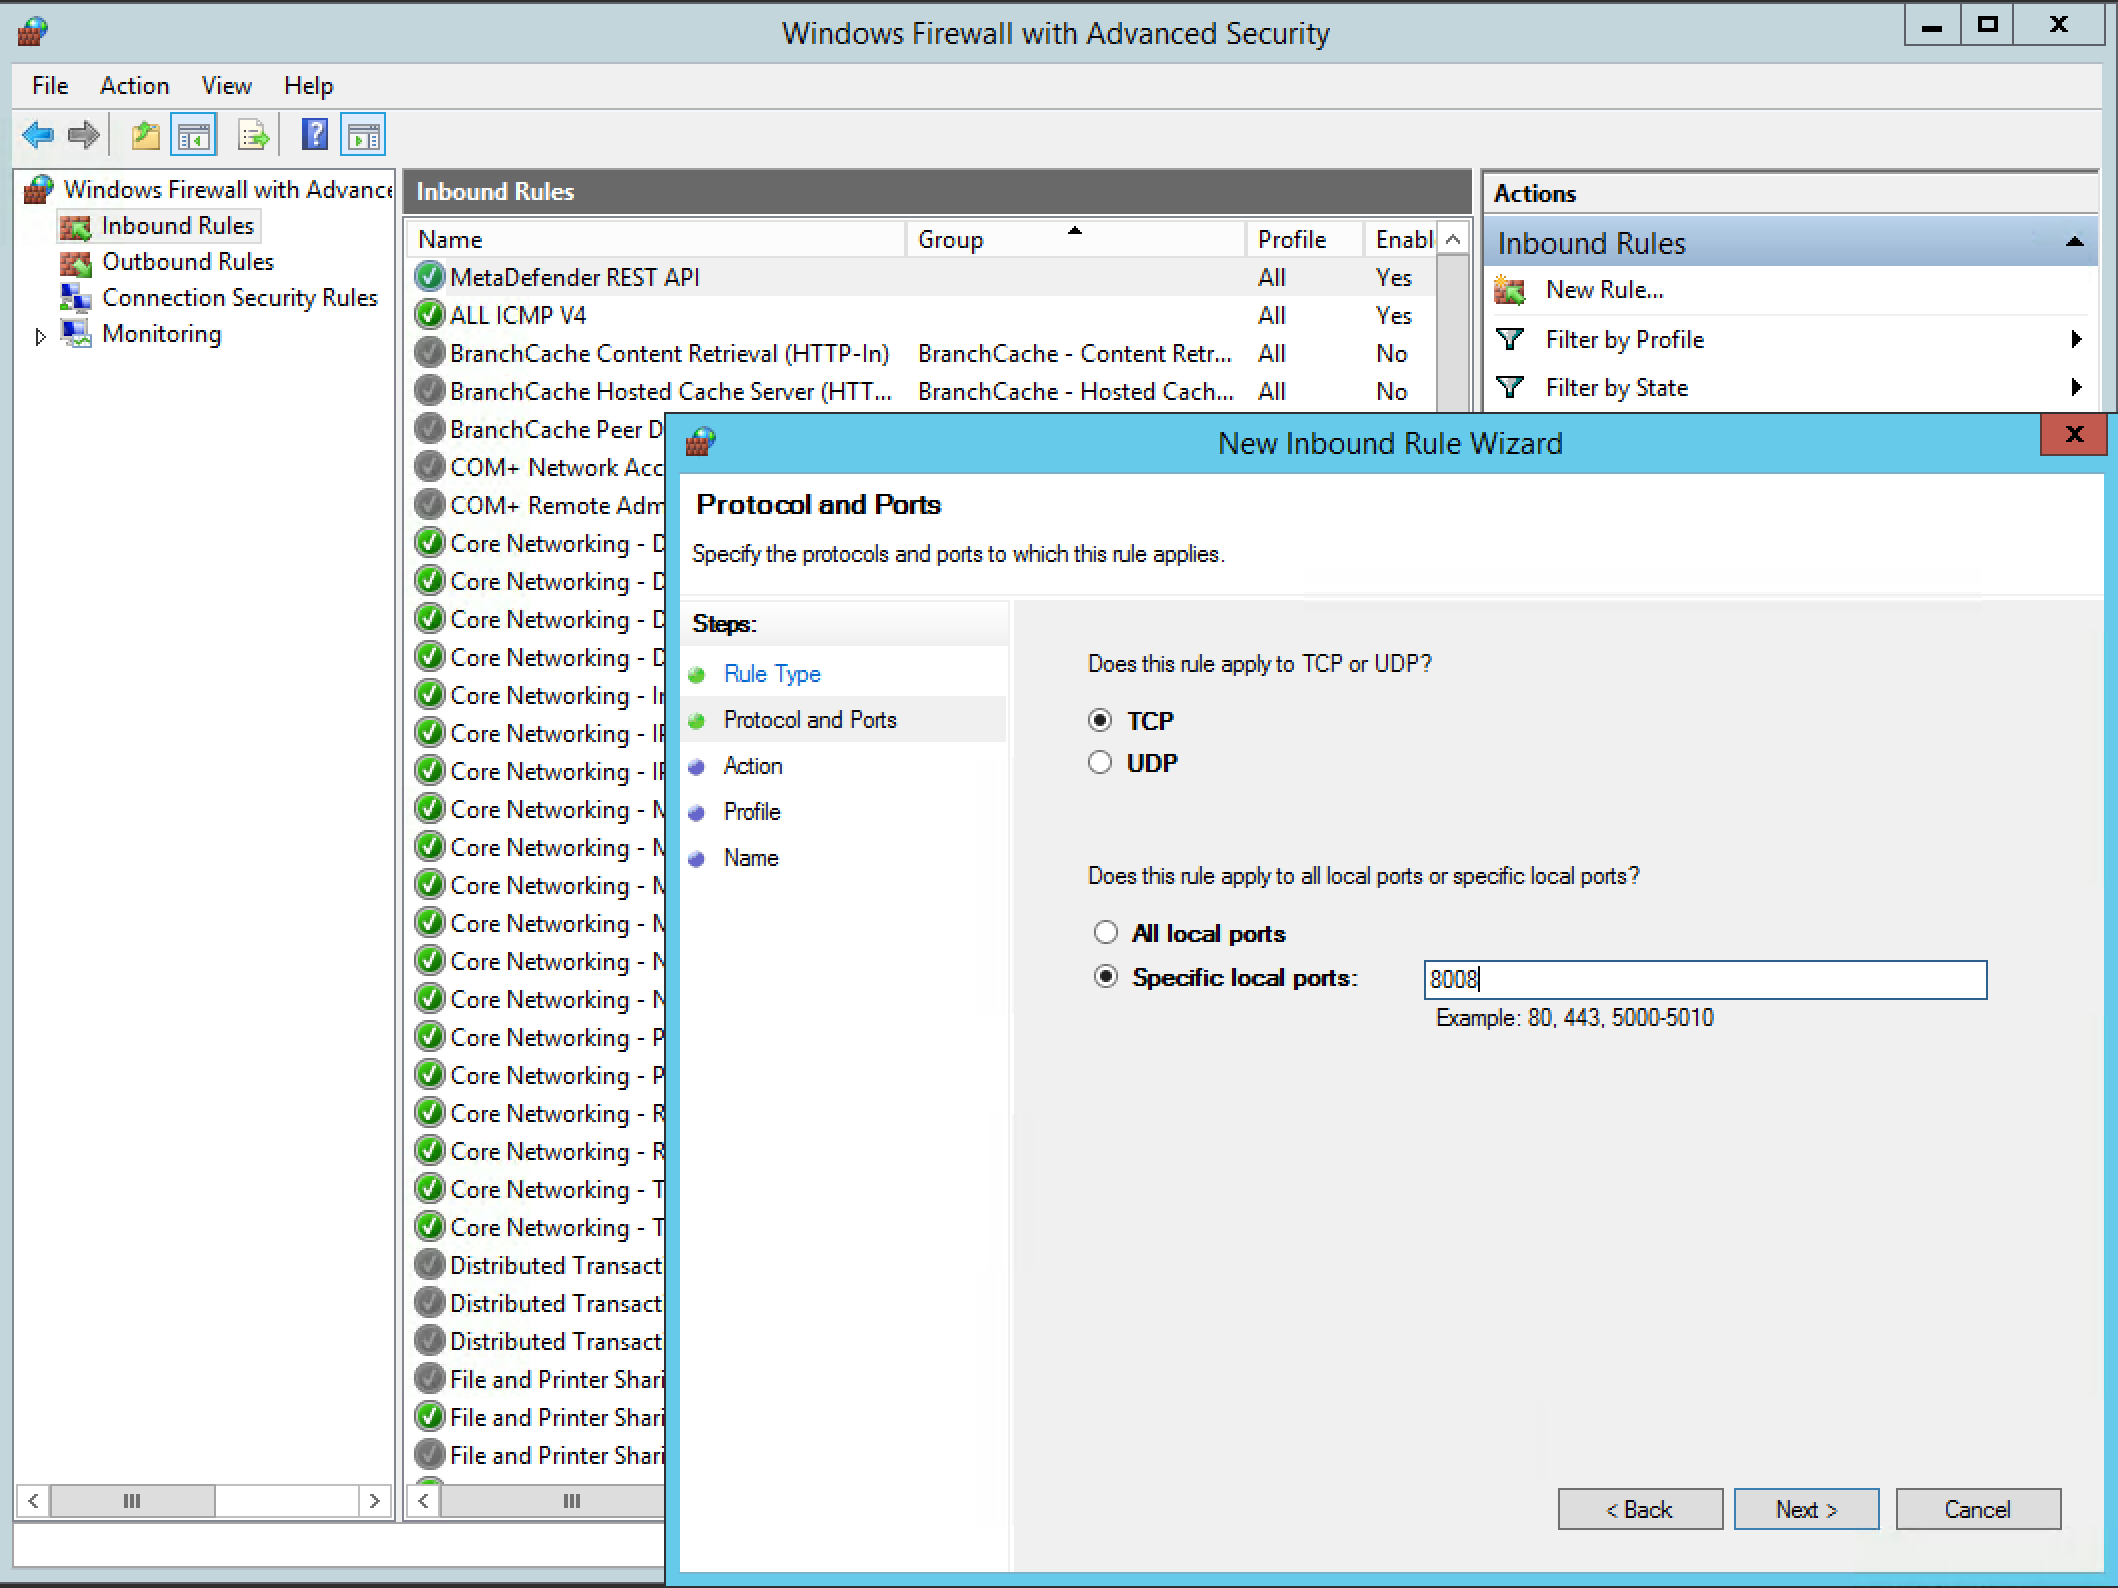
For instances running Windows OS versions, make sure that Windows Firewall will allow traffic to 8008.
In order to do that, RDP into the instance, open Windows Firewall and Advanced Security and create a New Rule for Inbound. Select Ports and choose the port you'll going to use for MetaDefender API (default is 8008).